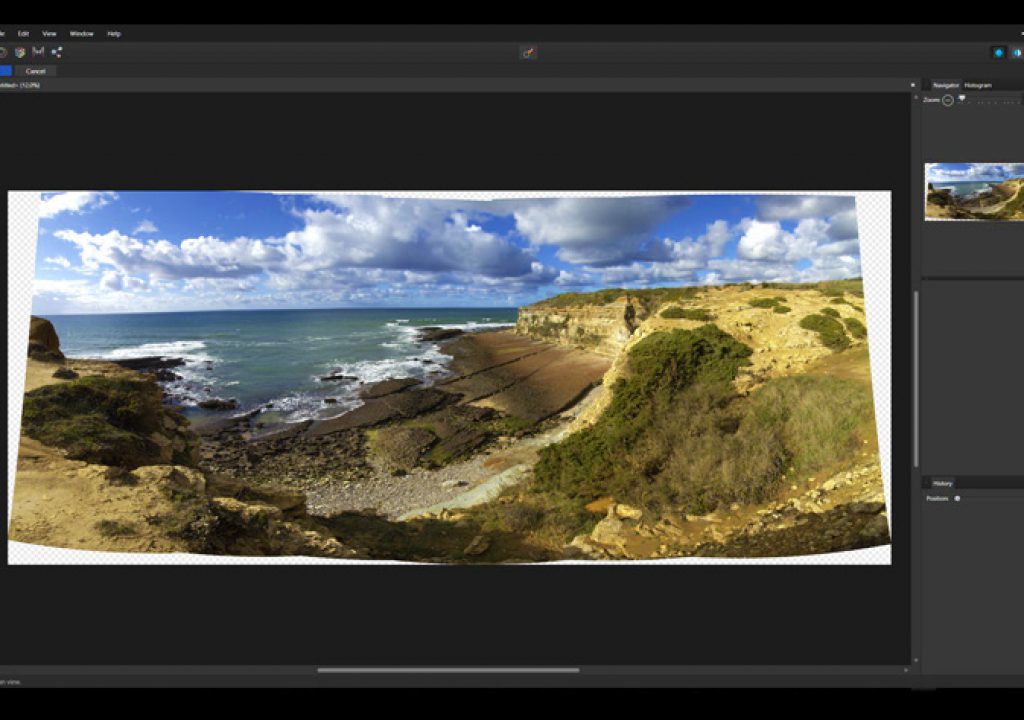
For less than $50 you get an excellent tool for panoramas. The bonus is the RAW editor that includes the panorama tool, and can, optionally stitch 32-bit HDR panoramas. Welcome to Affinity Photo!
Digital photography has brought with it, along with many other things, the chance to create, in seconds, panoramas that would, otherwise, takes hours of trial and error, and many failures. Now we’ve programs that intelligently mix multiple photos for breathtaking results.
Affinity Photo is such a program. I’ve already published some notes about the program, but the story unfolds here, and there is more to come. For now I want to share some of the information I got directly from photographer, video creator, and Affinity tech author James Ritson, which not only explains some of the functions of the program but points to its future. James Ritson is also the author of the videos published here, some of a vast collection that helps to get to grips with all the functions Affinity Photo has to offer. Before we continue, though, let’s look at the history of panoramas.
While cinema gives you sweeping views of vast landscapes, as the camera moves, and that image remains in the brain as a whole, photographers always felt limited on their need to share wide spaces. A wide-angle is an option, but the way it changes the relation between elements in the image does not help, many times, to give the feeling of vastness; panoramas do.
But creating panoramas in the darkroom ages was a labour of patience, many frustrations and, for many photographers, a quick way to forget the idea. When computers were introduced as an extension of the photographic work, the ability to stitch photos together became a possibility and some photographers started creating the first panoramas. Still, it was a difficult task, and even with the first software offering stitching, the practice looked every bit as much as an alchemy experience, something for the initiated and not for the faint-hearted.
When the Advanced Photo System (APS) film was launched in 1996, marketed by Kodak, Fujifilm, Agfa and Konica, photographers were presented with the option to choose from three formats: H for High Definition, C for Classic and P for Panoramic. Although the full image was recorded on film, at print time it was possible to choose the aspect ratio of the photograph to be 16:9 (H), 3:2 (C, similar to 35mm) or 3:1, which was considered panoramic, with a 4×11″ print (30.2 × 9.5 mm). It was not a real panoramic image, but the way it was cropped – some APS cameras allowed the three formats and the viewfinder changed accordingly – created the illusion.
The Advanced Photo System (APS) was doomed, though, with digital cameras rapidly conquering the market. Kodak ended production of cameras in 2004, and in 2011 both Fujifilm and Kodak said they would not produce more APS film. The name is kept, though, for digital sensors with the APS-C size, which is similar to the dimensions of the original film and offer the same aspect ratio of 35mm, 3:2.
With digital, new options for panorama start to appear. Although there are multiple stitching programs available, and have been for quite some time, both free and commercial, Photoshop CS4, from 2008, was, as far as I remember, the first version where complex panoramas would be assembled without problems. I remember, because I threw at it, then, 42 images in rows, to see if it managed… and it did.
Having a panorama module built into the software you use is, for me, the ideal solution. But that is not always possible, so a series of more or less complex programs that stitch photos are available in the market. You’ll find them if you “google” for terms as “panoramas” and “stitching”. Here, though, I want to concentrate on something else; the new panorama module from Affinity Photo, the program from Serif now in open beta for Windows.
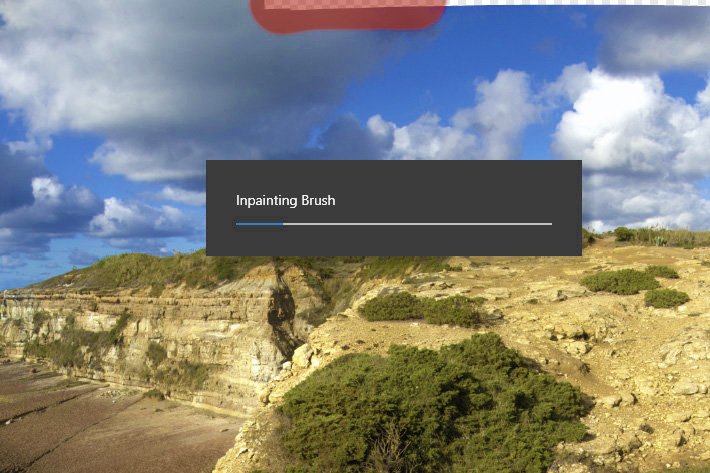
As I mentioned before, I’ve been busy with the recent beta version, mostly trying out the panorama module, which works rather well, although it still does not offer features as Inpainting Brush – Affinity’s solution for Content-Aware – which allows to magically fill the white areas around a stitched panorama. Still, you can use the tool “by hand” and it works just fine.
In fact, even with the crashes the program still has – we’re on the third beta version in the matter of a few days and the team is working to fine tune things – creating panoramas in Affinity Photo has been so exciting that I’ve created quite a few, which I’ve published at Medium under the name: From Raw to Panorama. If you want to see larger versions of the images published here, together with some extra panoramas, do visit the page.
The Panorama module, or persona, as Serif calls the different modules of Affinity Photo, is a feature that will be available on the Windows version when it is launched, but that was not available on the original Mac version. In fact, it was only in December 2015, with version 1.04, that Mac users got the new feature, the Panorama persona, a dedicated workspace for creating multi-image composites that goes above and beyond just making wide holiday shots. As Serif wrote then, “the automatic seamless image stitching is probably the best out there—plus our high quality perspective and colour correction take things to another level, and some great manual controls give you the amazing results you’re after.”
While I still have to fully explore all the options the program has to offer, which extend what you can do with panoramas, playing with the panorama part has been so fantastic that I kept creating panorama after panorama. Now, one thing that interests me with this type of software is how well it resolves panoramas that do not abide by the rules one usually has to follow when it comes to producing panoramas: using a tripod, rotate the camera along its nodal point, etc. I tend to do many of my panoramas handheld, a technique I advocate, because it allows people to get sweeping views of the landscape in front of them quickly and with good results.
Having the chance to produce panoramas without any special knowledge – although some rules have to be followed – is one of the great assets of modern photography, because it allows us to bring back home images that otherwise would not be possible. The complex calculations that go behind the simple interface of programs like Affinity Photo are immense, but the user does not have to care about that. It works, that’s all that matters!
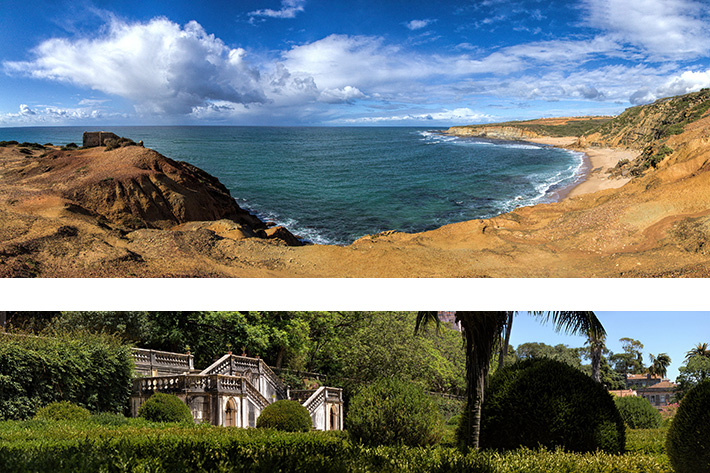
Because software now does the magic trick of stitching images together, we tend to be more adventurous and go beyond what is “the rule”, exploring wider angles and trying compositions that sometimes no mathematical genius can stitch together. There are, in fact, some limitations to what these programs can do. Still, they manage a whole lot more than would be possible a couple of years ago. This is the reason why I keep pushing the limits, sometimes with results that end in my hard drive as signs of failed attempts.
Modern software has made it possible to create handheld panoramas, and things are getting better year after year, meaning that anyone with a simple camera and lens can try this now. With Affinity Photo things become even easier, with a panorama module or persona offering an interface which is easy to understand and offers some unique adjustment tools. This is something that the videos published here, created by James Ritson, demonstrate fully. And when something goes wrong, the adjustment tools and the layers mode in Affinity Photo will help you.
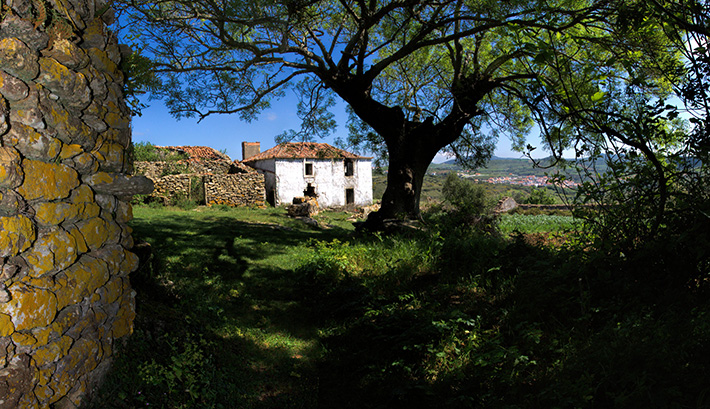
Even at an early stage, what the beta version of Affinity Photo shows, in general and in particular in the Panorama persona, is very promising. The results I got make me want to include the program in my workflow. Being able to use the RAW files directly to create the panorama saves a lot of time. And after the final stitch each image was moved from the Panorama module to the Develop module (where RAW files are edited) followed by the Photo module or persona, for developing other file types, like JPEG. My workflow then takes me to Topaz Labs Clarity (or any of the other presets I use), which I already installed in this beta version of Affinity Photo (the 16-bit option is available, but at this stage it is better to use 8-bit as there are still some problems).
Instead of a lengthy explanation of the panorama persona workflow, I decided to point to the videos created by James Ritson, which explain how to get the best out of the program. I exchanged emails with James and he said that “it’s important to note that at this early stage, Photo only has equirectangular panoramic stitching, and doesn’t feature other methods like rectilinear. This would hopefully improve in the future”. It’s important to know this, so you don’t go looking for things that are not there.
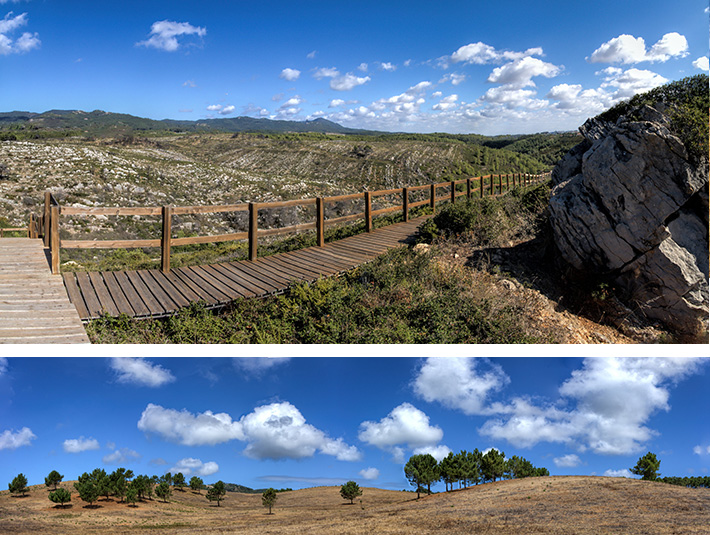
On the other hand, one thing that James Ritson mentioned is quite interesting if you’re into HDR panoramas. He said that “in Photo 1.5, you’ll be able to stitch 32-bit HDR panoramas. So you can take bracketed shots for each part of your panorama, HDR merge them and export them to OpenEXR documents. You can then stitch these OpenEXR documents and Photo will create an HDR panorama.”
James added that he has already shot the video tutorial for this function, and that the video will be available upon 1.5’s official release. There is also the promise of more tutorial videos for 2017, covering things like panoramas and stacking. According to James Ritson, “These videos will hopefully launch as a series sometime next year and should help users with taking photographs that will work well with the features. The videos include how to shoot for noise reduction stacking and long exposure simulation stacking.”

Filmtools
Filmmakers go-to destination for pre-production, production & post production equipment!
Shop Now