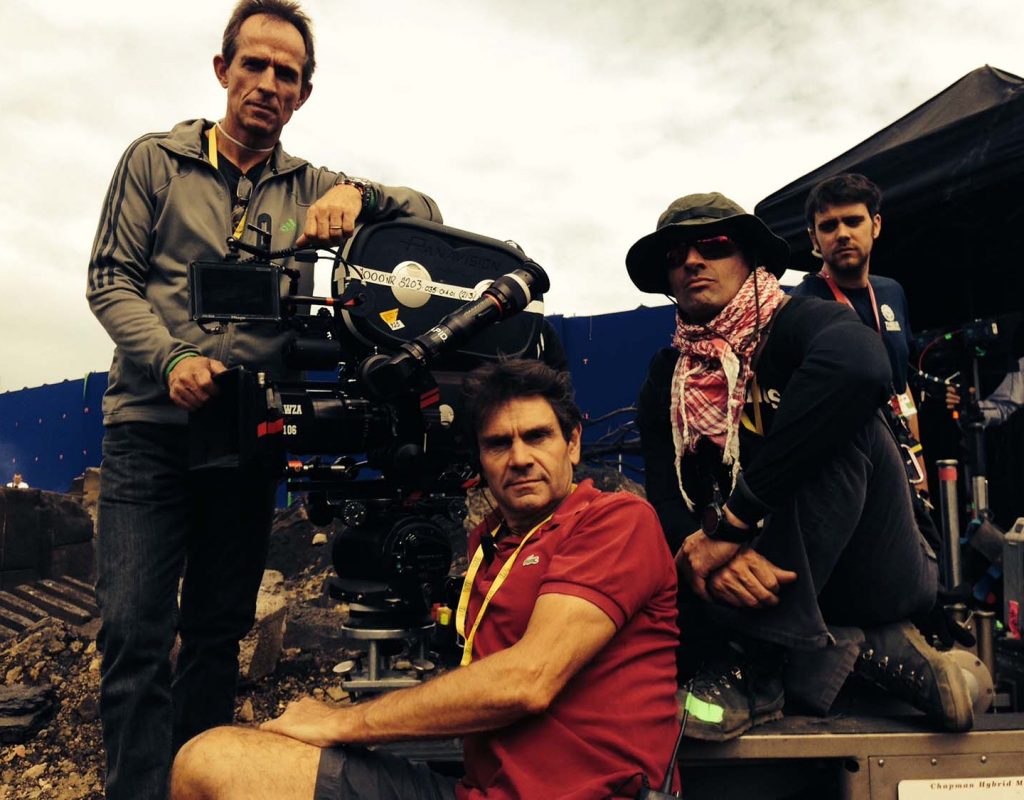
“War Room,” the movie I co-edited, was Number 1 at the box office in the USA Labor Day weekend and held the position through the following week.
This article outlines the equipment, workflow and processes in a detailed manner for the entire post-production process – starting with camera and ending just short of the DI. The DI hand-off and workflow will be covered in detail in a subsequent article.
 I had the fantastic privilege and blessing to co-edit – with director, Alex Kendrick – the movie “War Room” which was Number 1 at the box office in the US Labor Day weekend and held the position the following week.
I co-edited Alex’s previous movie, “Courageous,” with him and my friend, Bill Ebel. That movie was edited back in 2010 using Final Cut Pro 7. When we started production on “War Room” we discussed using FCP7, Premiere and Avid. Alex had edited all of his previous four movies in FCP. He didn’t want to try FCP-X, but he was also unsure of moving from the tried and true. I convinced him that FCP7 was really dead and that getting support for it, if anything went wrong, would be impossible, and that even if we got through this movie on FCP7, eventually, he was going to have to move on to something else.
The movie was produced on a modest budget of $3 million dollars and in its opening three weekends have grossed $39M. But that’s typical of the films that the Kendrick Brothers have made in the past. Each one surpassed Hollywood’s expectations. But more importantly to the Kendrick’s and their audience – each is life-changing in its impact.
Premiere was definitely a contender and we seriously considered it. For many, Premiere is kind of what they imagine FCP8 would have been like. My issue was that when we started editing in the summer of 2014, no feature films had been cut on Premiere and I was not interested in being the guinea pig. It was my reputation on the line, and even if we managed to have a great experience editing the movie in Premiere, I couldn’t guarantee that the DI, sound house, composer, and effects companies with whom we’d need to interface would have a smooth experience. Since then, “Gone Girl” and others have been edited on Premiere, and I have actually started editing my next feature film using Premiere, at the insistence of another director. (That experience is going well so far, though we haven’t had to pass the project on to any downstream post professionals or vendors.)
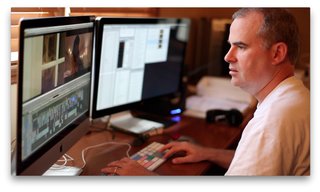
I convinced Alex to edit in Avid because virtually all movies are edited in Avid (since the demise of FCP7) and the pipeline through post is as solid as
any experience can be. I was also going to be alongside him every day to help with technical questions, so I knew he would have no problems learning the software or with technical issues. As always, the first few days on a new piece of software were a little stressful, but his technical proficiency and comfort level improved throughout the editing process.
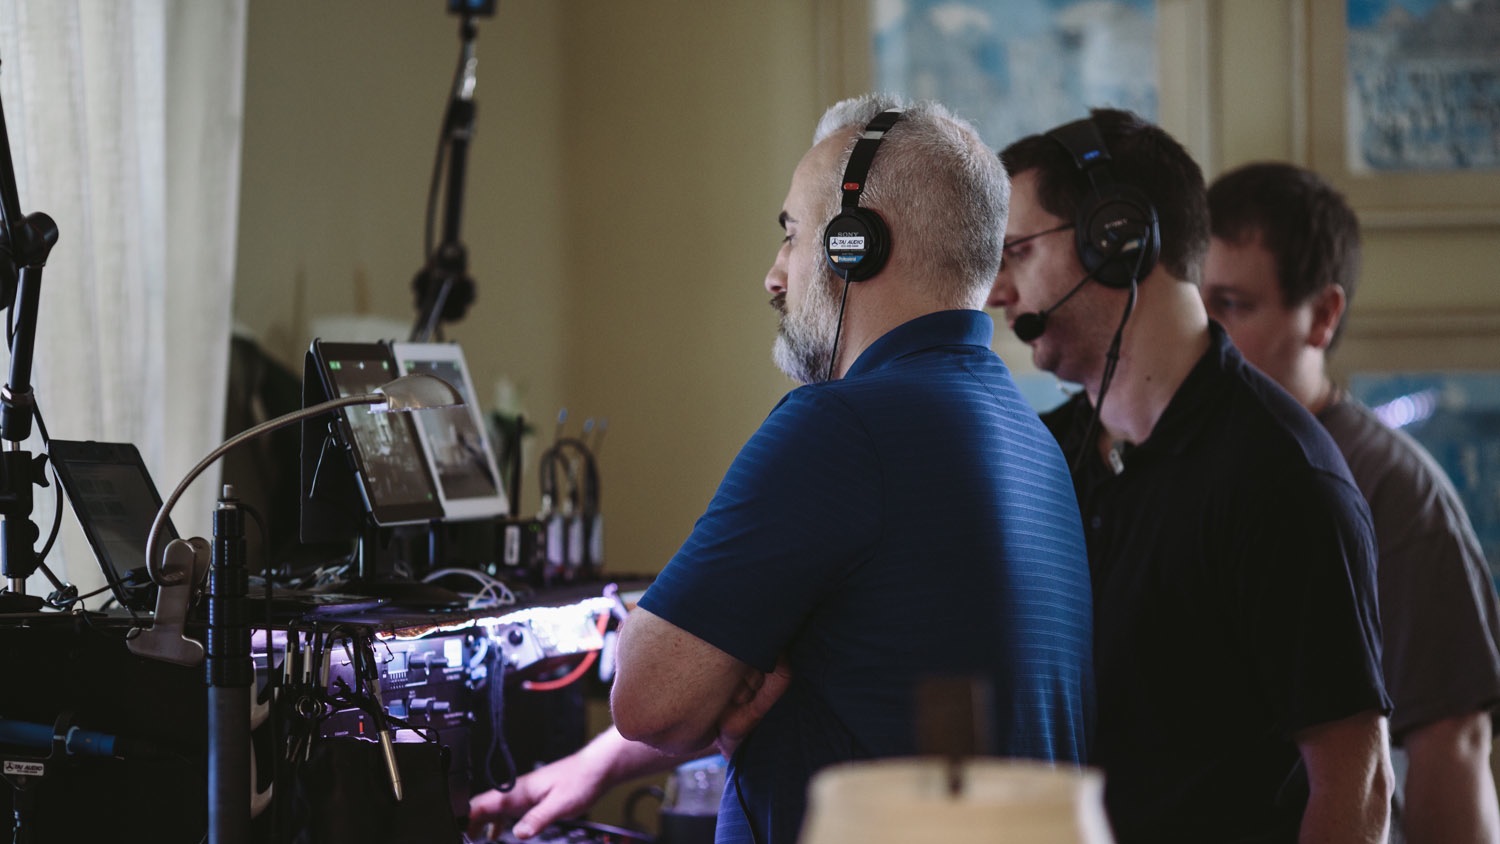
I started on the film working on-set while the production shot in Charlotte, North Carolina. I used a 27” iMac connected to a simple 4TB USB3 drive. Because I was working side by side with the DIT – who was backing up all of the original and transcoded data to two separate RAID arrays (at RAID 5) plus LTO – I didn’t feel the need for the cost or weight or hassle of a RAID myself while on-set. Originally, the DIT and I were supposed to be housed in an RV with our systems set up inside it all the time, but that never really materialized, so both of us spent a large amount of our time setting up our systems from scratch at each location, so the physical size of the drive I used and the ease of set-up were definitely factors. I was also using a second 27” Apple Cinema display and simple USB audio monitoring, though most of the time on set I was using headphones.
Ben Bailey was the Digital Imaging Tech on “War Room.” Since we were working side-by-side in what were usually very tight quarters, we got to know each other very well, and fortunately became fast friends.
Ben’s set up was on a cart that he’d built that was kept overnight on the camera truck, then we would unpack it and haul it to location – or very close by if there wasn’t space. We used almost all practical locations and some of them were very limited in space for a crew that was pushing 80 people.
The production shot most of the time using two RED Epics; sometimes only one; sometimes several; sometimes one of the Epics was used by the B crew on a separate shoot.
Ben’s main DIT gear was a 27” iMac 3.2GHz Quad-core Intel Core i5, with 32GB of RAM, an internal 1TB fusion drive, and a Magma ExpressBox 3T PCIe Expansion chassis which contained a Redrocket and an ATTO ExpressSAS H680 card. The ATTO card was used for the LTO tape deck, because at the time, there were no USB or Thunderbolt LTO options. For his reference color monitor, he had a 17” Flanders Scientific monitor fed from a Blackmagic Mini Monitor. For storage, Ben built two 8-bay RAID5 arrays. One was the main capture drive and the other was the backup. Both were completely identical in content and size. This set up was all dictated and approved by the film bonding company that came out to check the redundancy and workflow to insure that there was no chance that the film would lose so much as a single bit of data.
The workflow was well planned and easily reproducible. When one of the REDs filled up a drive, Ben used Imagine Products’ ShotPut Pro software to handle the off-load and back-up automatically. This program dumps the RED drive to both RAIDs simultaneously and then does a checksum of each card to insure a perfect copy. After the card had been verified as transferred and backed up, Ben would format the card and give it back to the camera department, clearly labeled as newly formatted. As a third – and more long-term shelf-life backup – Ben also created LTO backups every other night. For “War Room,” we used LTO5 tapes, which hold a total of 1.5TBs uncompressed. For LTO backups, Ben used a program called Bru PE, which is a relatively simple interface that allowed him to select specific folders and files to backup.
To get the media ready for editorial, Ben ran it through a program called RedCine-X. Using a Redrocket PCI card, this program allowed him to playback the R3D files at real-time. For “War Room,” he applied a quick one-light before transcoding the files for Avid.
Originally, Ben and I discussed transcoding to DNxHD36, and I chose this as the resolution we’d work in. This seemed like a good choice, because it creates a file that looks quite good even though it is very “light-weight” and small, making it easy to store and easy to process by the computer. Ben transcoded the first several days at DNxHD36 before I decided that I wanted to have a higher quality video file for audience screenings without having to up-rez all of the RED files again just to do a higher quality screening before the final DI was created. After switching the subsequent footage to DNxHD115, Ben went back and re-transcoded all of the first few days to DNxHD115 as well. In the end we were able to just barely fit all of the transcoded DNxHD115 files on a single 4TB drive. When we started having additional media and renders, we moved to storing media on a RAID after we finished active production.
 To transcode for Avid, Ben created presets in Redline-X, which allowed him to quickly transcode all the clips after he completed his one-light. For “War Room,” Ben saved all of the transcoded files to his RAIDs, then transferred them to my USB3 drive using CAT 6 gig-e Ethernet cables. Ben also provided me with AAF files with the meta-data that had been compiled by the sound department. I used those files to link the transcoded media to clips in bins. This made the “import” time almost instantaneous, and provided a wealth of information about each clip already populated in the Avid bins – right down to the names of the characters for each lav microphone track, scene numbers, take numbers and cameras.
At the end of each day, I transferred the Avid project file back to his RAID systems as a precaution, but also copied it to three USB thumb drives as well, which we rotated off-set. Ben made sure that the production department took the LTO tapes, while he took the capture RAID back to his hotel, leaving the backup RAID in the camera truck.
Once Ben transferred the media to my drive, I created a simple workflow that could be accomplished by me or any one of a few crew members I trained. We had a number of very capable interns – mostly from Liberty University – that were excited to have a hand in the post-production process.
The basic instructions for bringing in the transcoded files and prepping them for editing are on the next page. These are HIGHLY detailed and it’s a bit of a slog reading them if you’re really not interested in the nitty gritty details. If you want to skip the Avid prep stuff – essentially the assistant editor work – then skip to the third page of this article.
HERE ARE THE EXACT INSTRUCTIONS I WROTE FOR WAR ROOM IMPORT.
When new footage comes from the DIT through Red Cine-X, the transcoded footage and audio is placed by the DIT into a folder named for the production day (i.e. Day_01). Inside that is a folder called DNxHD and a folder called audio. Inside the DNxHD folder are three items: two folders: AAF and MXF, and a file called AvidExport.ale.
Drag all the MXF files from the DIT’s MXF folder into the Avid MediaFiles/MXF/# folder.
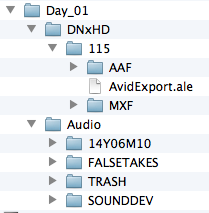 After the transfer is complete, launch Avid. Create a bin named for the Day of production. Then select and import all of the AAF files in the delivery from the DIT. Go to the War Room drive/Days/Day#AAF folder. Select all AAF files in folder. Choose Open. This creates master clips with metadata associated and links to MXF clips in the Avid Mediafiles folder that were just copied. This process is nearly instantaneous – essentially just linking the metadata to the media that was just dragged into the Avid Mediafiles folder.
Then select all clips in the latest bin (created from the AAF import) and right click to call up the contextual menu – or go to File Menu and choose Import. In the Import menu, select the Options button to call up the Import settings. Choose the Shot Log Tab and select the bottom radio button: Merge with known Master Clips. Click OK to call up a window to locate the AvidExport.ale file from the most recent DIT delivery (in the DNxHD folder in the folder for the current day’s dailies). Select that file and click the Open button at the bottom of the window. This will MERGE all of the metadata created by the sound department with the AAF import and additional metadata only available from the AvidExport.ale.
Then import the audio from the sound department from the Day_## (for example) folder which has an Audio folder in it. Select the audio from that folder and import. The folder with the audio is inside the Audio folder and is named with the year, month and date. (i.e.: 14Y06M10)
Then, autosync the audio files from the sound department with the MXF files from the DIT (actually the sound files are also delivered by the DIT to the daily folder for each day). Because we have matching timecode, this is done by selecting all audio and video files in the bin and going to the Bin menu at the top of Media Composer and selecting Autosync. This creates sub clips.
Call up the ALL NAME FRAME SCENE bin view from the Bin Views at the bottom of the bin or use the WAR ROOM bin view. Copy all data from the NAME column to the NAME BACKUP column. Select the NAME column. Hit Command-D to duplicate. (After speaking to the DI company later, it was determined that this step was unnecessary, but was done as a safety precaution.)
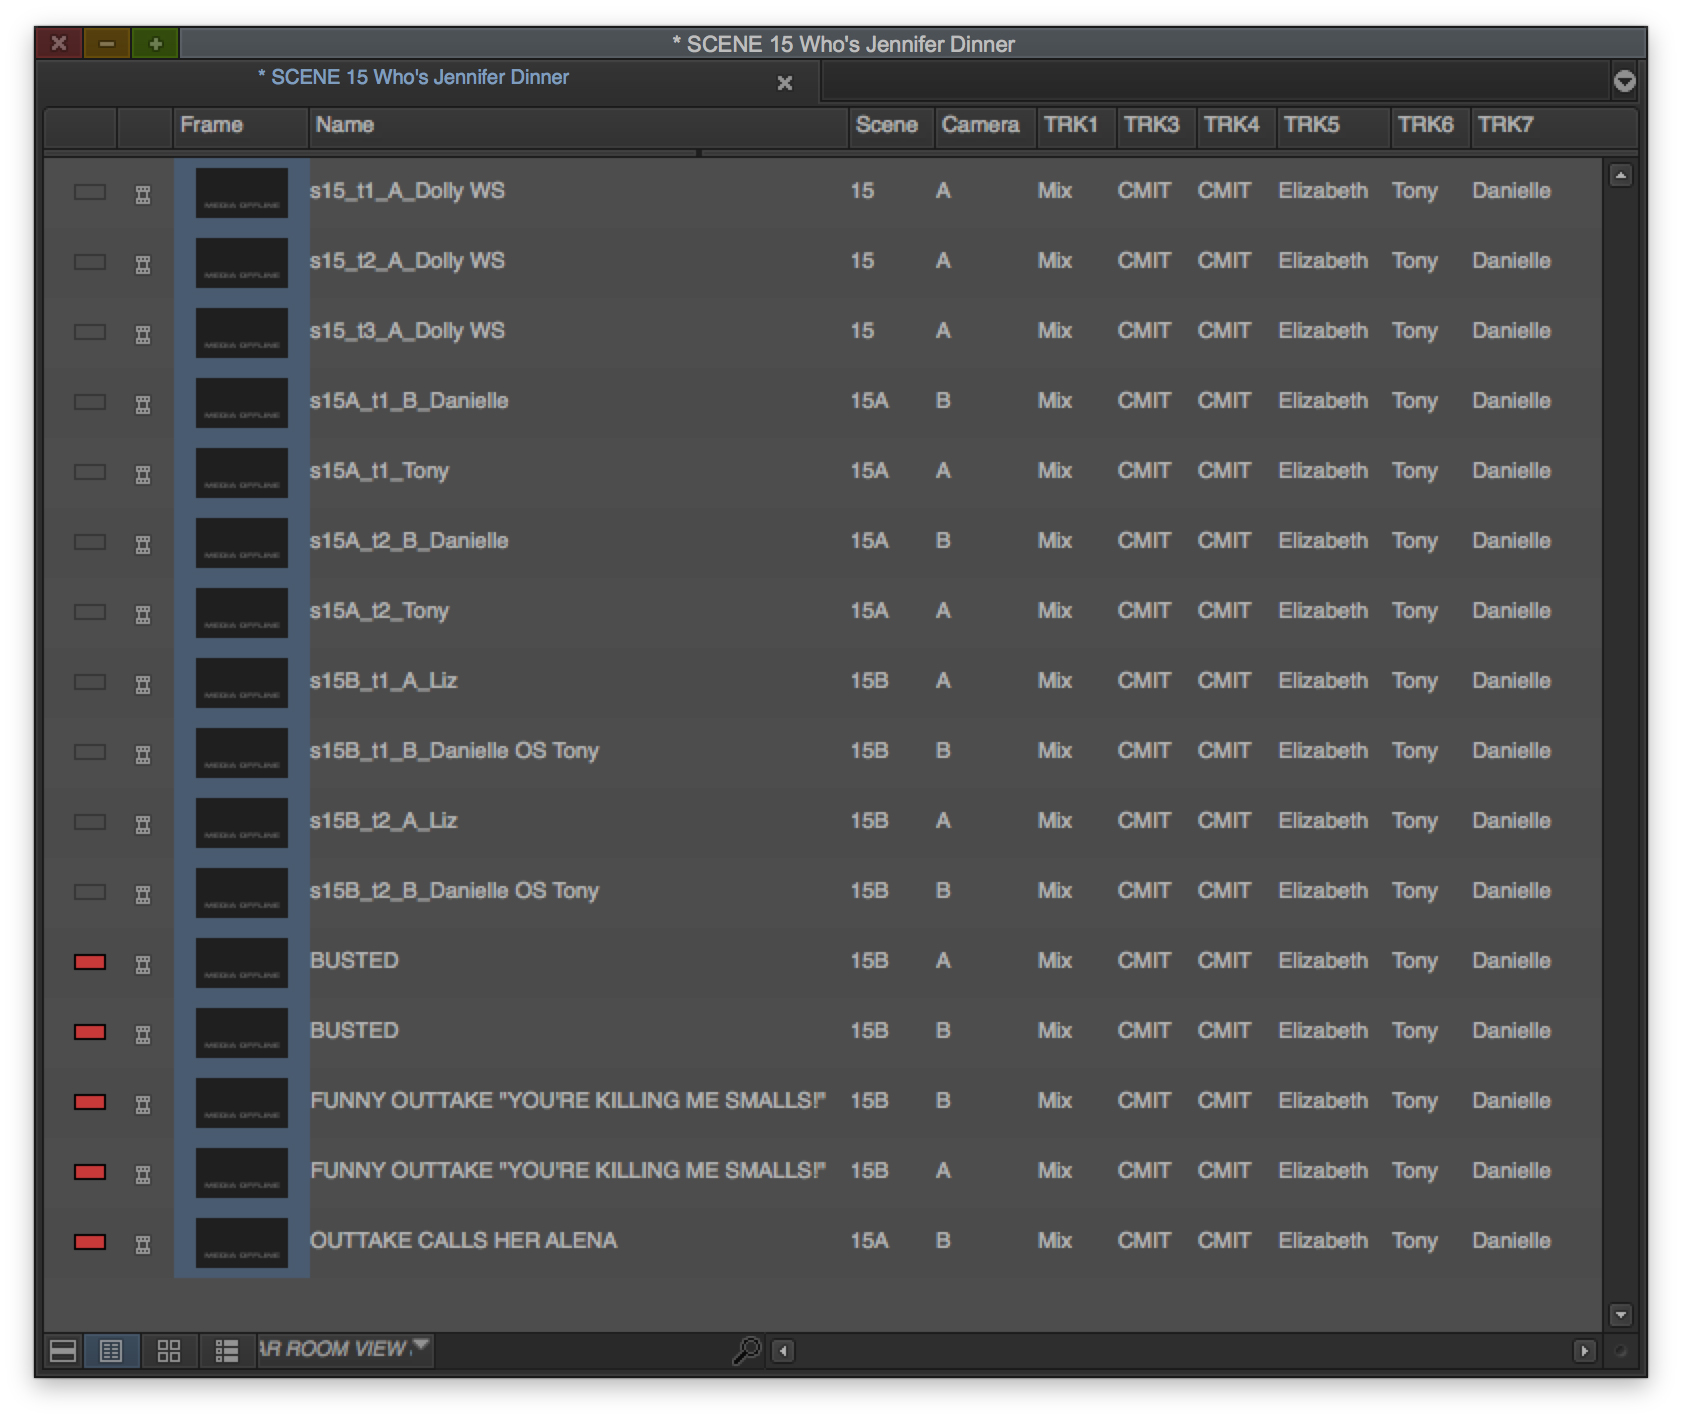
Replace all of the Name data using scene and take and shot description. Add any additional data, like “director’s circled take” coloring them as green.
Call up each sub clip and put a marker on the camera slate clap and another on “action.” Also, use the “slip one perf” button to make sure that audio is as close to being synced as possible. (We ended up not doing this process after a few days because the sync appeared perfect most of the time. However this process created subclips and many experienced feature film editors have warned that the editing process should be done using subclips instead of master clips.)
Duplicate the subclips and move the duplicated subclips to the their respective Scene folders. This is what we’ll edit with. Leave the original subclips in the bin and folder for the day of production. This allows us to find clips by scene or by production date, if needed.
At the finder level, color code all of the clips from the DIT’s Day folder that have been brought in to the system so we don’t accidentally go through this process with the same clips again. (There were always at least two and sometimes three “downloads” from camera each day and it could get confusing which clips had already been imported.)
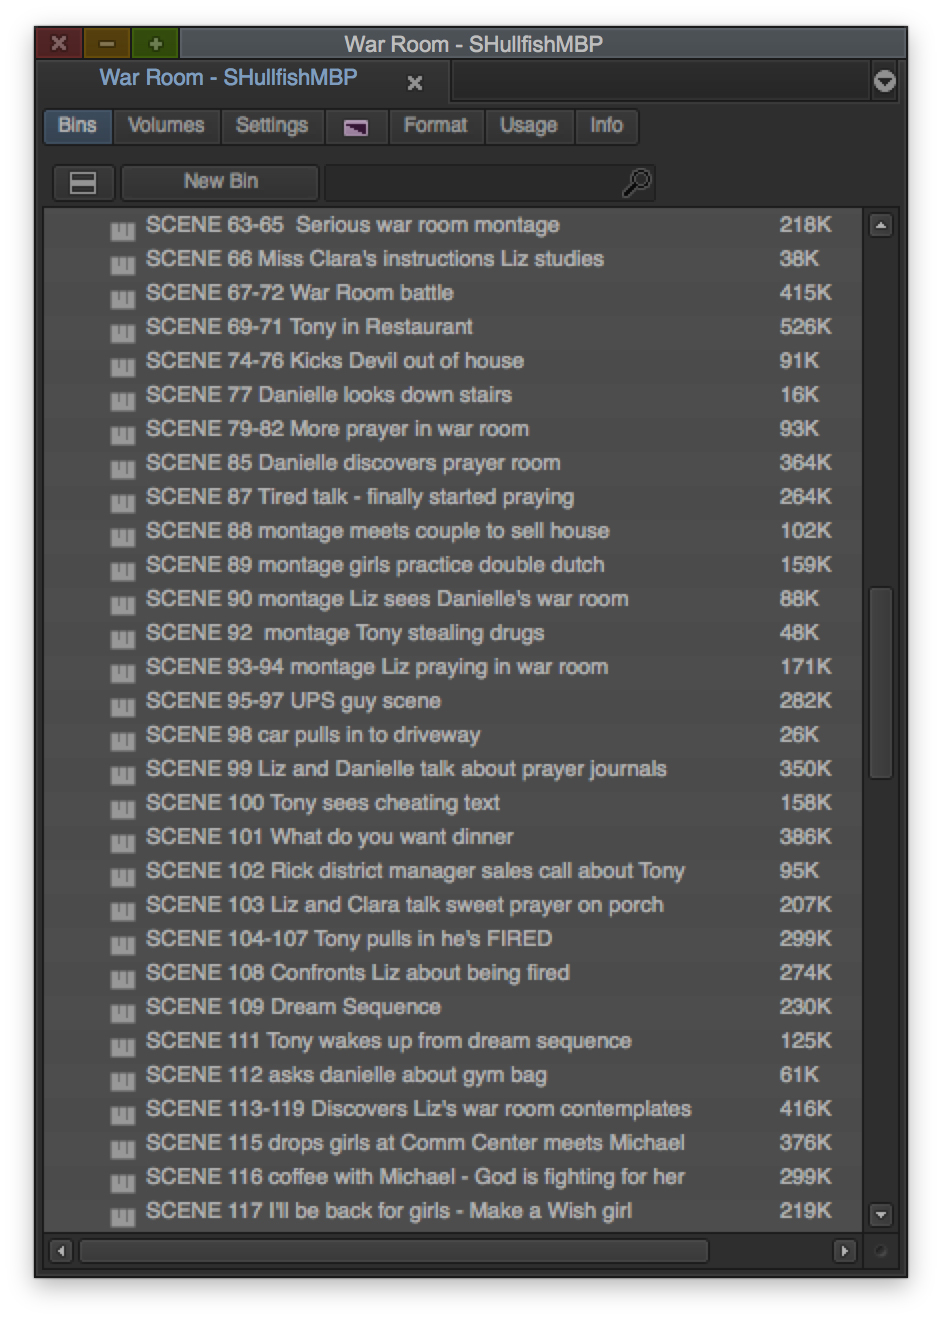
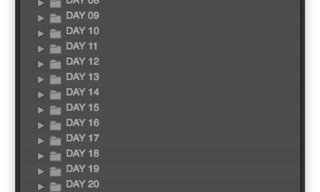
This is a small glimpse of the entire DAILIES BY SCENE folder. Each line represents a bin that holds all of the media for each scene.
I was working very “close to camera” during the shoot. In other words, I was editing footage sometimes within minutes of the footage coming off set. Usually Ben would do either two or three transfers from camera to his system each day. Each shoot day began between 6am and 8am generally, rolling camera on the first shot by about 10am. By noon, the camera department usually handed over several RED drives to Ben to be transcoded and archived. That process usually took about an hour, and when the crew was having lunch, I was usually starting the import, linking and syncing process.
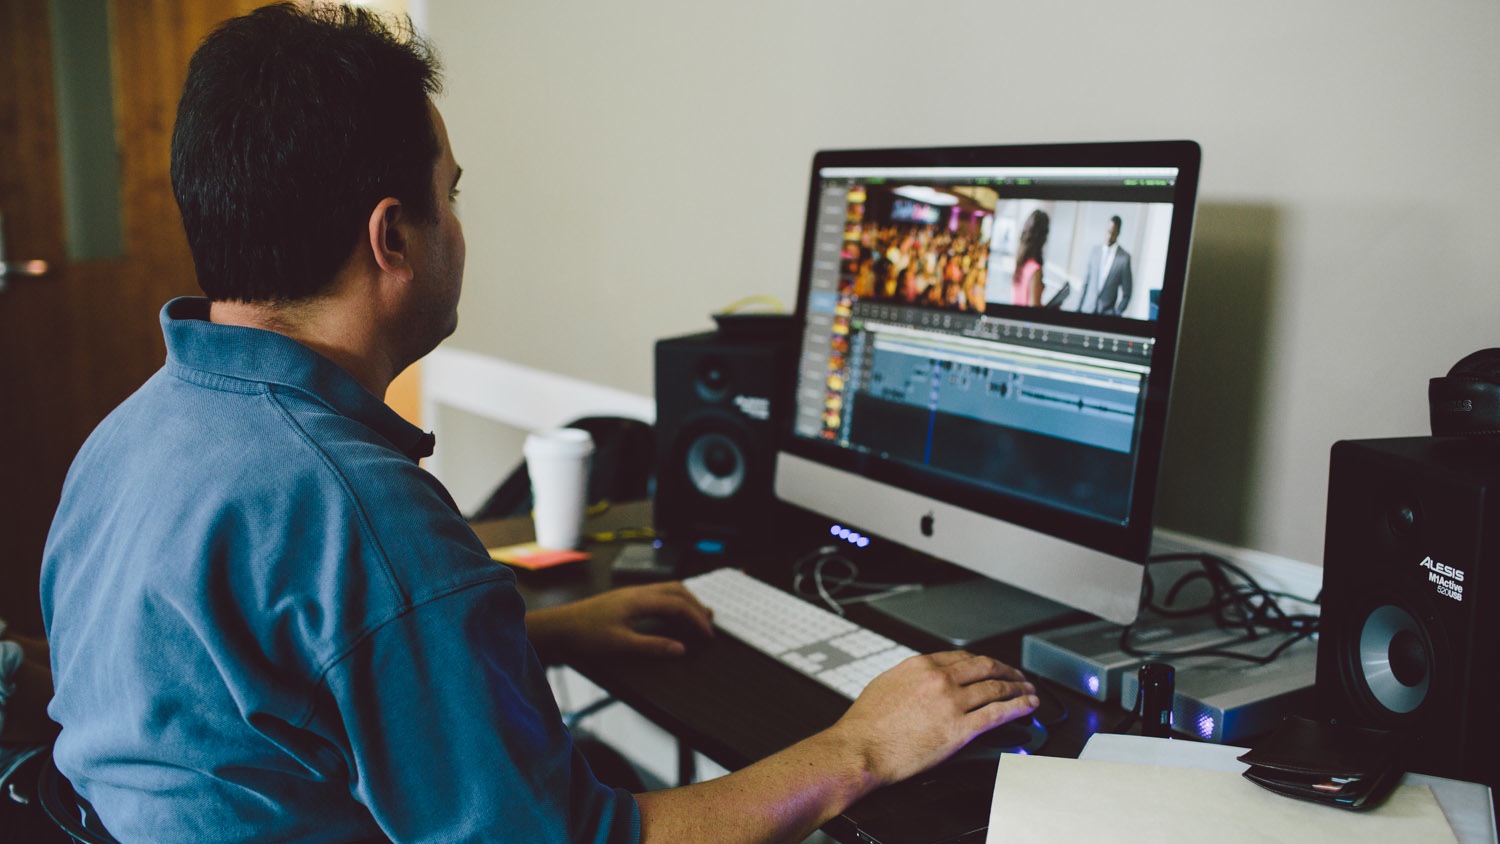 After lunch, I would use as much of the metadata that came from the sound department through the AAF and continue with what were essentially assistant editor duties, labeling and preparing the media and putting it in to bins for each scene. With the footage prepped, I’d check the script supervisor’s notes – which were posted on a Google drive account – and make a quick edit, usually just using the circled director’s takes. This provided some confidence that we had everything we needed to tell our story before we broke from a specific location.
We also had many VIPs on set and so a large portion of my day was spent showing scenes to an enthusiastic audience of guests, producers, cast and crew. Usually by mid-afternoon, Ben would do another download of the RED drives and prep them for me. And finally, as the production wrapped for the night, he’d always download the rest of the footage to protect it on the RAIDs. We usually didn’t have time to transcode at night, so he’d do that the next morning and I’d do the Avid prep on that last evening download the first thing the next morning. Then I’d spend the rest of the morning cutting the footage shot the night before.
Between having to set-up the entire editing system in the morning and tear it down at night, plus the ingest and organizational processes and syncing of the dailies in the Avid, I was probably actually editing for only about 2 hours each day, and we were shooting about 4 pages of script per day.
Normally, when a studio pays for a feature, they demand to see dailies, which are usually posted from the set or some nearby location through one of a number of dailies delivery systems that work through a secure cloud connection. This allows the studio to see that the production is progressing well. We were supposed to be providing full dailies through a Teradek-based system, but that was proving problematic, so we ended up posting my rough cuts each night of the scenes that had been shot instead of a full set of dailies. Personally, as a studio executive, I would think that this is a much better solution, since it gives a clearer idea of what the movie is looking like. Also, I was probably delivering about 5 minutes of edited scenes each day instead of probably an hour or more of dailies to wade through. The edited scenes were rendered out of Avid as DNxHD 115 resolution and compressed to H.264 Quicktimes, then uploaded using either a local internet connection or, in a pinch, using a cellular-based wifi hotspot. When we started delivering footage from the Kendrick’s headquarters we delivered over Mediacom residential broadband to SONY’s secure Aspera server. As an item of interest, all of this work was being done in the middle of the infamous Sony server hack, so security of the data we were delivering was of high importance.
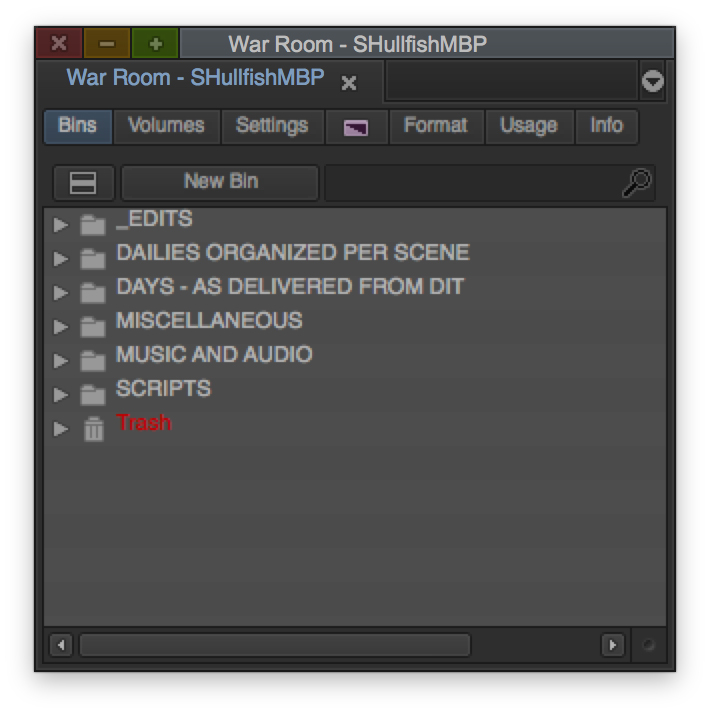
I have had access to several full Avid projects from major feature films, so I had an idea of how I wanted to organize my Avid project, but I kept it very simple.
A folder for “edits” – multiple bins of sequences/variations/versions
A folder of the dailies organized into one bin per scene – about 180 bins
A miscellaneous folder – like a junk drawer – credits, Titles, effects, color
A folder for music and sound effects and other audio
A folder for Script Integration scripts (more on this later)
A folder of each day’s dailies organized by shoot day and import time
The shoot was 30 days long, and at the end of it, we packed up all of the post-production gear and RAIDs and shipped them to the Kendrick’s post facility in southern Georgia. The vibe on the set was really wonderful and nobody really wanted to leave at the end of production. It was like a bunch of kids at the end of summer camp. (A large number of the crew went from working on the “War Room” set to working on the “Woodlawn” set. “Woodlawn” releases in mid-October 2015.)
If you’ve ever been on a film set for the duration of an entire movie shoot, you know it’s exhausting, probably for no one more than the director. Shooting wrapped on the first day of August and Alex and I took most of the rest of the month off before starting in earnest editing the film.
While we were on hiatus, Alex’s brother Shannon, who is as computer savvy and IT-skilled as anyone I know, purchased an identical iMac system to the one I had used on set and a few more RAID systems. We created two edit bays with matching media on the RAIDs. Then synced them with an in-house network. It was my job to keep these systems synced up so that any edit changes I made would be reflected on Alex’s system.
There were two editing stations that were each: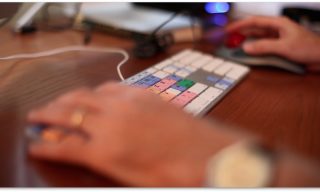
Refurbished 27-inch iMac 3.5GHz quad-core Intel Core i7 with 32 GB RAM and 1 TB SSD
Refurbished 27” Apple Thunderbolt Display
Areca ARC-5026 4-bay RAID drives with four 3 TB drives (RAID 5)
Logic Keyboard Pro Line Avid Media Composer Keyboard
Logitech Marble Mouse
Alesis ALM1A520U M1Active 520 USB 2-Way 5″ Stereo Nearfield Monitors
Sony MDR-7506 Headphones
The stations were connected via a Gigabit Ethernet LAN within the office and Netgear AC1900-Nighthawk Smart WiFi Router R7000 to the internet.
Offsite backups were made using Arq Online Backup (http://www.haystacksoftware.com/arq/) to Amazon S3 cloud storage.
And we also backed up onsite OSX Time Machine to Areca RAID drives.
The local Time Machine backup included everything on the computer, the cloud backup did not include the media files.
The raw Red camera media files along with the raw audio files were stored on an Areca ARC-8050 8-bay RAID drive with eight 3 TB drives. Carbon Copy Cloner (https://bombich.com/) was used to clone the ARC-8050 to a duplicate ARC-8050 that was shipped to Roush Media for the DI.
On “Courageous” we cut literally side-by-side in the same room, wearing headphones. Each of us would edit a different scene and when we were done, we would show it to each other on a single big-screen monitor connected to both systems. We would critique it, and then either go back and make changes, or move to the next scene. Each night I would move my scenes to Alex’s FCP7 system and he would maintain the compilation of the movie as we progressed.
On “War Room” we had the luxury of editing in two different suites, walking down the hall to review cuts as they were completed for each scene. By Thanksgiving, we had our first cut of the movie, which came in at about 2 hours and 25 minutes. We knew that that was far too long, but our process is to deliver a first cut that includes everything in the script at a pace that’s more comfortable for each individual scene than it is when viewed as an entire movie. This process is the way most feature editors work. The director wants to see everything in context as scripted before making overall pacing and structural story decisions.
The rest of November and December was spent refining the editing of each individual scene. Most of that work was done by Alex. At the same time, Alex and Alex’s brother, Stephen, who co-wrote and produced “War Room,” worked with me separately to do some re-arranging of the story as well as experiment with the over-all pacing of the movie.

Entire sequence for War Room.
On a wall we had a list of scenes on Post-it notes. (Note to self: use some other technology! After weeks of rearranging, Post-it notes are not sticky enough to stay on the wall…) We had the Post-it notes arranged under notations on the wall that showed the approximate timecode. After determining which scenes were really hooking the audience, we worked to get those scenes as early in the timeline as possible. We also had them color-coded by mood or by character and would re-arrange to break up more serious sections with lighter moments. It gave us a good sense of the flow of the movie and the journey we were trying to take the audience on. When we would finish a draft of Post-it notes, I would hop on to the Avid and mimic the timeline on the wall in the computer. Then we’d watch and debate and figure out what the next steps had to be.

War Room Avid sequence zoomed in to show mostly scene 5.
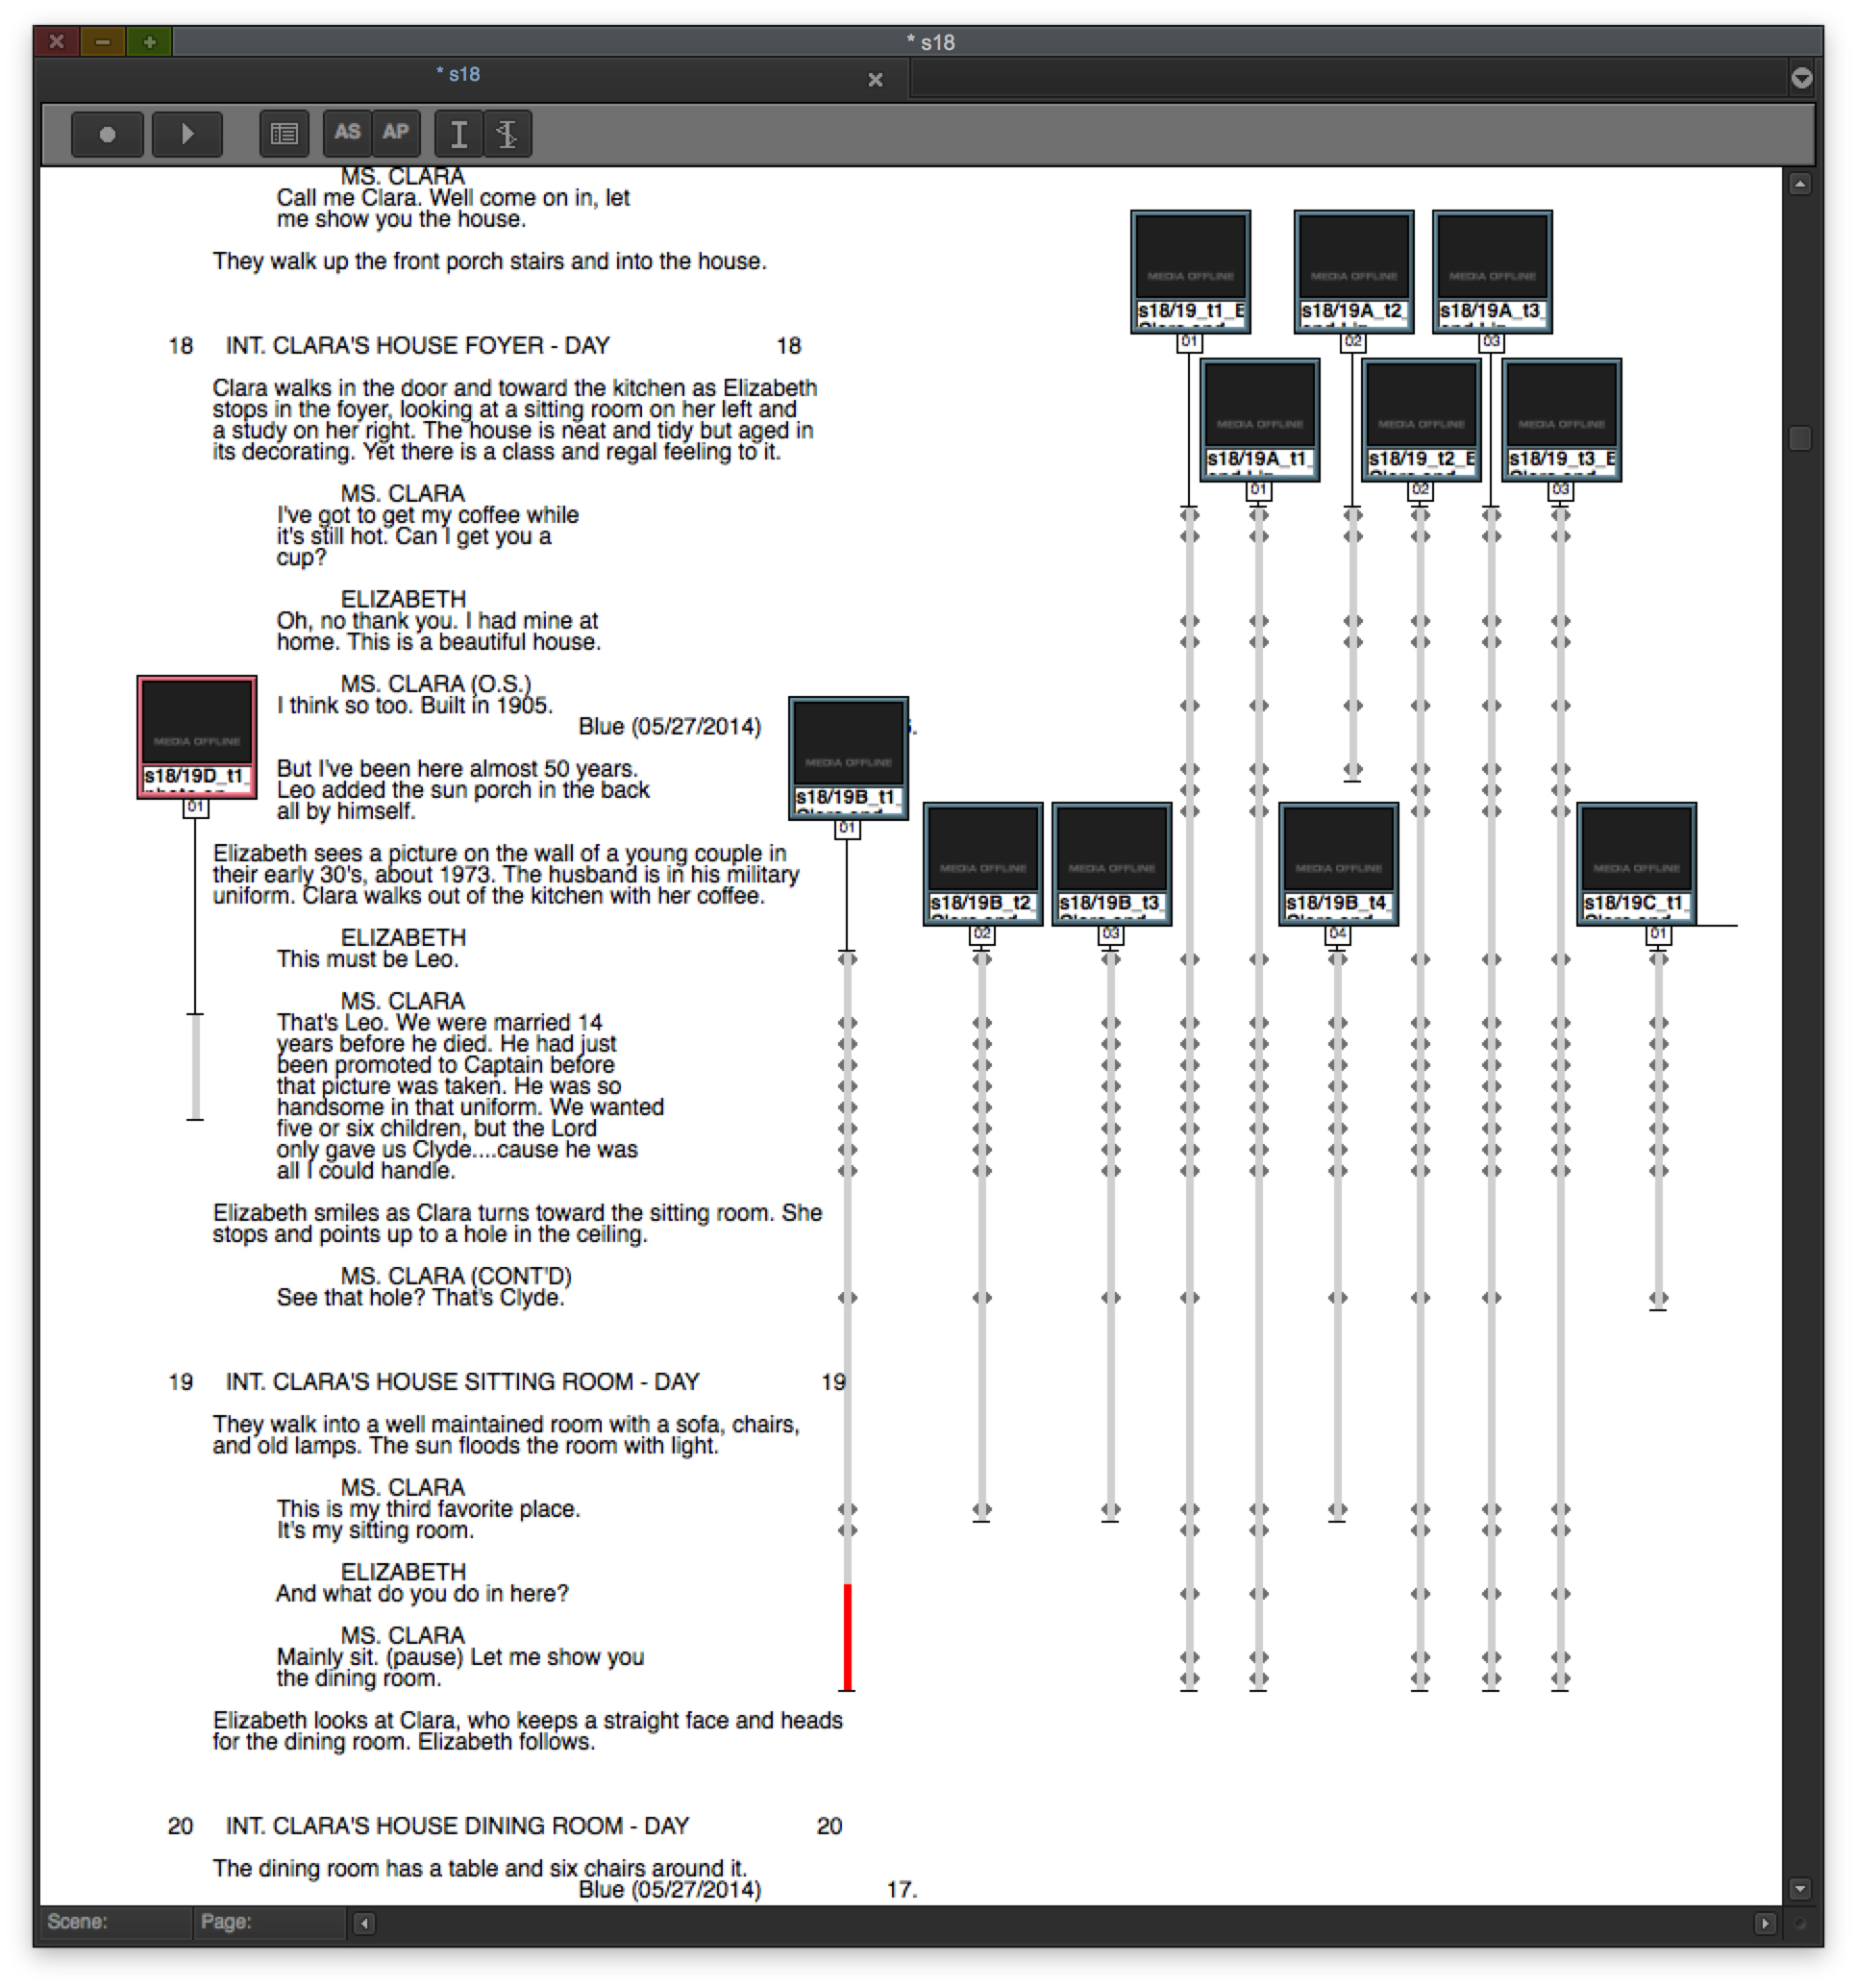
Avid’s “ScriptSync” script integration allows you to see your coverage for a specific scene, jumping directly to the words in a specific line of script and a specific take by clicking the intersection of the script line and take. You can also select a line and play back just that line across all takes and set-ups and cameras in sequence, allowing you to easily judge performances and find the exact location of a line in a clip. The media was offline when I did this screen capture, but if the media is on-line you see the thumbnails of the takes in the little boxes.
For much of the edit process we had the help of a great assistant editor, Kali Bailey, who had been a PA on the film and proved her value to just about every department on set. We set up a third Avid station where she double-checked the “assistant editor” work that I had done on-set. She also did things like locate the most representative thumbnail image of each take. That sounds small, but was very helpful in editing. She also prepared Avid script integration scripts (sometimes called ScriptSync, though they’re not quite the same) on specific scenes. We started doing this for all scenes, but determined that the value of script integration was really only worth the effort on more complex scenes. Kali also spent a lot of time auditioning music and labeling the music with emotional keywords and ideas for which scenes the music would work best on. Kali had the chance to edit several scenes and her work is especially evident on the climactic “double dutch” competition near the end of the movie.
By Christmas, we basically had a finished film, though Alex was still tweaking the editing of some of the last scenes in the movie. We had trimmed the two hours and 25 minute first cut down to just under 2 hours. Several screenings of the film had taken place by that point and we incorporated the salient audience comments into a new cut in January.
At that point, my job was basically prepping the movie for hand-off to all of the other departments that needed to work after us. This included locking the picture and cleaning up the timeline – audio and video tracks – as much as possible to make the audio editing, mixing and DI as smooth as possible. This included generating numerous reports and dealing with purchasing stock footage and handling how the raw stock footage would be delivered and conformed. “War Room” starts with a montage of vintage Vietnam war footage. Originally, my first cut of that sequence was created using footage from Vietnam documentaries I’d found on YouTube. All of that footage had to be tracked down, licensed and then the original film transfers had to be found and pulled for use in the DI. There were also a few modern stock aerial shots of cityscapes, all of which needed management. I also needed to create lists of all of the shots that required special effects work so that the plates for those shots could be pulled by the DI house, color corrected and sent out for the visual effects work to be done. I also went through the entire movie and pulled a list of every shot that had been re-sized or time-altered from its original framerate. Finally, I cleaned up the Avid project itself and prepared the entire project to be archived and delivered to the DI at Roush Media.
Since this article is quite long already, I am going to reserve the workflow for the DI hand-off and the entire DI process and color correction for Part 2.
For updates, follow me on twitter @stevehullfish

Filmtools
Filmmakers go-to destination for pre-production, production & post production equipment!
Shop Now