Call it Dehaze, UV Haze or NeutralHazer and you’ll be talking about the same: a filter that allows, in post-processing, to improve an image, by removing haze. There are multiple ways to do it, so, in fact, the Dehaze ability is not something new or proprietary to Adobe products.
If you remember well, when Adobe launched the Dehaze control, they offered it only for subscribers of Adobe Creative Cloud who have Photoshop’s Adobe Camera RAW and Lightroom CC, making everybody that had just bought Lightroom 6 feel that they were being pushed to accept the subscription model, in order to get haze out of their photographs. Adobe has slightly changed their policy, and now even Photoshop Elements 14 has a Haze Remover function that allows users to improve their photos.
Lightroom 6, though, never got the haze removing option, at least not from Adobe, but someone else created an alternative, so you can keep your LR 6 (from version 6.1.1 onwards) and clean your photographs. The Prolost Dehaze preset, available for free, does the same thing. And the good news is that the team behind it just updated the preset – to Prolost Dehaze 1.2 – so it works similarly to the recent updates on Lightroom CC, meaning it also offers Gradient Dehaze and Radial Dehaze. All this for Lightroom 6 owners, and for free. I wish they would do the same for Photoshop CS6…
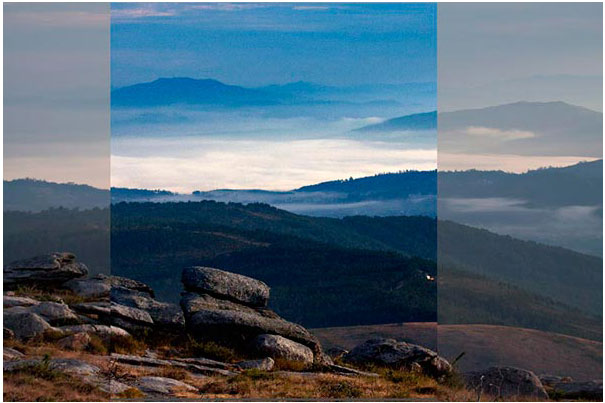
The Neutralhazer from Kolor, available since 2012, allows to control haze in photographs
As mentioned earlier, the dehaze functions appear under different names in different software. The effect can be achieved in ON1 Perfect Photo Suite using the Tone Enhancer, or with Pro Contrast in Nik Software. Even the new Affinity Photo, available only for Mac but with a Windows version coming in 2016, has it. And no, it is nothing new invented by Adobe for their Creative Cloud subscribers. I wrote one article, back in 2012, about a tool, Neutralhazer, from a company called Kolor, specialists in software for creating panoramas. It’s one example of many, I believe.
Neutralhazer is a commercial plugin for Photoshop and Photoshop Elements that detects the thickness of the air in each pixel, allowing for the definition of the areas of foreground and background. Being able to adjust both the background and foreground areas covered, the intensity of the effect on each of them and the transition between the two areas makes Neutralhazer a unique tool. And the fact that you can export the mask created to use in Photoshop, opens to further options in terms of editing your images to reveal all the elements in your pictures. Download a trial version from Kolor’s website.
Having tried some of these options, I do use something else for my own work, and that’s what I want to share through this article. There is a practical reason for me to use what I use, besides the simple fact that I am used to it: it offers me, within the same app, the essential tools for some of my photography.
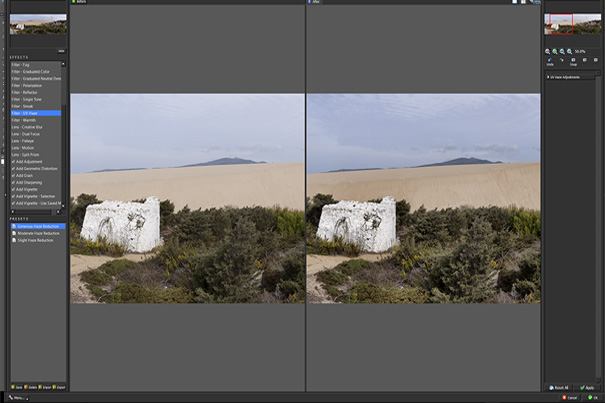
Side by side comparison of the initial image and after the use of UV Haze in Topaz Labs Lens Effects
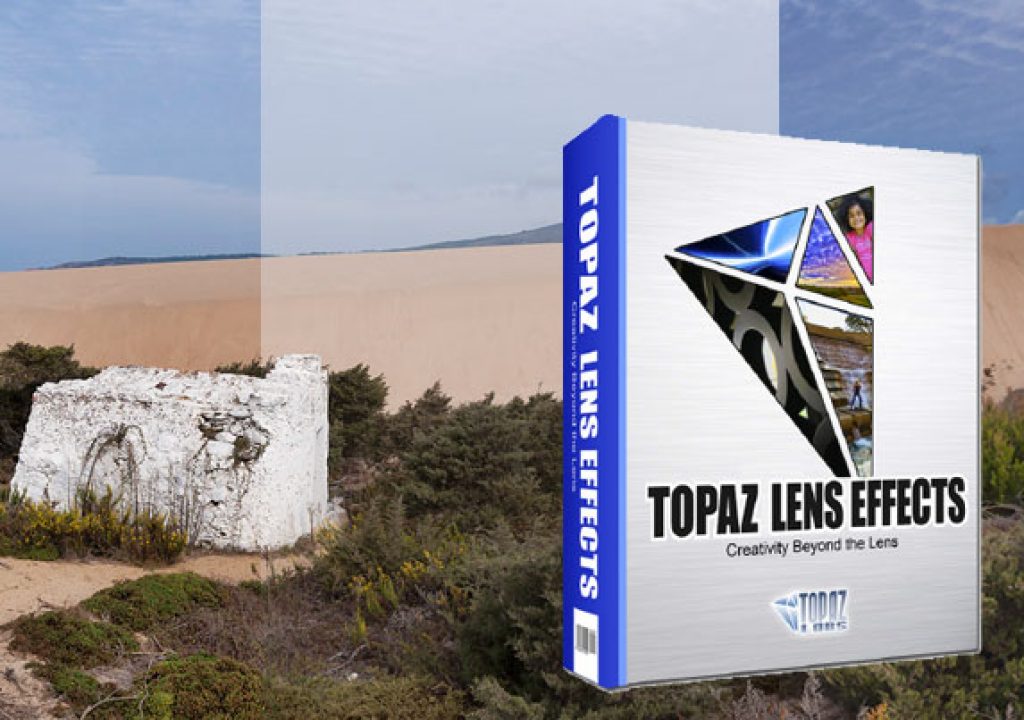
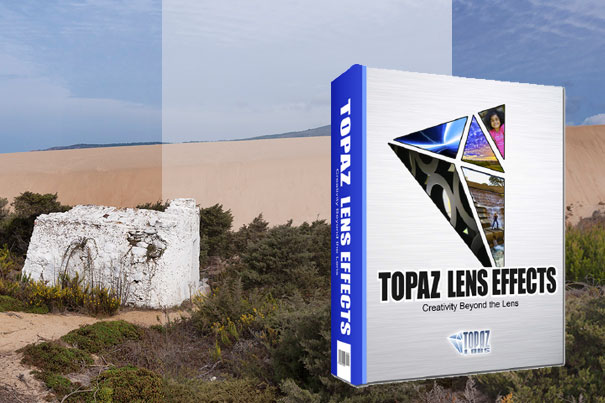
The program I use, together with Photoshop CS6, is Topaz Labs Lens Effects. The name may suggest some special effects not included in the normal photographer kit, and while it is correct, there are within the 29 filters and effects (all offering multiple adjustment options) some options you’ll happily integrate in your workflow. I know I did.
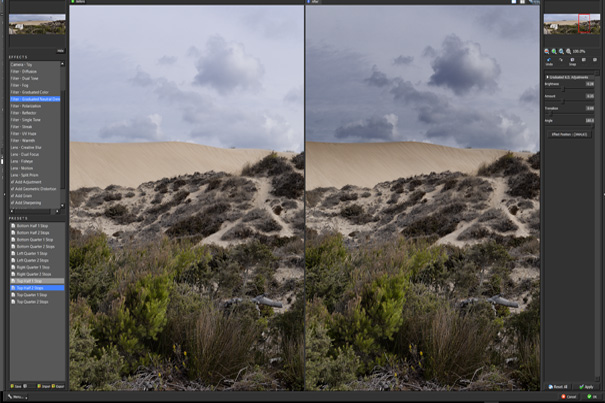
The Graduated Neutral Density filter allows to darken the sky in the image, offering the same control as with a physical filter used with a lens
From creamy bokeh to realistic vignettes, from a simulation of tilt-shift lenses to ethereal diffusion, from creative blur to motion blur, there is enough to keep you exploring for hours, if you download the trial version of the program. In the end you’ll probably settle for the features that interest you much for the photography you do. Always knowing there is more to go to, if you need.
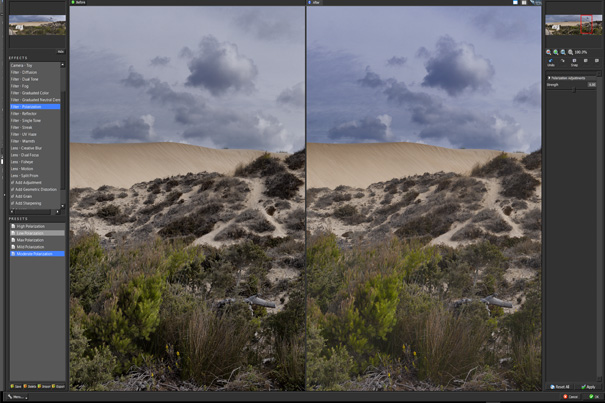
Finally the Polarizing filter in Lens Effects ends the use of the suite of tools from the program
My reasons for using Topaz Labs Lens Effects are easily explained: it offers me, within the same interface and in a continuous and logical workflow, three tools I like to use, when needed, in my photography: UV Haze, which effectively removes haze from photographs, a Graduated Neutral Density filter and a Polarizer. These tree tools allows me to have complete control over the results on my landscape images, many of them shot at hours other photographers would be home, because they fall in those middle hours of the day when the Sun is high in the sky and photography is – many say – best forgotten. Well, I like the challenge, and sometimes you just have to do with the light you have when you’re at a place.
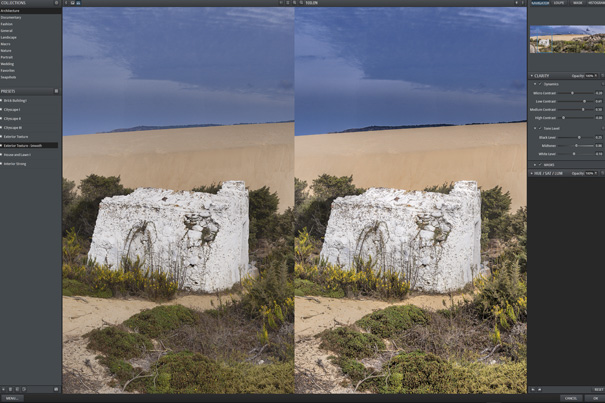
For the final touch I use another program from Topaz Labs, Clarity
This article was born from a recent session using the tools from Topaz Labs Lens Effects, for a group of images shot mid-morning on a hazy day. I created three panoramas, which you can see in all their glory at Medium. Here, I show one of them in a small size, to illustrate the technical aspects and show a series with the transformations of one image from the initial file to the resulting photo. It’s a second experience in terms of cross platform writing, as I did with a previous article, as I think seeing the images larger helps to fully understand the subject discussed.
The panoramas where created by taking multiple shots on location, to have them merged in Photoshop. The bigger of them, shown here, with 12320 x 3901 pixels, results from 13 photos merged, as many as the participants in the recent 8th Scott Kelby Worldwide PhotoWalk, an event I organized. It’s the 7th time I lead one of these photo walks and for this edition I took people to a dune ridge area which offers good options in terms of panorama images.
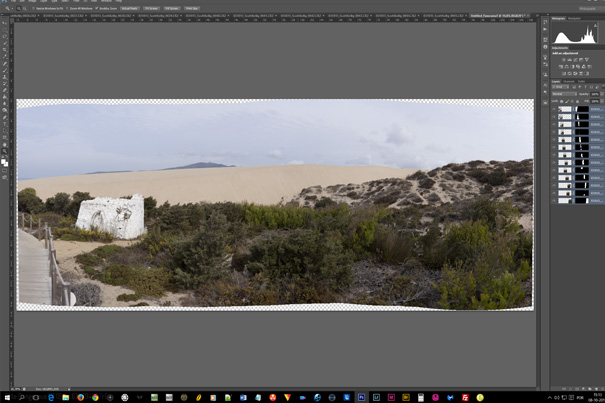
The panorama open in Photoshop ready for cropping, before moving it to the Lens Effects app
The photos were taken simply to show participants the potential of the technique to allow them to take home BIG landscape images instead of small wide-angle single photos. It’s something I use for myself multiple times, and a knowledge I try to share with people all the time. I shot the images without thinking much about them, as I merely wanted to show participants the results on the camera’s LCD, to explain them the process. It was only later I decided I could use them for one article, as the hazy day created the ideal conditions to show how you can go from what looked like a dull photograph to something that attracts the viewer’s attention.
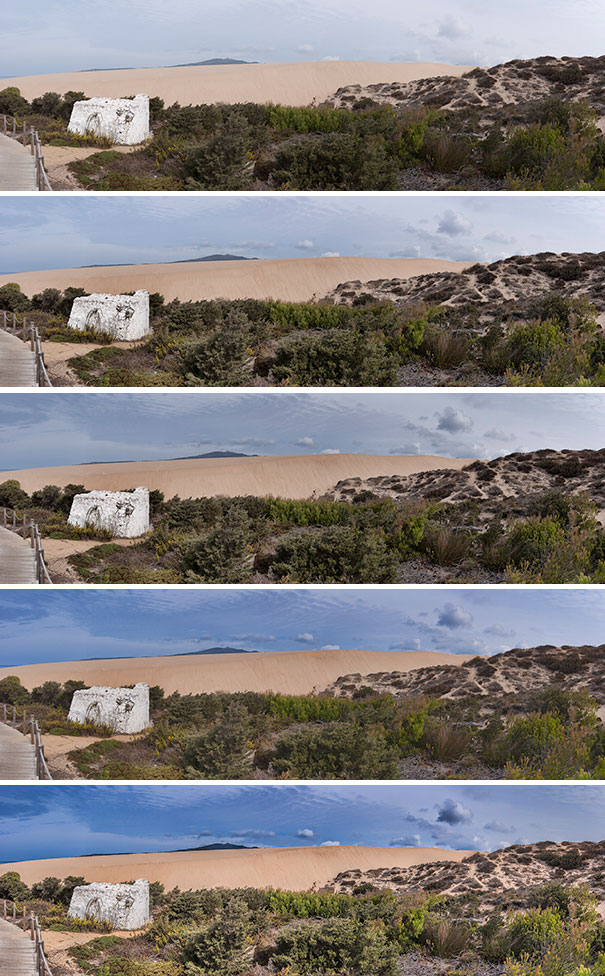 The originals, in RAW, are soft, but the potential for some more detail and colour were all present. I only needed to get them to show on the photographs, and that’s what I did. I made the initial adjustments in Photoshop’s Camera RAW, moved the photos to Photoshop, merged them and then opened each of the panoramas in Topaz Labs Lens Effects. My workflow for each of them follows what I think is a logical sequence: I start by removing haze using the UV Haze, a filter that emulates what a UV filter does in certain circumstances. The difference is that in the program, I can control the intensity of the effect.
Next, if I feel the image needs the use of a graduated filter, I select the Graduated Neutral Density, which can be “placed” very much like a “grad” in front of a lens. The Graduated Neutral Density offers one and two stops of intensity, and allows you to control Brightness, Amount, Transition and Angle. If two stops are not enough, you can add more. It’s as simple as that!
Once I am done with the Graduated Neutral Density, I select the Polarizing, which offers High, Low, Max, Moderate, Mild, along with the option to adjust the Strength. When I am satisfied with the result, I apply it, as I did for each filter before, and select OK. The image in Photoshop is changed accordingly. Usually, I give it some last adjustment using Topaz Labs Clarity, which is my preferred “final touch” program.
I am not familiar with other programs and if they offer the same workflow as Topaz Labs Lens Effects, but this surely works for me. Through this article I show not only that the “dehaze” function is not an exclusive of Creative Cloud subscribers, but also how landscape photography can be enhanced through the use of filters like Gradual Neutral Density and Polarizing. And these tools are not exclusive to Topaz Labs, so do look for them in the software you use. Sometimes they appear under other names and are not much publicized. I know this because Topaz Labs, for example, does not mention much about the wonders this trio – UV Haze, Gradual Neutral Density and Polarizing – can do for landscape photographers.
If you want to check this yourself, download the trial version of the program and give it a try. These and 26 filters more will probably make it worthwhile. You might even find others that will become part of your workflow. There is a reason why Topaz Labs refers to the program as “a virtual camera bag of realistic effects” which reduces the need to carry more in your real bag.

Filmtools
Filmmakers go-to destination for pre-production, production & post production equipment!
Shop Now