Panoramas are wide vistas that photographers are challenged to show in a big picture. Why, then, do they tend to make everything very small within the frame, by using a wide angle lens? Go the other way and get all the detail possible for a huge photo you can hang on your wall.
We’re used, nowadays, to see photos on small screens – mostly on screens, these days, it seems – so people tend to forget what it is to see their photos printed. I am guilty of that too, I admit. But recently I printed a one meter long photo and was amazed with the quality and also happy to see that I still can do some good photographs with a 15 million pixels camera. So, when me and my wife took some days off to drive along the coast and hills close to home, I decided I was not going to miss the opportunity to do one thing I’ve been doing since the early days of digital: to do multiple photos of a subject, in order to get a final photo that is bigger than my camera sensor ever could give me. In fact, sometimes I end with images that could have been taken with the 50 MP sensor from the new Canon cameras.
Some of the photographs published here are from our recent holiday, a collection I decided to extend with some other photos, some recent, some quite old images, that confirm what I preach: it’s better to forget the wide-angle for landscape, unless you’re looking for a specific effect, and capture multiple photos that really can show the view as you saw it. You never know when you want to print that huge panorama to hang on your wall. We should also remember that panoramas seem more natural these days, as we grew used to 16:9 screens and even 21:9, which offer a panoramic view of the world. So why not follow the technology and create images that fit better on your computer or TV screen?
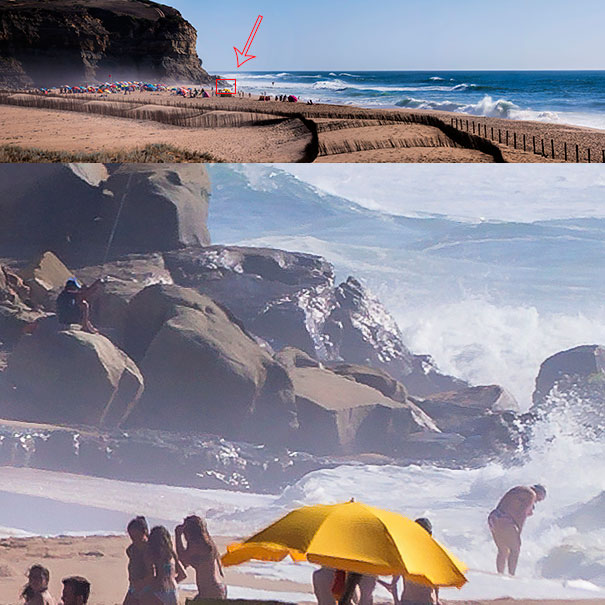
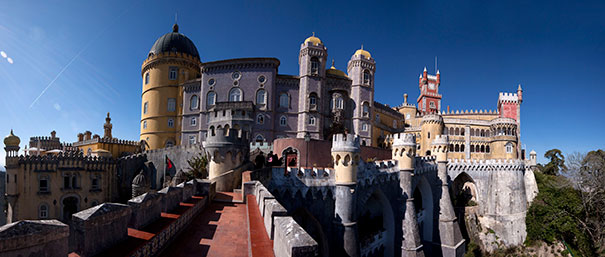
The original panorama has 17085 x 4600 pixels. The small red square on the panorama photo shows the area visible under. The image, was taken with a 100-400mm zoom, on a 15MP sensor shows how important it is to make a composite if you want to print big sizes. This photo can be printed up to 1.5 meters width at 300 ppi
One note before we continue: the panoramas for this story are published on a website where they can be seen in a bigger size. There you’ll find a series of panoramas with captions, under the same title: When in doubt, create a panorama. The article and portfolio work well together to give you a broader view (pun intended) about the subject: panoramas.
Many people will give you a list of things you need to create a panorama. The list usually starts with a tripod and goes through a number of multiple things, like the use of a two-axis bubble level, to make sure your horizon is not slanted, or the need to know the nodal point of your lens. It all sounds so complicated that many people just never make panoramas. Well, this is an approach, and sometimes it may well be needed. But for most of the panoramas we are faced with, just taking a series of pictures holding your camera will suffice. I’ve made this over and over and the results show it.
In fact, I started making panoramas regularly when I bought my first DSLR, the Canon D30, with 3.1 million pixels, in 2000, that’s 15 years ago. With such a small sensor, I would shoot multiple images to create a composite, and not necessarily to create a wide panorama. While I could not use the trick with flying planes, something I photographed a lot at the time, the multiple-shot option was viable with static aircraft. I would take three or four pictures that I would patiently mix using the software available at the time. Sometimes it was difficult, but when all came together, the printed results on magazines were fantastic. You’ll find some of those images in the portfolio.
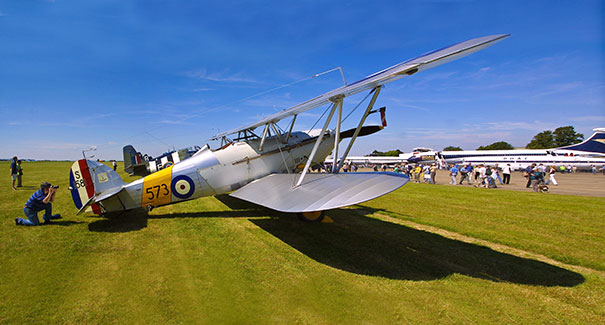
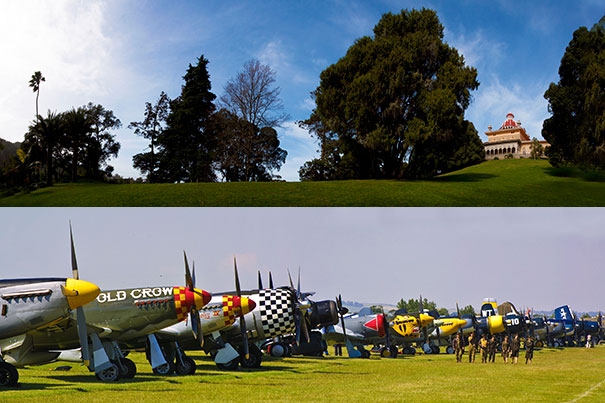
Static aircraft photographed using the panorama technique will allow you to create bigger files than your sensor offers. For this vintage aircraft photographed during an airshow I took multiple images with my Canon EOS D30 – 3,1 millions of pixels – to create a composite allowing me to create bigger prints
Because you could not move around airplanes, at airshows, with a tripod, I learned to handhold the camera to make panoramas, and with practice it became second nature to do them. So much, in fact, that I would also do large composites of the airfields, or any other images that would work on a double page on a magazine (or bigger if needed). Some of these final images result from mixing up to 17 photographs.
While it is possible to do complex panoramas, and photographers as George Lepp have developed multiple ways to explore the technique, for most of us, being able to do a 3 to 10 photos panorama or composite is usually enough. The result is one image that is larger than what your sensor can give you. The bigger the sensor, the bigger the final image will be. Not that bigger in itself is important, what is important is the level of detail you can see in your picture when you blow it up. That’s what’s amazing. For that to happen, using a good lens is your best bet.
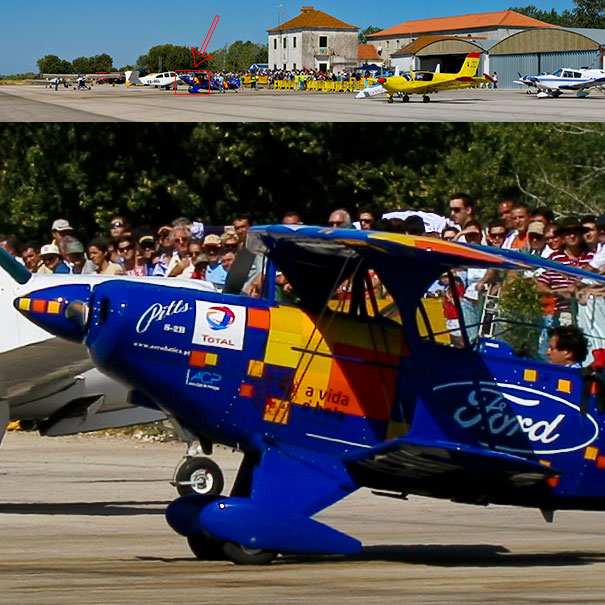
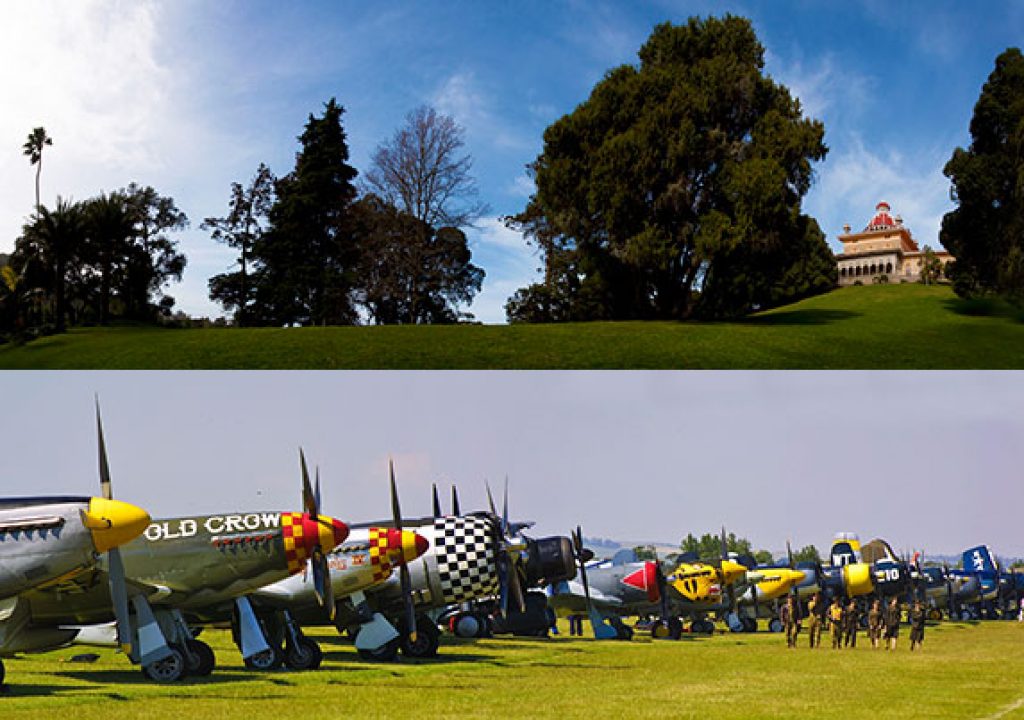
This panorama (9521 x 1914 pixels) was created with a Canon EOS 20D. I used the technique at airshows to create images showing the general ambiance. Again, the level of detail, even for the old Canon EOS 20D, a 8.2 MP camera, is amazing, once you capture enough photos to stitch together
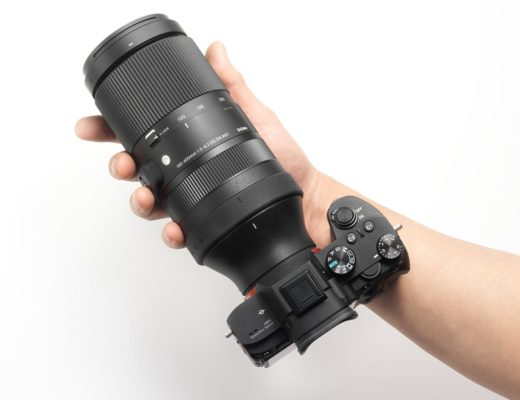
I use a Canon EOS 50D, a 15 MP sensor camera that I still find gives me what I need. I have a 18 MP camera because of video, but it works mainly as backup, as I am comfortable with the results from my DSLR when it comes to photography. My regular wide-angle zoom is a 17-40mm, which due to the 1.6x crop of the APS-C sensor becomes more or less a 28-70, and that’s what I use for some of my panoramas, taking care to not use the shortest focal length. The second lens I use for my panoramas is Canon’s 100-400mm zoom (the recent version now, I’ve used the 100-400mm zooms since they were launched), which gives me multiple options in terms of framing for my panoramas. I use it to make composites ranging from flowers to landscapes.
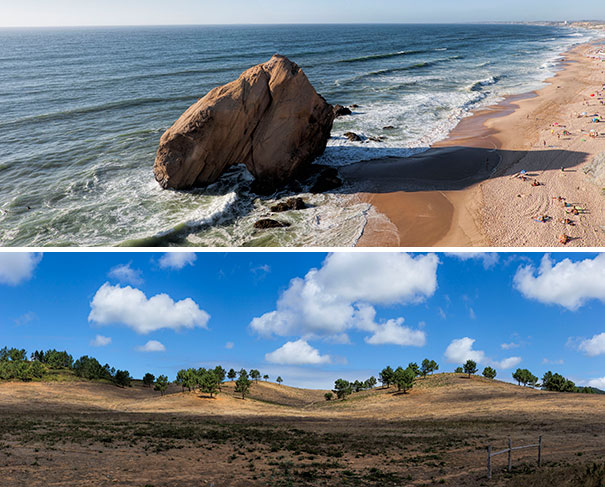
My hand-held panoramas are made with the camera held vertically, meaning that what is the longer size of the sensor becomes the height of the final image. This means that if I do not need to crop anything from the photo, it has 4752 pixels of height and whatever length I need. Just for reference, the new Canon EOS 5DS sensor has 5792 pixels of height. So, the new sensor from Canon only has about 1000 pixels more in terms of height, once I turn my camera vertically. And because I can do multiple shots for my final image, in theory, at least, I can get a final image that has about the same information as a single photo taken with the new camera from Canon. I hope this math helps you to understand the possibilities.
Panoramas are not always made to create big landscapes pictures, but as a means to get better quality, something you’ll love if you want to print your images, to hang on a wall. That’s where this technique comes in handy, giving you the benefits of a bigger sensor even on an older model of camera.
Years ago I had someone at my workshops that was going to Switzerland for a short holiday and could not stop talking about the humble camera he had – a Canon EOS 350 with the kit zoom lens –, when faced with the magnificent mountain range covered with snow waiting for them at their destination. I showed him how to make a panorama and helped him, after he returned, to assemble and print a two meter photo to hang on their wall, a unique memory of the trip. We could pinpoint the small human figures on the photograph!
In terms of software, there are today multiple options, both commercial and free, that make stitching a panorama easy. Canon even has their PhotoStitch included in the software package distributed with their cameras. So there really is no excuse to not try to create big images with a small sensor. As I wrote before, when in doubt, create a panorama. You’ll thank me later.

Filmtools
Filmmakers go-to destination for pre-production, production & post production equipment!
Shop Now