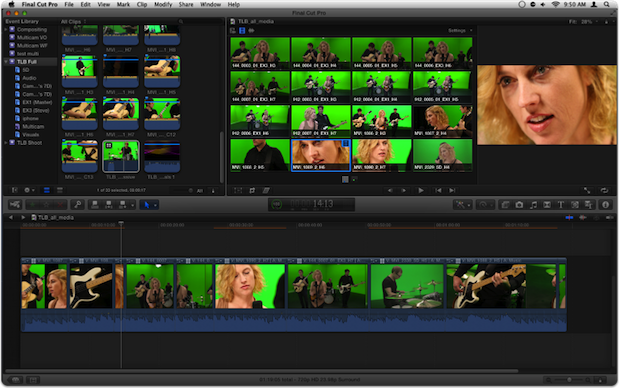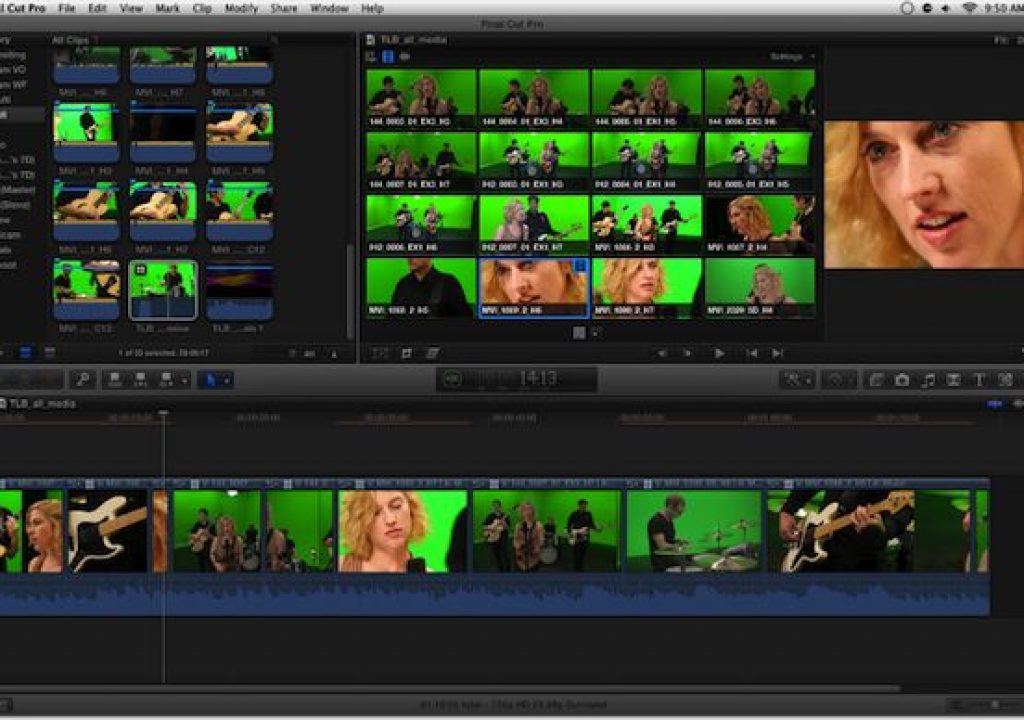
Steve Martin (Ripple Training) and I just completed a tutorial on multi-camera editing for the Final Cut Pro X 10.0.3 update. In that tutorial, we used 5 camera angles from a 5-camera music video greenscreen shoot we produced, plus two other angles: one for clean audio, one for some motion graphics.
But we actually had more material than that. A lot more. We had 5 good takes of a particular song, each shot with 5 cameras – so 25 total creative options to choose from. What if I wanted to build an edit using all of these at once? Could I edit what was essentially a 25-camera shoot?
It turns out that it’s incredibly fast and easy to do in FCP X.
Here’s how I did it.
We shot the local indie band Tiny Little Blackouts on a green screen stage with 5 cameras, including a Sony EX3, a Sony EX1, two Canon 7Ds and one Canon 5D. These cameras shoot different flavors of long-GOP compressed media (XDCAM and h.264) and we used different resolutions to demonstrate FCP X’s ability to mix formats.
After copying all the media to a hard drive, I organized it into folders, one for each camera. The XDCAM footage had to be rewrapped with Sony’s free XDCAM Transfer application, which is an extra step but only takes a minute since you aren’t creating any new media.
To import the media into Final Cut Pro X, I simply selected the appropriate folders. In order to save on disk space, I chose to not copy the original media files to the Final Cut Events folder. I imported the folders as keyword collections, so that my Event Library would be immediately organized.
For Transcoding, I choose to create both optimized proxy media. Optimized media gives you the best high-quality editing and playback performance in the Timeline, especially if your source media is a long-GOP format like ours. The proxy media allows you to play more angles at a time when editing the multicam clip.
If you check these options, you’ll need the disk space to hold the transcoded media – the optimized files in our case were a little over twice the size of the originals (114mbit/s vs 47mbits/s), and the proxy files were about one-third the size (15mbits/s vs 47mbits/sec). Each take of the song was a little over 1GB, so 5 takes x 5 cameras was about 30GB of original material – so we needed another 80GB or so for the transcoded files.
But here’s the thing – you could actually skip the transcoding process all together. That’s essentially what I did – since the transcoding happens in the background, I could start editing immediately with the original source files.
Before creating the Multicam clip, I created a marker on each clip in the Event Browser at the “clap” of the slate. We used an iPad app called MovieSlate to record this common sync point and to also cue the music track.
Now, I could have used FCP X’s automatic audio synchronization to sync the clips and bypassed this step, but I felt this process would actually be faster because the audio synchronization takes some time to do the analysis, and it needs to be checked carefully – and possibly adjusted. Since we had a common visual sync point for these clips, I took advantage of it by setting markers. With Skimming enabled, you don’t even need to select each clip in the Event Browser to mark them. Skim to get close, tap the arrow keys to hit the right frame, tap M to mark. Wicked fast.
To create the Multicam clip, I chose to use “Clips” for the Angle Assembly method since I didn’t want Final Cut Pro to place clips shot with the same camera into the same angle. You should really create Camera Angle and Camera Name metadata for each of your clips before creating your Multicam clip for the greatest flexibility – and to have clear names for your angles when editing.
Since I only had one clip per angle, Angle Clip Ordering didn’t apply, so I left it at automatic.
For Angle Synchronization, I told FCP to use my markers. And since the markers identify the proper sync point, I unchecked the audio sync option. That way, the multicam clip will be created immediately.
By opening the new Multicam clip into the Angle Editor, I could check to see if my markers for all my angles were all alligned (they were) and to see if in fact each marker identified the proper frame of the shot up in the Angle Viewer (they did).
Now remember, I didn’t feel like waiting for the proxy files to finish generating in the background – I wanted to edit! I set up the Angle Viewer to show the maximum number of angles at one time – 16 (you can put up to 64 angles into a Multicam clip, and you can view up to 16 of them at a time). Of course, I can’t play back 16 streams of long-GOP HD media in real time – at least not on my hardware! I may be able to do it with the proxy media, but instead I just stepped through the timeline and made my rough edits.
To see the rest of the angles, I would just toggle the Bank Switcher to the second bank of angles. You can see I’ve included the original audio recording set as the persistent audio angle, and I’ve also included some motion graphics to add to the edit.
Now here’s the really cool part – after my initial cut, all I needed to do in order to play back my edited multicam clip in real time was to close the Angle Viewer! I could then roll my edits, change my angles, and make other changes directly in the Timeline. If I wanted to see all the angle options again, I would just pop open then Angle Viewer again, and switch out angles.
With this workflow, I was ablel to create my first-pass edit in under half an hour. And once the proxy files generated, I could simply switch to them in Final Cut Pro’s Preferences, and then have much better performance with the Angle Viewer open. Then, when the edit is complete, I can switch to Optimized media before doing color correction, adding effects, transitions, and titles, and exporting. You can even choose to create optimized media just for your multicam clips.
I’m really impressed with Final Cut Pro X’s implementation of multicamera editing – and I can’t wait to see what comes next!
For more information on how to use the powerful new multicam editing feature in Final Cut Pro X, check out Multicam Editing in Final Cut Pro X at Rippletraining.com.

