This week on MacBreak Studio, we move to Part 3 of our exploration into working with 360VR footage in Final Cut Pro X. If you missed Part 1, be sure to check it out here. Part 2 you can find here.
In the earlier episodes we explore how to “dip your toes in the water” of 360VR through some inexpensive acquisition, post-production, and consumption products. This episode is more aspirational as we look at the high end: shooting 360VR stereoscopic 4K with the $60K Nokia OZO, editing in Final Cut Pro X with the assistance of Dashwood’s 360 VR Toolbox, and viewing with an Oculus Rift.
From an editor’s perspective, you can get into this high-end production pipeline for the smallest investment in the chain, since you can do everything in Final Cut Pro X using the Dashwood set of plugins. So it’s a great time to start experimenting and building your skill set if you want to position yourself to take advantage of what some see as the next huge market.
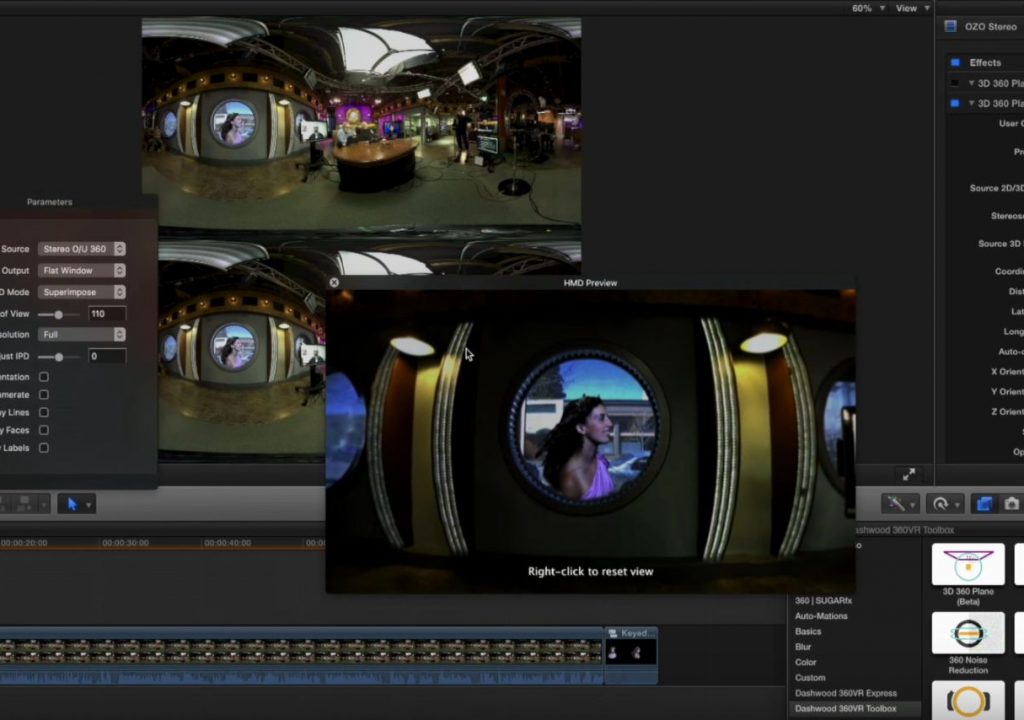
For our example today, we start with an episode of MacBreak that was shot with the OZO, and demonstrate first how you can view the material with an Oculus Rift during the editing process. With two stereoscopic 360 equirectangular images in the Viewer (one for each eye), it’s even more difficult to tell what you are looking at or how it will look to the end user, so the free HMD Preview app from Dashwood is critical for providing the proper perspective. You can drag around in the application’s floating window or connect a Rift to view the footage.
From there, we explore some of the compositing possibilities afforded by the Dashwood plugins, which allow you to place graphics or even video into a 360VR scene, anywhere in 3D space. We demo two simple examples: placing a logo in the window of the studio, and then replacing that with a video of an actress shot on a greenscreen. The potential for combining footage, graphics, and CGI in VR is really astounding.

Filmtools
Filmmakers go-to destination for pre-production, production & post production equipment!
Shop Now


