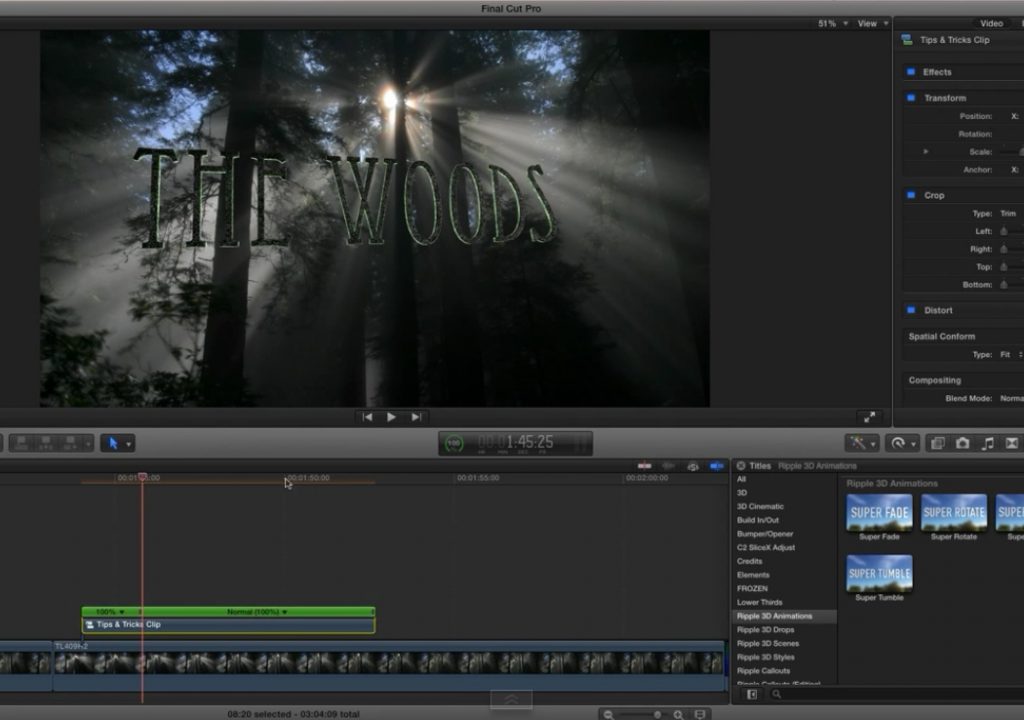
This week on MacBreak Studio, I show Steve Martin from Ripple Training some tips for working with 3D text in Final Cut Pro X.
The primary focus of this episode is demonstrating how you can add movement to a 3D title beyond the opening and closing animations that are available from the templates in the Titles Browser. In other words, how to keep a title moving after it has entered the screen and before it leaves.
The technique for creating this animation relies on setting keyframes for position and rotation of the text. But as you may have already discovered for yourself, while it is possible to move and rotate 3D text along and around all three X, Y, and Z axes in the Viewer in FCP X, the Position and Rotation parameters do not appear in the Title Inspector, and therefore cannot be animated with keyframes.
Fortunately, there are two very easy options for remedying this situation. First, you can open any title template in Motion and publish the Position and Rotation parameters yourself – a quick and easy process. If you don’t have Motion or you want some additional features, you can use our free Ripple 3D Title Animations, available through the FxFactory app. They include more animation presets, options for blurring or replacing the background, and of course, the Position and Rotation parameters.
Once you’ve solved that little issue, it’s simply a matter of setting keyframes to create an ongoing title animation. However, there are a few other tips we discuss that you’ll likely want to know about. For one, while Position keyframe interpolation can be toggled between Linear and Smooth, no such option exists for Rotation. So for smooth animations, you’ll likely want to move your keyframes to the start and end of the title so they blend into the incoming and outgoing animations.

Filmtools
Filmmakers go-to destination for pre-production, production & post production equipment!
Shop Now


