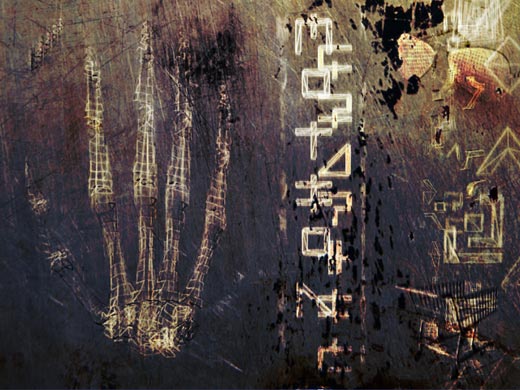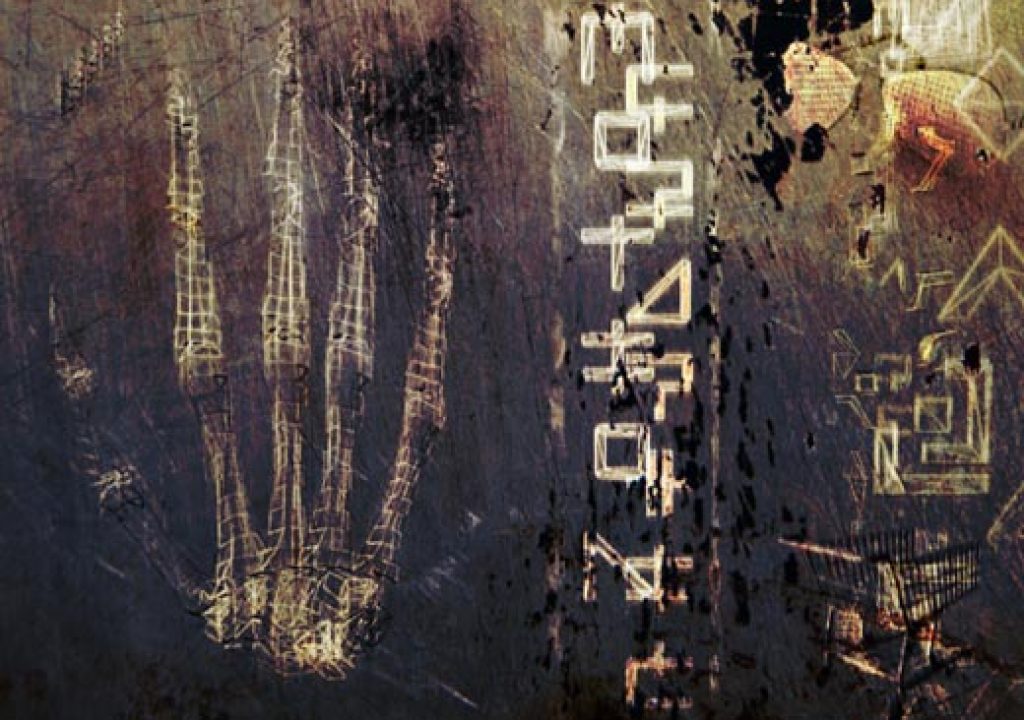
Wireframes of a hand, text, and other objects, blended in with blurs and transfer modes to make them appear more graphical or even organic. 3D models from Viewpoint Labs; fonts from FUSE.
Adding a 3D program to your motion graphics toolset can greatly increase your creative options. However, many are daunted by learning an entire new set of skills. Relax: No one expects you to create a pod race or Jar Jar Binks your first month out. Instead, think of 3D initially as a way of generating graphical elements to composite into your 2D creations. We’ll cover a handful of basic tricks well within the skills of most beginning 3D users.
Several compositing programs now have a 3D sense of distance from the camera (“Z depth”) and animatable cameras. However, most 2D systems lack the ability to add actual depth to objects – you move around to their sides, and you find they’re as thin as paper. Therefore, one of the first 3D skills you will want to learn is the ability to “extrude” or add depth to the text and Adobe Illustrator (or other EPS) artwork you normally prepare for your 2D work. The camera or object movement does not need to be dramatic to be effective – even a slow rotation over several seconds can add a bit of dimension that lifts a design.
The primary 3D program we use – Maxon Cinema 4D – can import vector art directly, or create outlines from a TrueType or Postscript Type 1 font. Once inside Cinema, you still have access to the points and B©zier handles that make up the shape, so you can edit or distress it without requiring a trip back into Illustrator. Once it is a series of splines, you can extrude it to give it some depth.
Cinema has a few basic bevel profiles, plus the ability to have the bevel add onto the thickness of the shape or leave the thickness as is and carve the bevels out of the extruded shape. Again, think of the proportions you want in terms of how large the bevel should be in comparison to the object’s depth, run the math, and type that in for the bevel size. Many experienced 3D artists strongly suggest you use some amount of bevel, even if very small, just to help catch light as the object moves.
Deformations
The ability to push, pull, pinch and twist objects using “deformations” not only provides fun animation tricks, but also the ability to create more complex shapes from simple primitives without any traditional modeling skills.
We then used deformations to taper the ends together, and squashed it so it was wider than it was thick:
After that, we then bent it 270 degrees to form our swoosh. Then, a highly stretched noise texture added a little visual interest (in this case, a standard “clouds” shader, stretched along the length of the original cylinder 50 times longer than it was wide). These two steps are show below:
Next, we wanted to render a loop of the swoop rotating. It takes “just a bit of math” (says Chris, the engineer) to figure out where the new center of rotation goes. The cylinder was 200 units long, and we bent it along a three-quarter arc (270 ÷ 360), making the effective length 267 (200 x 360 ÷ 270). The circumference of a circle is “pi” (3.141592) times its diameter; the new center point needs to get offset to the middle of this diameter (267 ÷ 3.141592 ÷ 2 = 42.44 units). Alternatively, you could “just eyeball it” (says Trish). We then spun it 360 degrees over however many seconds we wanted for a full rotation, and rendered it from a few different camera angles for variety.
Deformations are a handy tool to master, especially for simple modeling tasks. You can even take logos and text you’ve extruded and give them a slight bend for added dimension and to react to lighting in more interesting ways (thanks to Kory Jones of Reality Check for that last tip). With deformations, you might need to increase the polygon density of a model to make it bend more smoothly; you can usually do this when creating primitives, or through a “meshing,” “subdivide” or “dicing” option in your 3D program.
Wireframes
If you insist on staying inside a 2D program, there are numerous 3D effects (such as Zaxwerks Invigorator) which can create 3D models inside these environments. In general, don’t be afraid to dip your toes into 3D with the above tricks. You have to start somewhere, and there’s more to 3D than dinosaurs and spaceships.
The content contained in our books, videos, blogs, and articles for other sites are all copyright Crish Design, except where otherwise attributed.

