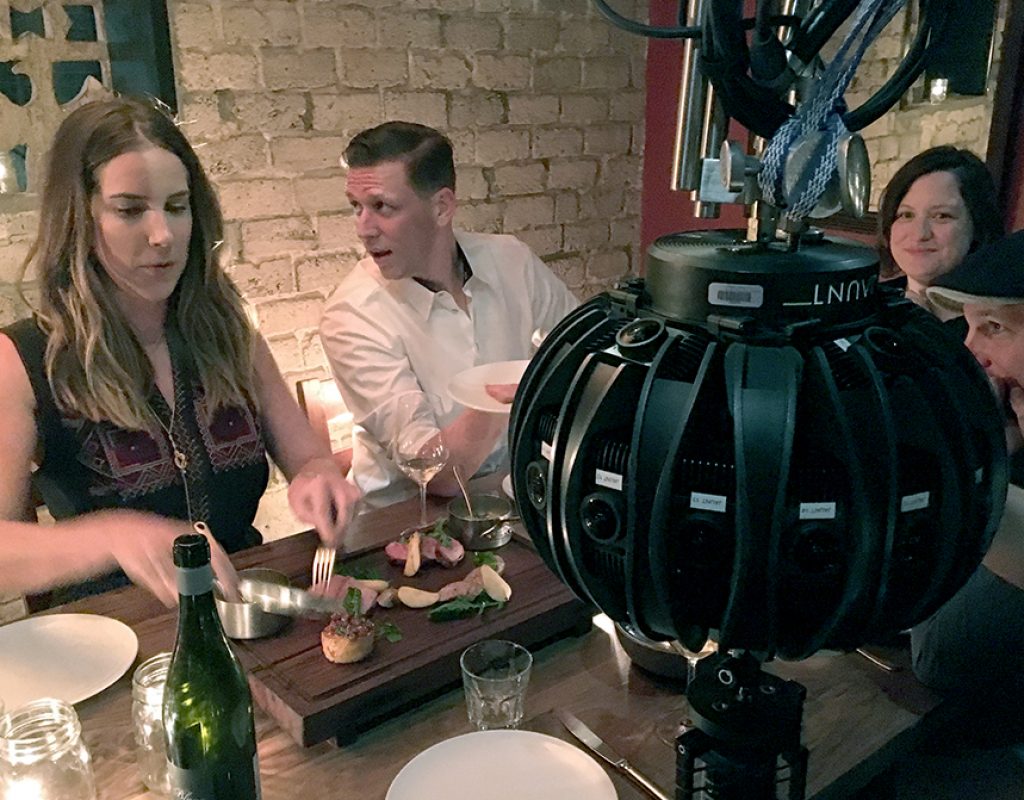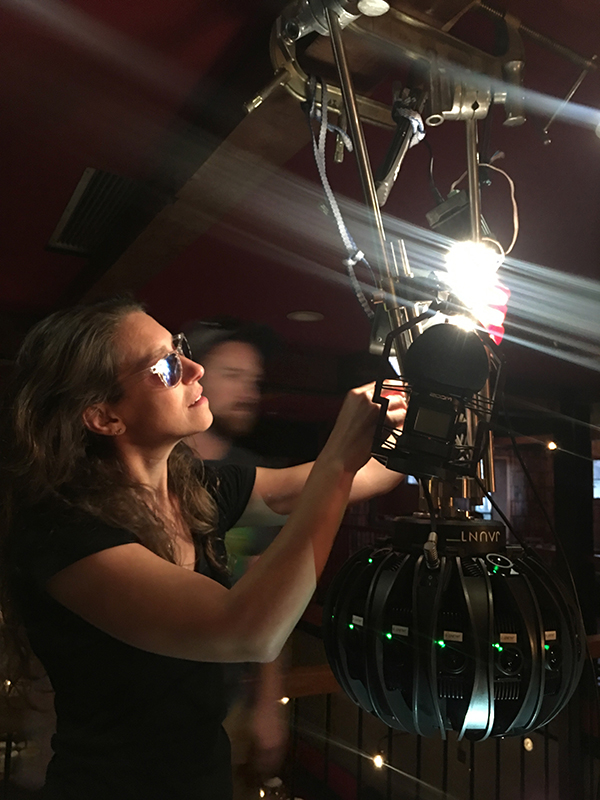
It may seem like creating a 360° video is equivalent to shooting a traditional film, just with a special camera that can see in all directions at once. But, in fact, just as the experience of watching VR is fundamentally different than watching a “flattie,” the pro- cess of making one is pretty different too.
When you’re watching a spherical video—especially when wearing a headset like a GearVR or Daydream View—you really do feel transported to a new location. And this fundamentally changes the way you take in the scene around you. You’re not watching a movie; you’re existing in a new place.
You can turn and look wherever you want, and everything is seen in a natural, realistic scale. There are no zoom lenses to bring you closer to, or farther from the objects you’re viewing. And if objects are placed too close to you, you wince or flinch. If the camera moves in a direction perpendicular to where you’re looking, you’re likely to feel nauseated or at least confused. Edits can be extraordinarily unsettling, and improperly mixed sound can be highly disorienting.
Naturally, this impacts the way you approach creating such content. In many ways, experienced filmmakers are at a disadvantage when it comes to 360°, as they have to unlearn many habits and assumptions that work wonderfully in traditional filmmaking but that serve to undermine the effectiveness of spherical video. For anyone who missed the webinar or wants to learn more, this article highlights five such aspects to get you thinking about how to approach your 360° project as more than just an extension of traditional filmmaking.

1. It’s a whole new world
One of the most fundamental differences you need to consider is how creating a 360° video is more an exercise in world-building rather than one of storytelling. Remember: your viewers will feel like they’ve been transported to the venue where your scene takes place, and once there, they can look around freely, focusing on whatever captures their interest. This means the locations you choose, and the
set design you perform has an impact far more dramatic than in traditional video. Occasionally film critics point out that “the location is a character in the story.” In 360° this is always the case.
In many ways, the person responsible for the overall look and feel of the environment in which the scenes take place (often the production designer) takes on an outsized role, equal to, or even greater than the director of pho- tography. Don’t get me wrong—the DP remains very important, but whereas smaller productions may be inclined to skimp in terms of production design in flat cinema, in 360° that’s not an option.
2. Check your head
The choices for camera placement are quite different for 360° than for traditional video. You really need to consider that where you put the camera is equivalent to where your viewer’s head is going to be. Putting the camera on the floor, suspended from the ceiling, or hanging out of a window may be enormously uncomfortable for your audience.
For example, it’s common practice for a driving scene to mount the camera to the hood of a car, or suspend it outside the side window looking in. There’s nothing to stop you from positioning a 360° camera the same way, but when it comes time to play the scene back, your audience is likely to be highly distracted by the fact that they feel like they’re floating outside a moving vehicle! There certainly may be occasion for such a choice, but just don’t expect that your viewers are going to be paying full attention to whatever’s going on inside of the car.
 Additionally, you need to consider how close the camera is to other objects in the scene. If it’s right up against a wall, ceiling or another object, the viewer is going to feel like their head is in that uncomfortable position. Most importantly this impacts how close you can put the camera to people in the scene. Traditional close-ups fill the frame with an actor’s face, but in 360, putting a camera that close to another person creates an intimacy that can be deeply uncomfortable if not downright creepy.
3. Coverage no more
In traditional filmmaking, we shoot a variety of angles (wide shots, close-ups, inserts, etc.) to ensure that all the important elements of a scene are covered and included in the edited scene. This coverage has many benefits: it permits us to see different bits of action from an optimal vantage point; it allows us to pull the best performances from each angle; and it enables us to employ different lenses, focal lengths, camera heights, and other subtleties to guide our viewers’ focus and attention.
 With 360°, you give up all of these tools that are fundamental to the art of filmmaking. While at first this may seem daunting—how will you ever control your viewer’s attention in order to tell a story?! This is where VR can be more like theater than traditional film. Rather than focusing on how the camera can translate and interpret the action in your scene, create a scenario, place your camera at some appropriate position within it, and let your audience just experience it.
Yes, this requires relying more on effective performance; no more can an actor be saved in the edit room! (And performing for 360 requires its own adjustments for actors experienced with traditional film, but that’s a different, forthcoming article.).
Also like theater, lighting design, sound cues, and blocking can be used to guide where viewers look. Choreograph your scene thoughtfully; so actors are near to the camera for moments where you want to communicate intimate, internal, or emotional beats, and farther away for moments where there is broader action.
And accept that you just cannot guarantee that everyone in your audience will always be watching exactly what you want them to. So be sure that your piece will still be effective and meaningful no matter where your viewer may be looking at any particular moment.
4. All the world’s a sphere
In rectangular composition, there are many tools we use to control where in the frame viewers tend to look. We can deliberately position our subject off-center—slightly to give the subject adequate headroom and noseroom to create a naturalistic eyeline—or dangerously close to a frame edge, to create a sense of tension and unease as the viewer can’t see what lies just out of view.
At first, trying to compose in a sphere can be challenging. You don’t realize how much you depend on those frame boundaries until you’re free of them! But after a while, you begin to realize there are rules you can utilize. First of all, you can still use lighting and shadows to create areas of the sphere where viewers are likely to look, and architectural elements (doorways, windows, walls, etc.) to create frames within your scene.
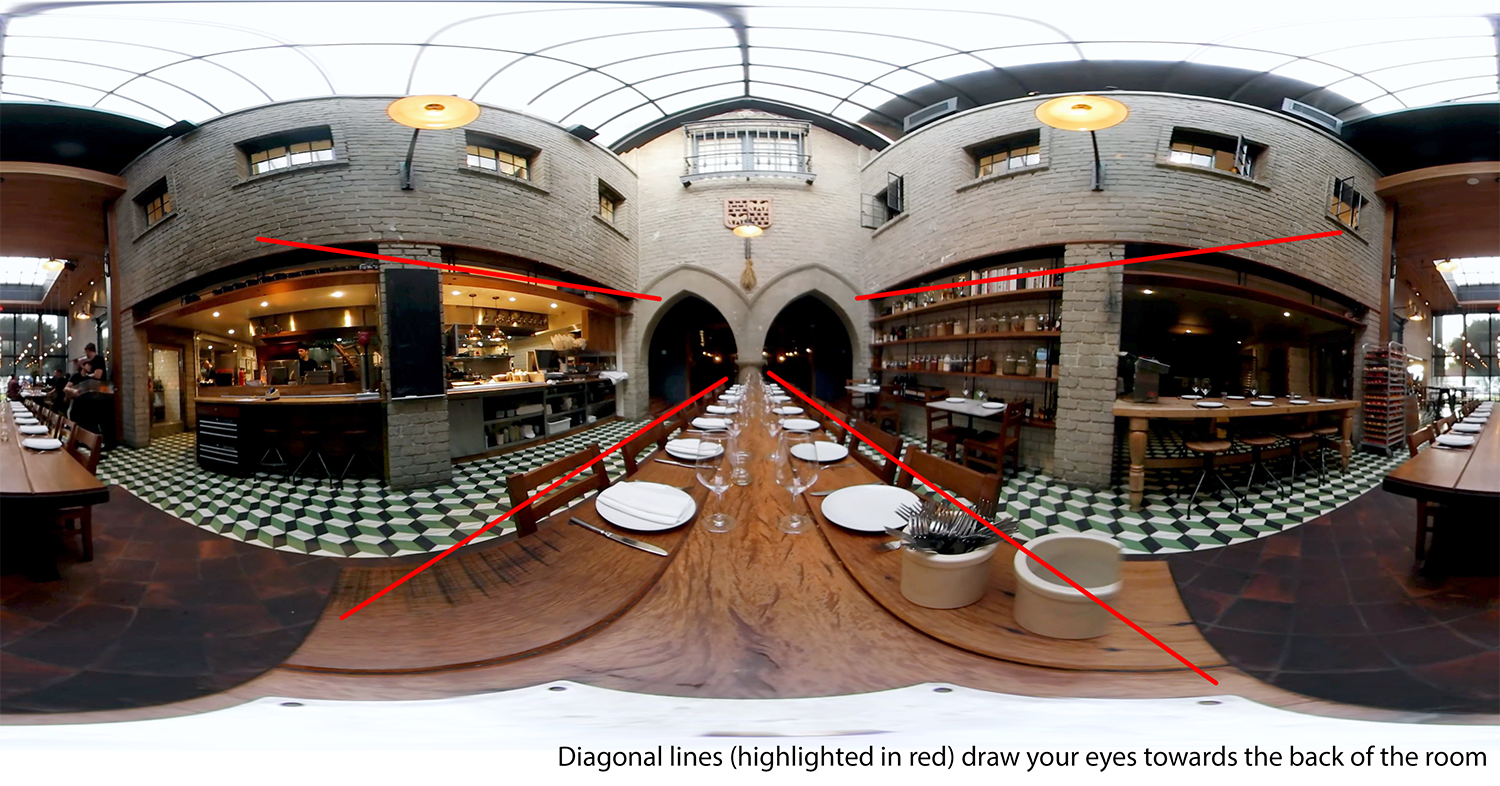
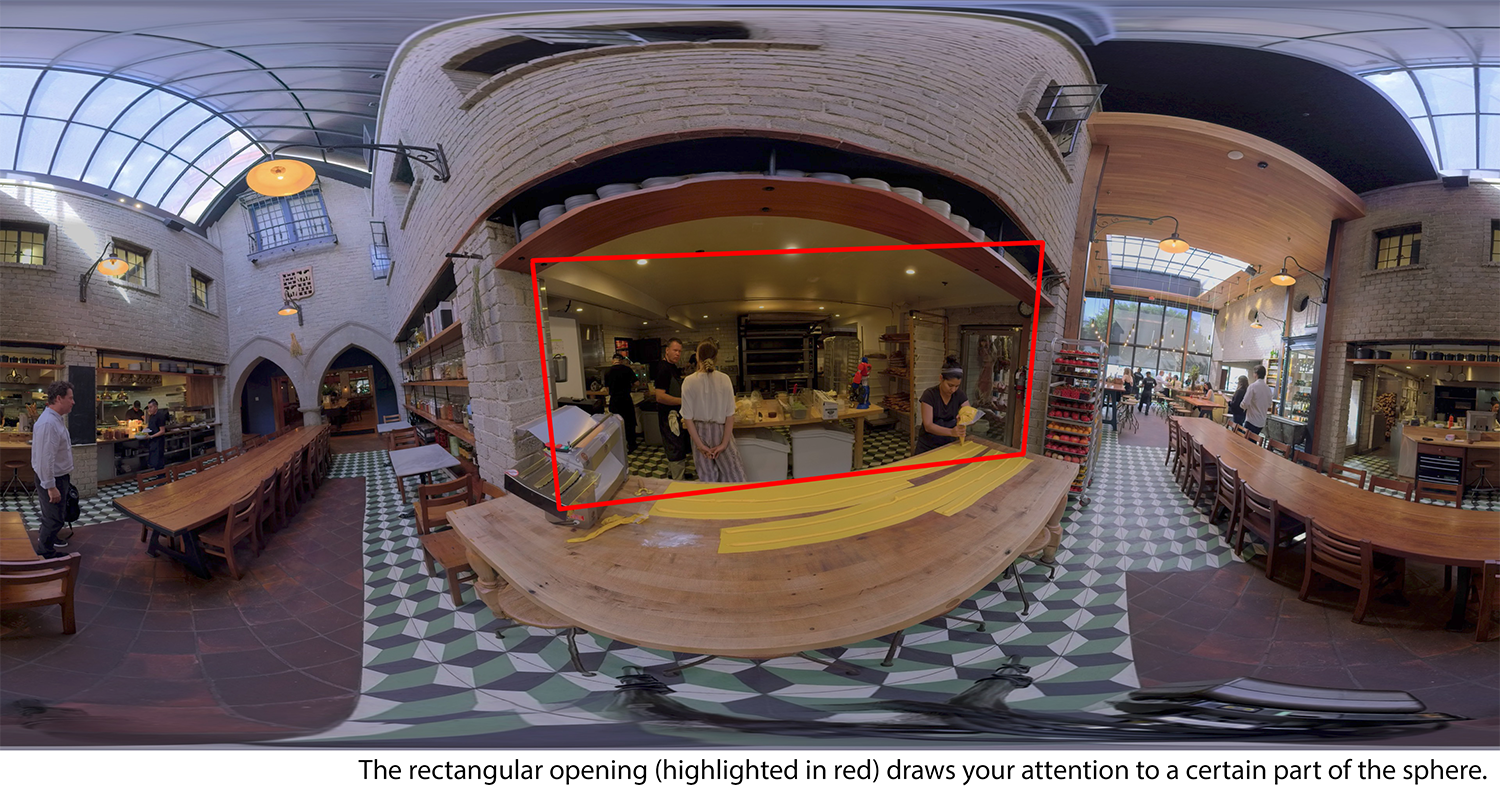
Plus, while the viewer can turn and look in any direction, at any given time she is looking at something. And if you can identify the likely points of focus in your scene, and combine that with the field of view (limited either by the bounds of the display hardware, or just by our own human eyes), you can imagine a set of boundaries that serve as frame edges, even if they are fluid within a scene.
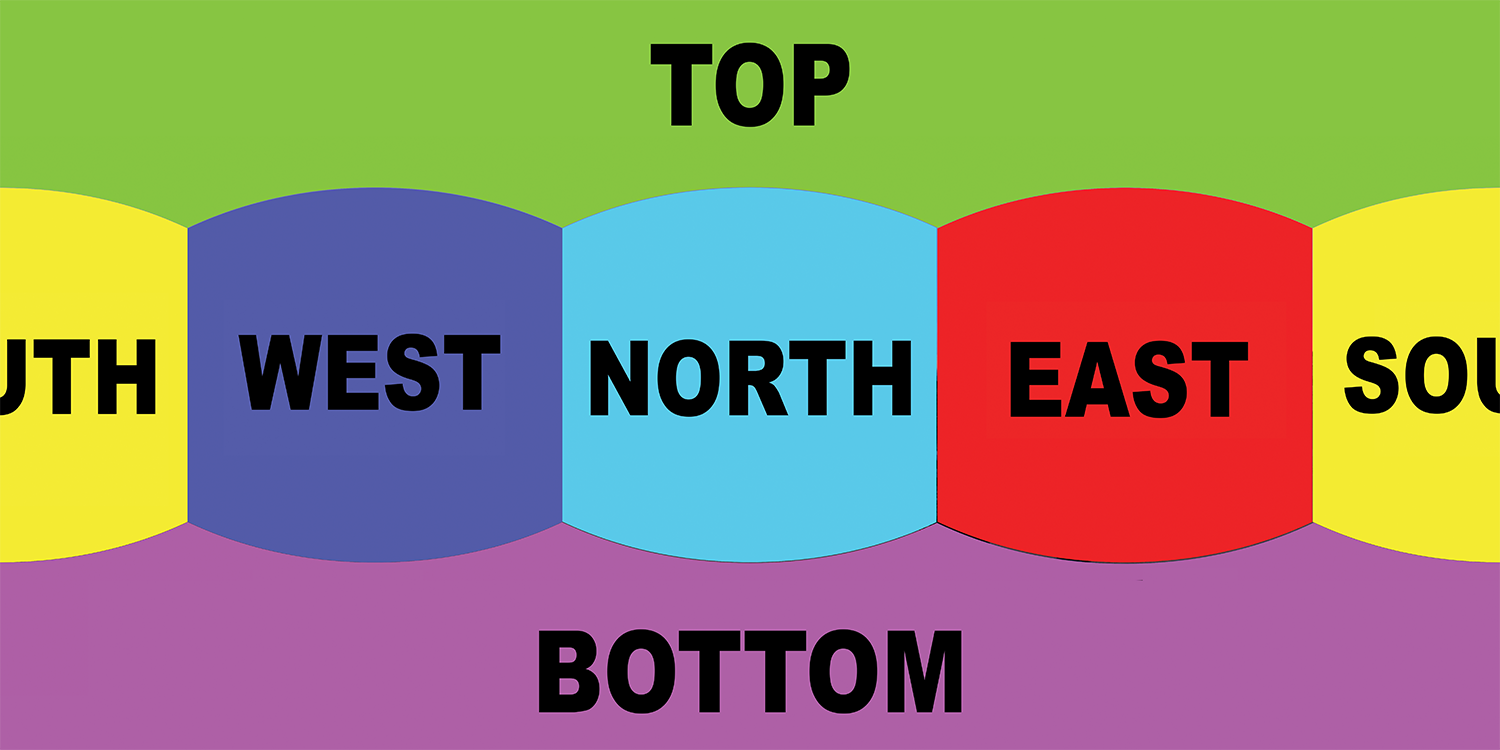 Many VR directors divide the scene into quadrants (north, south, east and west) or sextants (adding up and down) and then compose for each segment individually. The north segment usually contains the “primary” action in the scene, but then additional activities can occur in the space all around to supplement and enhance that primary story.
5. Segment your action
While you can set up your shots so that there is action occurring in every segment of the sphere all the time, you also need to be careful not to overdo it. In real life, we rarely find ourselves in a situation where we need to spin around and look every which way in order to assess what’s going on.
First of all, our necks aren’t built for that. (Maybe a VR piece for owls has more leeway!) Watching a VR piece that requires you to frequently turn around and look over your shoulder very quickly grows tiresome. Plus, if there’s too much going on, audiences will likely feel overwhelmed; like they’re missing out on some bits while watching others, which means they’ll be paying less attention to whatever it is they are viewing.

Instead, you’re far better off establishing some primary action, and attempting to keep the majority of that main activity in or near the north quadrant. If you have important activity somewhere else in the scene, use sound to guide the viewer’s focus to that new place, and time the scene so there isn’t too much happening at exactly the same moment in time.
Use the south (rear) quadrant very sparingly, like a trick shot. If there’s one moment in your piece where something grabs the audience’s attention from over their shoulder it can be effective and memorable, but do it more than once and you risk your viewers giving up and removing their headsets before the show is even over.
There are other ways in which experienced filmmakers may need to do some unlearning in order to master this ex- citing new medium, but I promise, it’s worth it! And in some ways, learning how to tell an effective story in 360° will improve your traditional storytelling chops as well, at it encourages you to explore new methods of communication.
To learn more about creating 360° video, go to: 360videohandbook.com

Filmtools
Filmmakers go-to destination for pre-production, production & post production equipment!
Shop Now