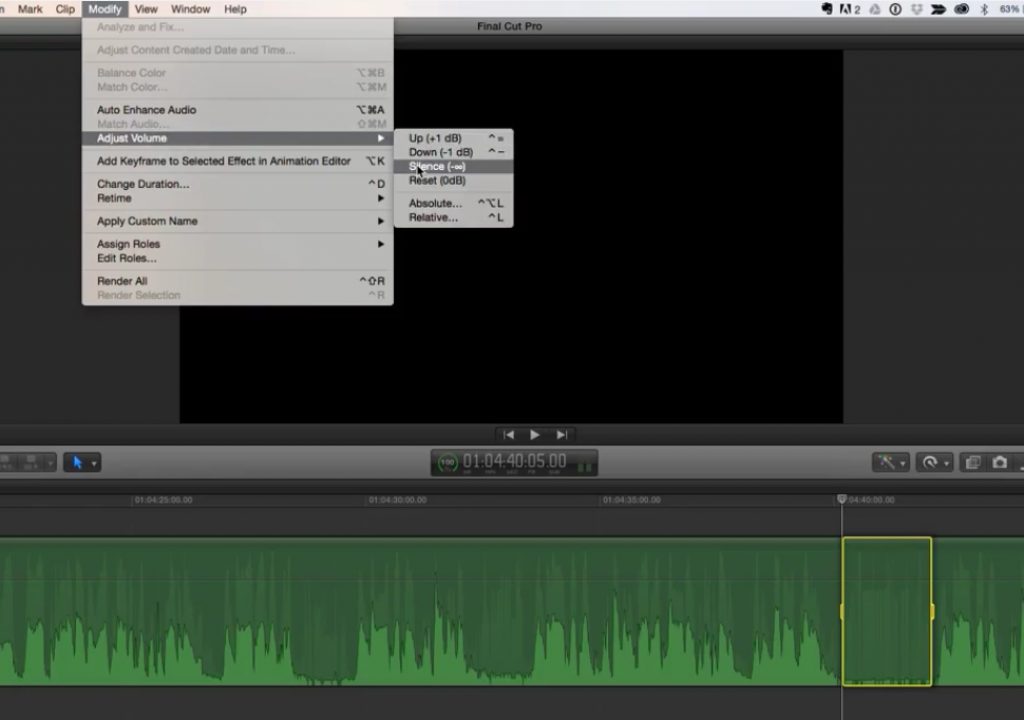
This week on MacBreak Studio, Steve Martin from Ripple Training reviews a couple of new audio commands that were added to the 10.2 update of Final Cut Pro a few weeks ago.
One allows you to automatically silence either an audio clip, the audio attached to a video clip, or most usefully, any range of an audio clip. To select a range, rather than first selecting the Range Selection tool, you can press and hold the R key while dragging out a range. When you release the R key, you are returned to the default Select tool. The new Silence command is located in the Modify menu, under Adjust Volume.
The other new audio command resets any adjusted audio back to its original level. So if you’ve raised or lowered the level of a clip, or used keyframes to make the levels change over time, this is a great command when you need to start over. It also works on a range – and it is also located in the same Modify > Adjust Volume menu.
There are no keyboard shortcuts for either of these commands, but you can assign them – which brings us to the tricky part of today’s episode, so you’ll want to pay close attention. In the Command Editor (Final Cut Pro > Commands > Customize…) you can assign your own keyboard shortcuts, but if you assign, for example, a keyboard command for Silence – you’ll find that it won’t work. Same if you assign one for Reset. Because it turns out these two commands are actually switched in the Command Editor.
In other words, to assign a keyboard shortcut for the Silence command, you need to select Reset – and visa versa. Easy to do, if you are aware of it! Note that it looks like this little bug was not addressed in the recent 10.2.1 update, so this tip is still quite handy.

Filmtools
Filmmakers go-to destination for pre-production, production & post production equipment!
Shop Now


