GT35pro in the cold Canadian north from Scott Simmons on Vimeo.
For Christmas 2008 my wife and I packed up the car and drove north to see her family. We ended up with Uncle John in Warkworth, Ontario, spending time on a gorgeous farm in the country. It was the perfect place to keep kicking the tires (see the first post about the GT35pro here and the first footage here) on my Canon HV20 with Greg Tay’s GT35pro adapter. Perfect in the sense that this type of shooting is one of the main reasons I like an affordable 35mm lens adapter for this little consumer camera. When I’m kicking around with the family, on a holiday at the beach or just shooting some random images in the neighborhood the option of getting fantastically shallow depth of field and the unique look of the image projected onto an adapter’s ground glass is very appealing. I don’t want lug thousands of dollars worth of high-end adapter, swing-away matte box, carbon-fiber rail system in their own dedicated pelican case around the country just for my own pleasure. It’s nice to have something that can fit in a travel bag or camera case and still yield results that are look good and are especially impressive to the family. You can easily get that out of most all of the lower cost 35mm lens adapters on the market.
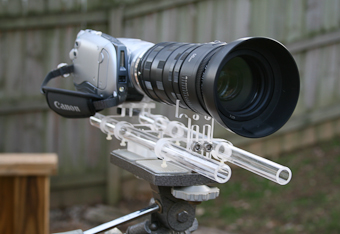
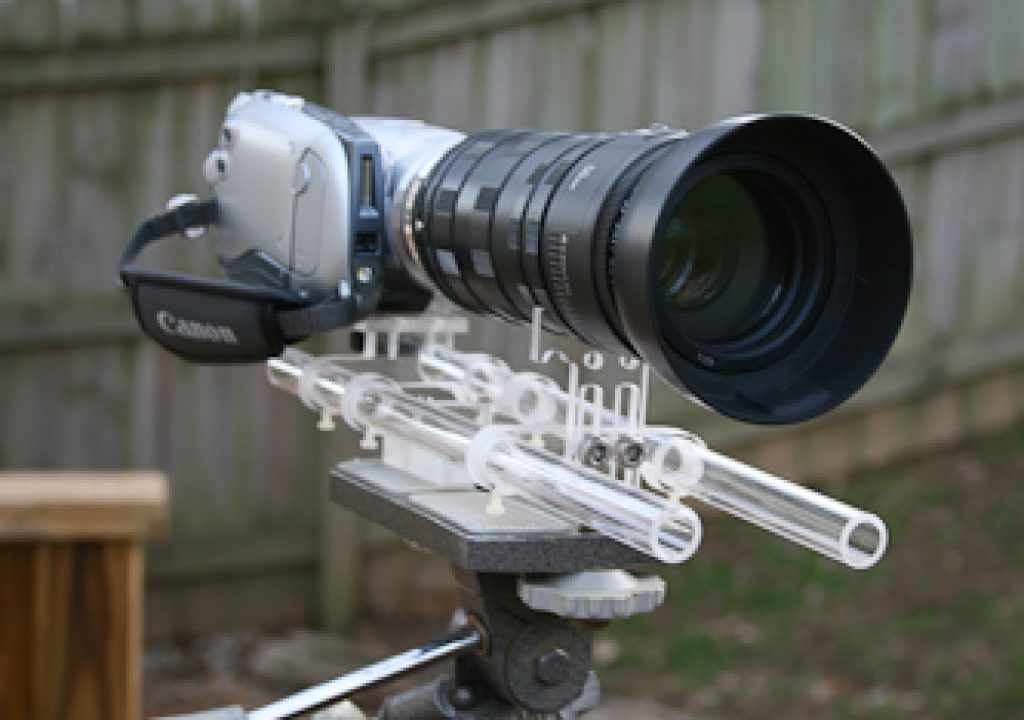
The rail system that Greg Tay sells alongside his GT35pro adapter is IMHO one of the best things about his package. Since his adapter is a vibrating adapter there’s extra hardware used to make up the unit. More hardware equals more size and more weight so while the rail system doesn’t have to be used with the adapter it just makes life a lot easier. Plus, I would be nervous about the long term life of the mounting threads of my HV20 without the rail system. A good whack could put a lot of torque on the camera’s lens threads and possibly pull the adapter out damaging those threads. I don’t know of a case of this happening but it would be possible. While an HV20 with the GT35pro adapter mounted on the companion rail system isn’t necessarily a handheld unit it is very possible to handhold the rig with the motor power unit and all. I would typically cradle the unit in my left hand and adjust focus with the right. This is pretty much par for the course with 35mm lens adapters. You have to constantly manage the focus as you are shooting due to the shallow depth of field. By that I mean you use the selective focus that the shallow DOF provides to manage what you want to view in the frame. And you constantly have to manage the focus. It can be hard to get the back focus just right (that’s the camera focusing on the ground glass) but once there then it’s just a matter of managing the focus on the 35mm lens you are using. I’m new to shooting with these adapters on my HV20 so an awful lot of my footage thus far has just been rack focusing from here to there. But it sure does look pretty!

Here’s where I’m running into an issue with the Canon lens system. If I want more depth of field when shooting a shot I need a smaller aperture opening (higher number F-stop) in my lens. The Canon lens system I use doesn’t have manual aperture control on its lenses. It was suggested that I put the lens on my Canon still camera body (I have a Rebel XTi), set the aperture to the desired F-stop, remove it from the body and then put it back on the 35mm adapter. After trying this a few times with no noticeable result I grabbed a flashlight and started looking into the front of the lens to actually see the aperture close when I pushed the depth of field preview button on the Rebel XTi. This button closes the aperture while the button is held to give you a better idea of what you will actually be shooting when you trip the shutter. At that moment it dawned on me that if I have to hit this preview button to make the camera close the aperture then when I let it go to remove the lens it will open back wide. And so it did. This may seem like a no-brainer to many but hey … I’m learning all this stuff as I go along! There may be a solution to removing a Canon EF lens with the aperture closed that I am unaware of (haven’t researched it yet either) so if you have a suggestion please comment below. One solution is to get the adapter with a Nikon lens mount since from what I understand many Nikon lenses have manual aperture control right on the lens. That’s an option with the GT35pro. Some lens adapters are only available with a Nikon mount and this may be one reason why.
Of course one downside to a smaller aperture opening for more depth of field is you need more light for proper exposure. This is where the Achilles heel of pretty much any 35mm lens adapter comes in … they take a lot of light for the best pictures. Since the image must pass through the 35mm camera lens to then be projected on the ground glass in the adapter only to finally be photographed by the video camera itself which also has a lens that shoots the image off the ground glass on to the camera’s image sensor … whew … that’s a lot of stuff that light must pass through to get to the end result. But IMHO it really looks surprisingly good in the end. You will often hear 35mm adapters talked about in terms of how many stops of light you lose with an adapter, meaning if you shoot a normal shot at f/8 you might have to shoot the same shot at f/4 or so when using an adapter. You must open the camera to let in more light since the adapter cuts down on the light that gets to the image sensor. I have no idea how many stops of light you lose with the GT35pro but it is noticeable and is one of the trade offs you get when using an adapter. Get used to it.

When looking at the above footage there’s a number of things to take away from it. First of all I think that the proof is in the pudding. IMHO the images look good. I would go so far to say they look pretty damn good for someone who is throwing different lenses onto this adapter and pulling it out of a camera bag whenever he sees something he wants to shoot. But first I’ll point out the problems that I see in the footage, much of which is shooter error. There are a few shots that are a bit soft. Yes it’s hard to focus a 35mm adapter, especially handheld with only the tiny pop-out monitor on the camera but since that’s how a lot of people might use an affordable adapter that’s how I shot with it. In the smaller Vimeo clip the softness isn’t near as noticeable as on a video monitor. In some of the shots where you see the blue sky you can see the “streaking” of the vibrating ground glass. It’s especially noticeable in the Canadian flag shot and the tilt down from sky to waterfall. Part of this is due to the contrast presented by the sky but part of it is that this is magnified in the river shots since a large part of that footage was shot with a 300mm zoom lens on the adapter. For the most part I’ve seen it recommended to shoot with only prime lenses with these adapters and that may be one reason why. More magnification with the lens means more magnification of the texture of the ground glass, be it static or vibrating. At the long end of the 300mm zoom the streaking was even more evident but the footage became so shaky in the cold Canadian wind that it wasn’t usable. More zoom = more camera shake that even a tripod and Magic Bullet Steady couldn’t fix. A number of the waterfall shots are on a longer part of that zoom lens so they weren’t all bad. Another reason for a vibrating ground glass is that the vibration will make and dirt particles that might be on the glass much lessnoticeable . Sometimes I forgot to turn on the vibration. If you look closely at the interior kitchen footage we can see a couple of tiny dirt specs near the center. Again, it was user error and I forgot to turn the motor on and I also didn’t take time to properly inspect and clean the ground glass before shooting. The current models of Greg Tay’s GT35pro has a tally light that reminds you that the vibration is on and might also help remind you to turn it on in the first place!
But there are a lot of good things too. I just love the “look” of this thing. It’s not film but it’s definitely not video. Combine that “look” with the selective focus and shallow depth of field that this 35mm adapter can provide and you will wow those folks who marvel at your home video making skills anyway. The market for a GT35pro isn’t the same as a more expensive Red Rock or Letus adapter so the usage isn’t the same either. For casual shooting of family, fun and friends you can’t beat these types of adapters. But that’s not saying that you can’t take a low cost adapter like the GT35pro and use it for short films and music videos and similar “low budget” productions. The look is there. If you are getting paid good money to produce a music video then the client might have an issue when you pull out a rig like I have (adapter + HV20) for your main camera. But since the GT35pro Elite can be used with cameras like the Panasonic HVX200 there’s no reason you couldn’t get similar results to say a Cinevate adapter for a fraction of the cost. If you test a GT35pro adapter, learn its limitations when compared to one of the “big boys” and design your project accordingly then you can get professional results from a GT35pro. Throw in the proper post-production and color correction on the image and you have a … to use the term … killer DV Rebel camera setup!
Coming up next for the GT35pro adapter …. I shot some footage with it along side a RED camera!

Filmtools
Filmmakers go-to destination for pre-production, production & post production equipment!
Shop Now


