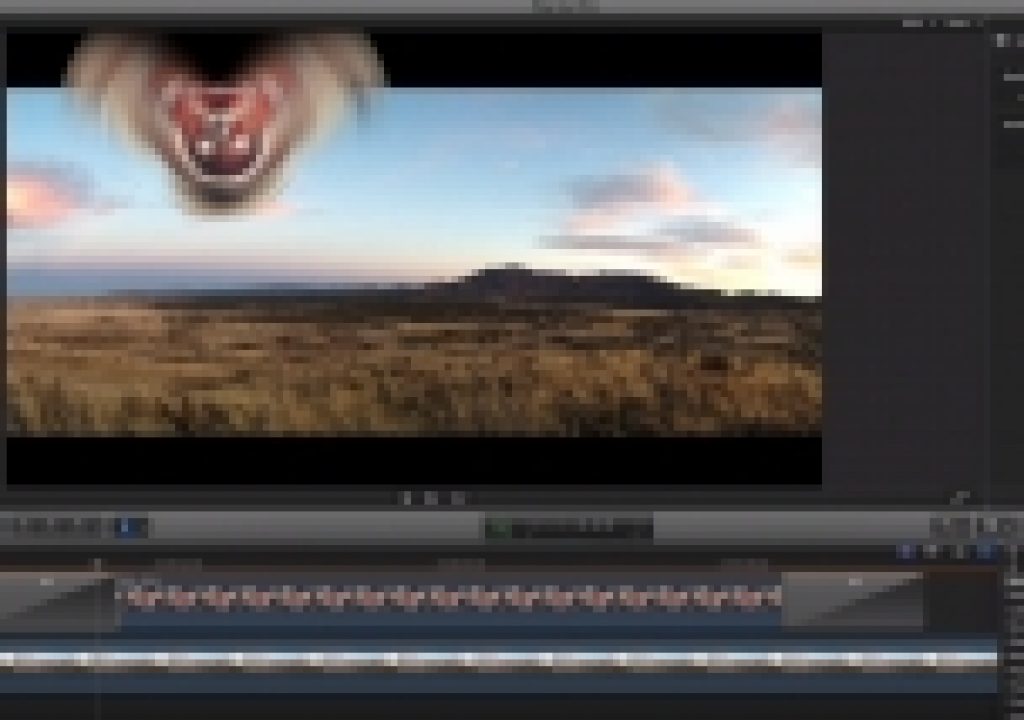
This week on MacBreak Studio, I show Steve Martin from Ripple Training how you can create animations in Final Cut Pro X by using transitions.
To animate a graphic, picture-in-picture, or other element onto the screen and off again, we usually use keyframes: zooming out in the Viewer to create more room, moving the object off-screen, then locking down position or other parameters like scale, rotation and opacity in the Inspector with keyframes. Then at a later point in time, setting new values for those parameters, which then creates animation as the object moves, scales, rotates, and/or fades into view.
While keyframes work great most of the time and allow you to be very precise, they can also be rather tedious to implement. Enter transitions: while normally used to move from one clip to another as an alternative to a straight cut, they can be used to bring a single elements onto the screen composited over a video clip or graphic as a connected clip.
The basic idea is simple: apply a transition to the ends of a connected clip. The complication is that only certain transition will work properly when used this way. Most will included the clip in the primary storyline in the animation, ruining the effect.
In the video above, I explain which transitions will work “out of the box”, with only a parameter adjustment to make them work on the Out point of a clip. For all the others, I then show a very cool little “workaround” that I learned from Ben Halsall: by blading the connected clip at the beginning and setting the opacity of the first bit to zero, you can trick the transition into working correctly. All good details above. If you like this tip, check out our Warp Speed Editing and Warp Speed Effects tutorials.

Filmtools
Filmmakers go-to destination for pre-production, production & post production equipment!
Shop Now


