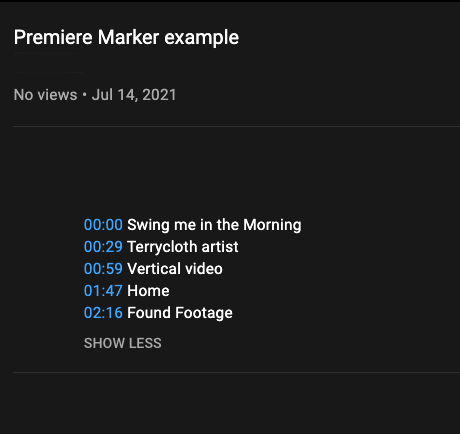
Video Markers are the best thing that’s happened to YT as a viewer since…well, ever. It means giving your audience clear cues on your content. After all, you know they’re going to skip around.
Implementing Chapters on your YouTube videos is relatively painless.
To get this to work, you fill in the Description Box with the Chapter names & times on YouTube. They must be listed in Min:Sec.
There are three rules:
- The start time of 00:00 must have a chapter.
- There must be at least three timestamps in ascending order.
- The minimum length for video chapters is 10 seconds.
Direct link to YouTube documentation
What we’d prefer is the ability to do this directly from Adobe Premiere Pro. As Markers. Right?
I hate repetitive work. I do not want to have to type these myself. It’s a waste of time, and anything done manually means an increased likelihood of errors.
At this point, neither Adobe nor anyone else lets us go directly from the timeline to YouTube.
This solution is a free workaround – using Google Sheets and google’s version of Regex to make this a copy/paste. Three steps.
Now, I’d be remiss if I didn’t mention that there’s a great $10 tool called Content Creator’s Best Friend, from IntelligentAssistance.com – for Premiere (and FCP), but it’s Mac only.
We’re going to do this for free (sorry Philip and Greg!), and it’ll work cross-platform – thanks to Google Docs.
Step 1: Create markers in Premiere Pro.**
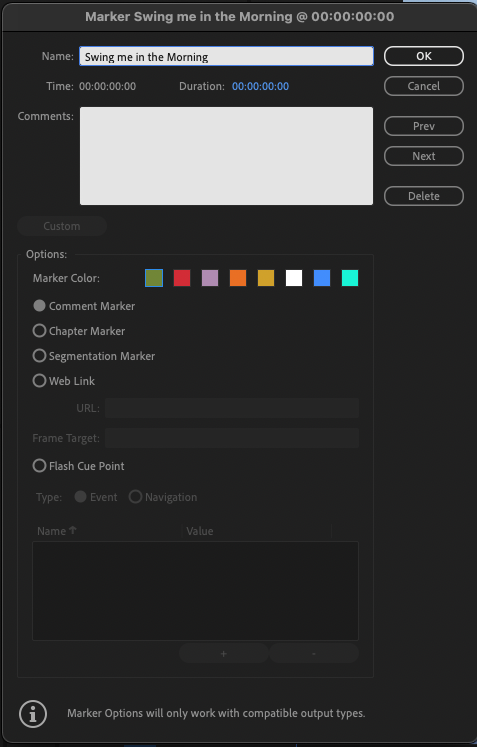
Make your markers in Premiere Pro. I like to work quickly, and I’m a keyboard fiend. M is the key for a Marker. A second M will bring up the dialog box. Type your marker name. Press the Enter key to close the box.
Here are some general Premiere guidelines:
- Markers need to be timeline-based. Clip markers won’t work.
- Color doesn’t matter.
- It’s all or nothing; Premiere’s “show only” switches don’t affect this.
- Stick to Comment/Chapter/Segment markers.
Step 2: Export your markers.
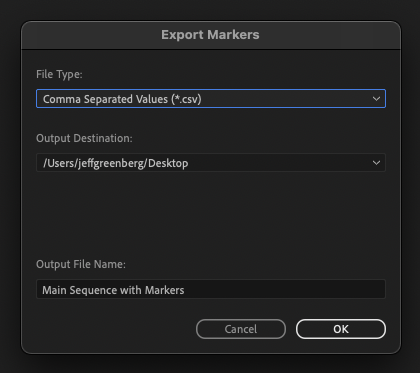
Pick your timeline and export it as a CSV file. File Menu > Export Markers …
Make sure you choose CSV.
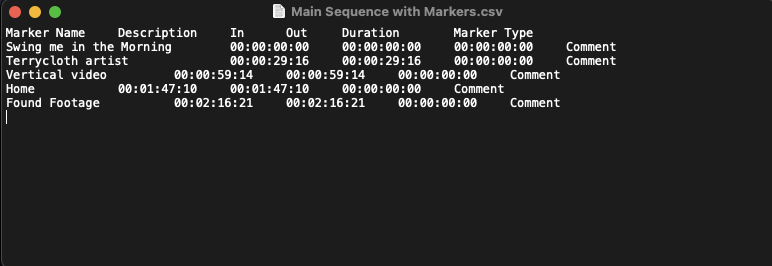
Premiere exports these. Strangely, while we’ve picked CSV, Premiere isn’t exporting Comma Separated Values. It looks like they’re a tabbed delimited file, but I don’t care. This works.
Here’s what my marker CSV list looks like in a text editor.
Step 3: Import to a Google Spreadsheet
Now, I’ve created a method where you need to import this CSV file into Google Docs/Sheets. But you need a copy of my prebuilt spreadsheet.
One-time setup.
I’m sharing this with you via Google docs – as a copy so you can edit it.
Once you’ve opened it, you need to make a copy – that’s where we’ll end up working.
Ok, Jeff, I’ve completed the setup.
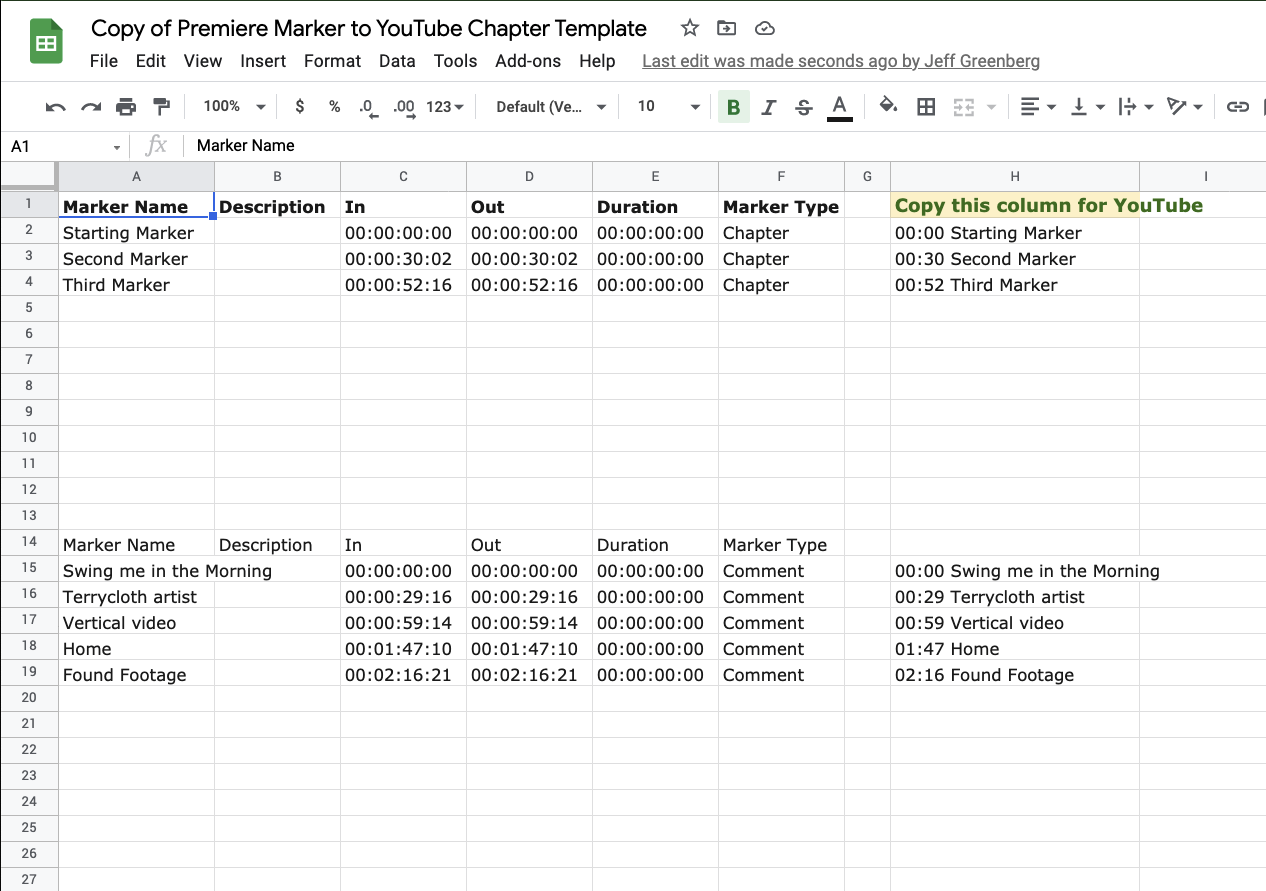
Great, it should look like this:
What’s left is pretty easy, but a quick double-check.
- You’ve exported your markers as CSV from Premiere
- You’ve duplicated my shared spreadsheet, and you’re working with the duplicate.
Now, let’s import your CSV file.
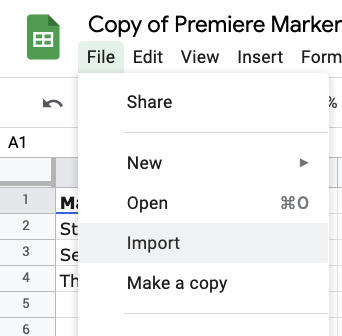
Go to the File Menu > Import. (If this doesn’t work, you’re not working on your duplicate)
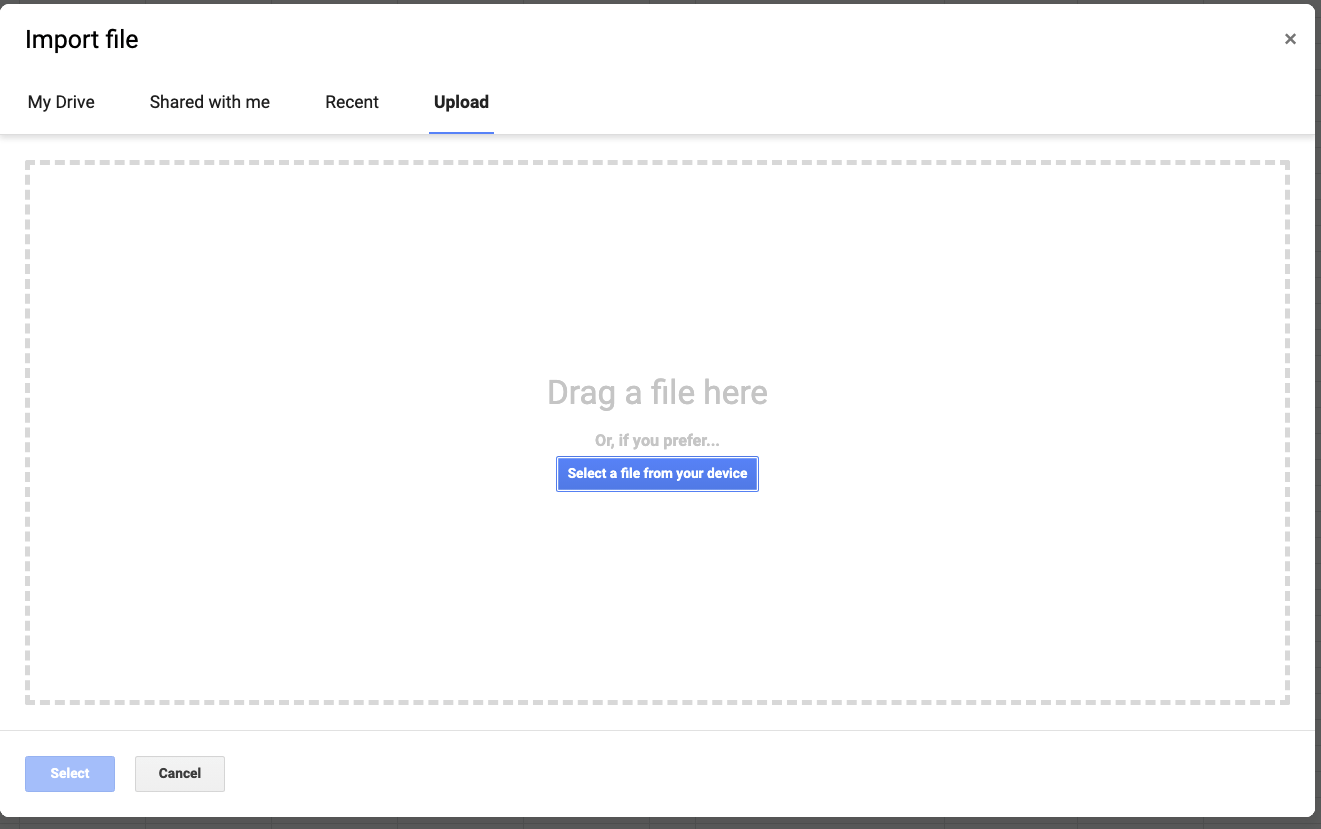
Choose to upload a file (from your drive)
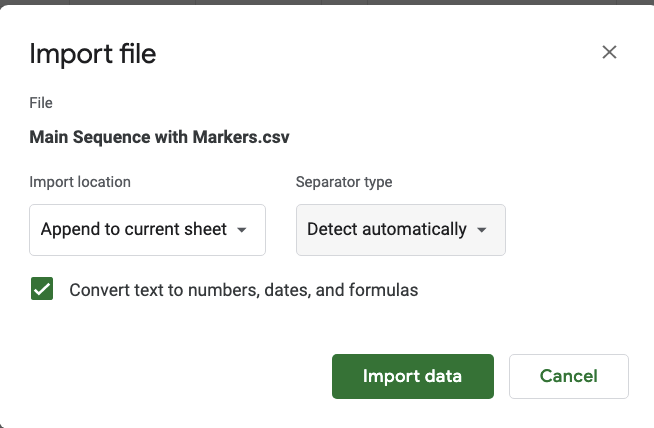
Change the Import File dialog to Append to Current sheet.
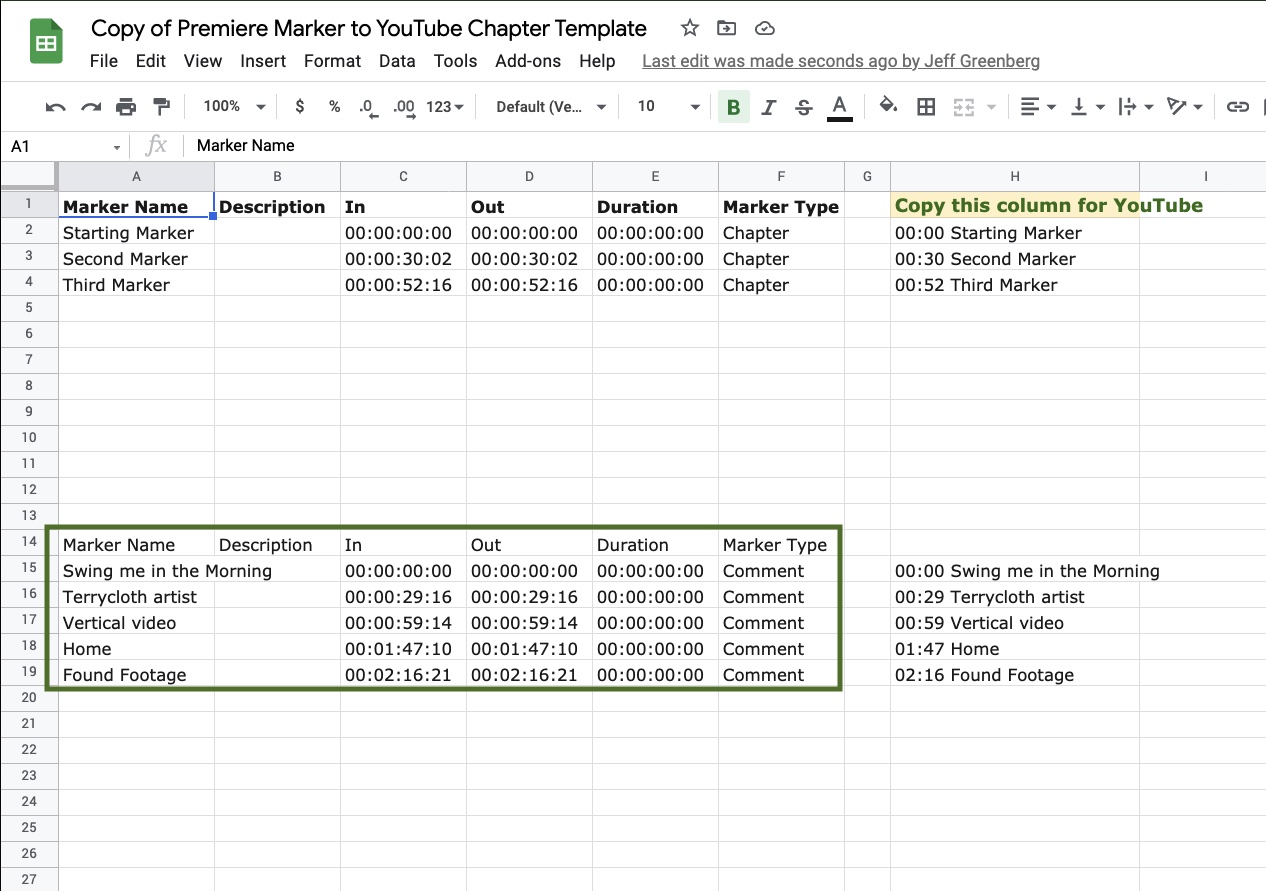
And if you’ve done it right, your markers appear here:
This google doc will automatically populate the last column with the correct data you need for YouTube:
And then, you select these cells and copy/paste them to the Description box on YouTube. Alternatively, you can use the Publish Tab of Premiere Pro (or Adobe Media Encoder) and paste it to the description box there so it uploads and fills this out automatically.
Summary
Three steps:
- Export markers as CSV.
- Import CSV to G Docs template
- Copy the created times + markers and Paste them into the YouTube Description field.
I hope you find this information valuable!

Filmtools
Filmmakers go-to destination for pre-production, production & post production equipment!
Shop Now

