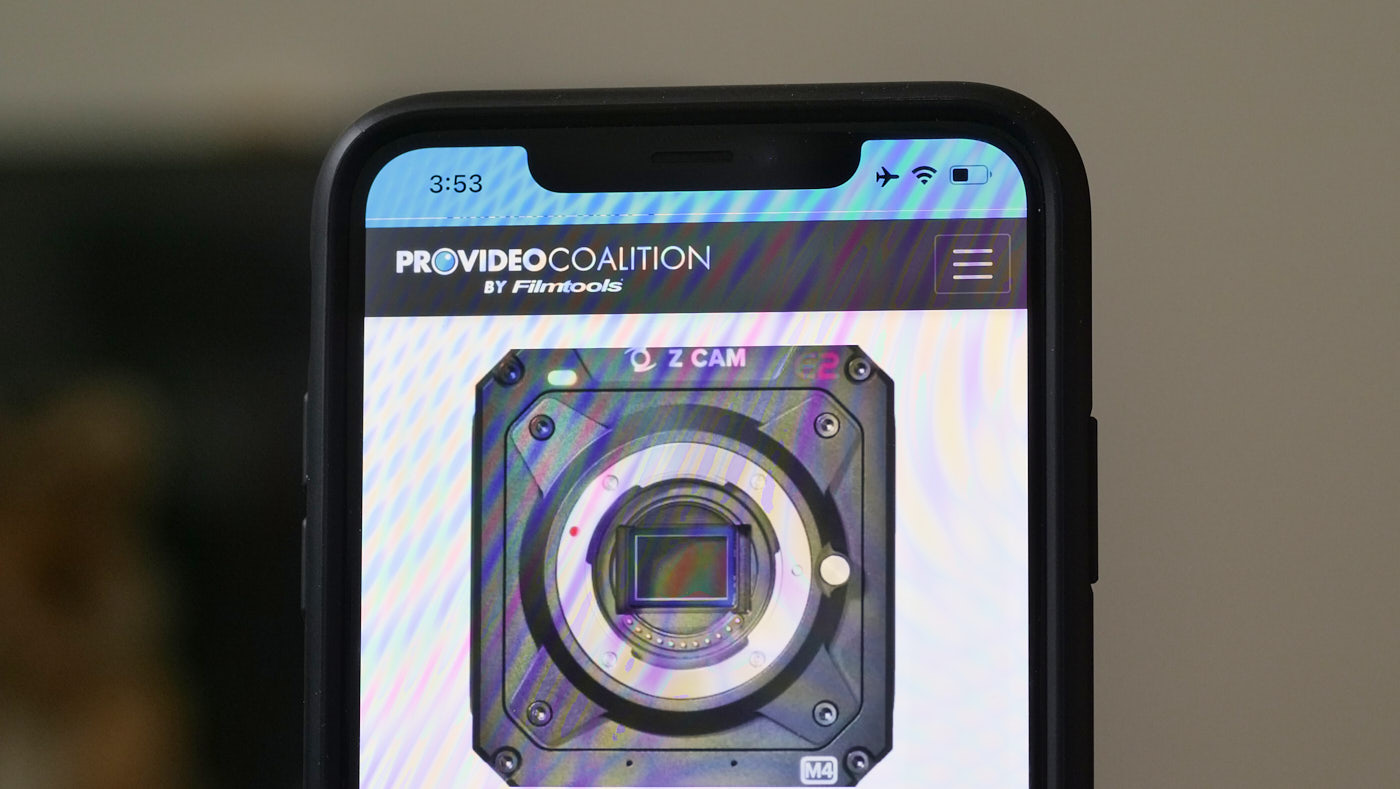
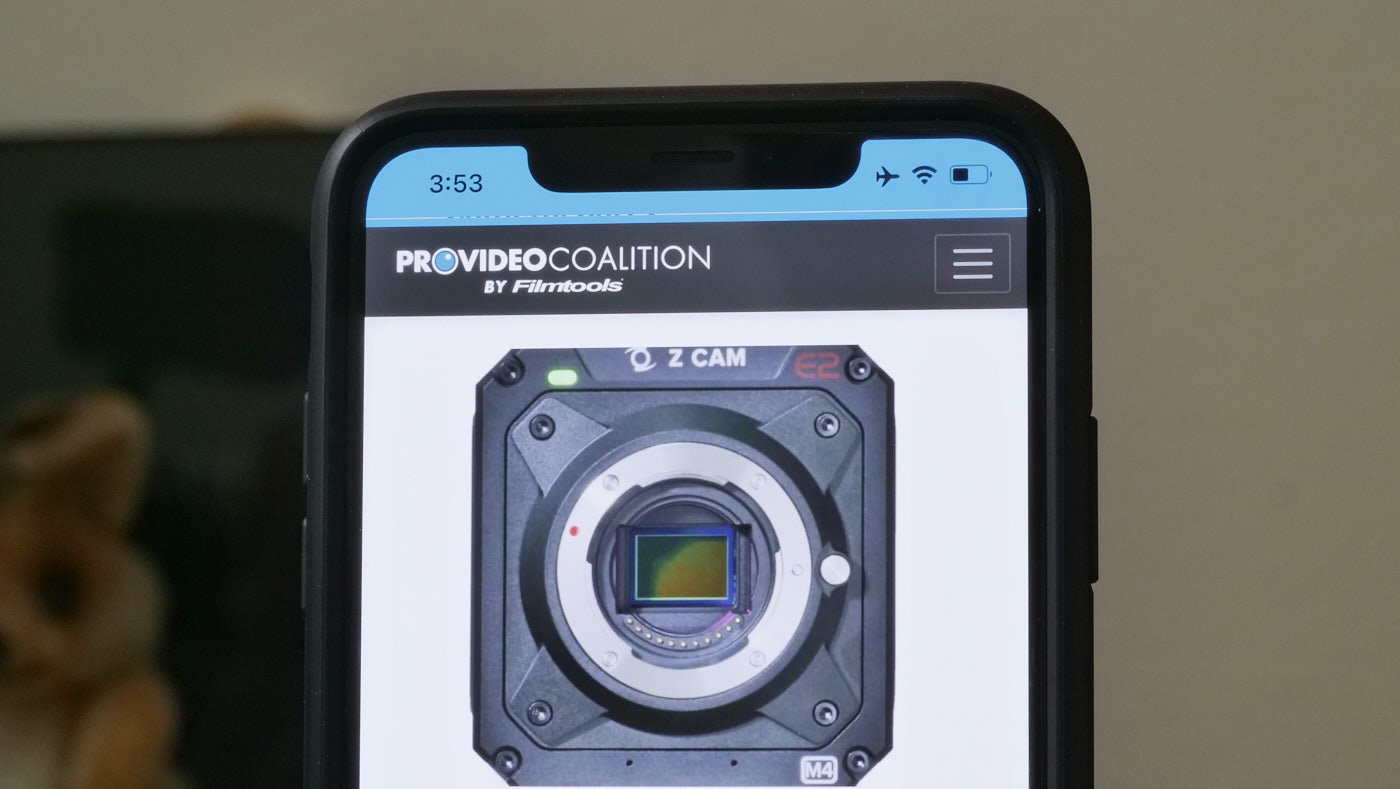
Shooting screens with digital cameras can lead to nasty pictures, as the interaction of screen pixels with sensor photosites frequently results in aliasing and moiré. The usual fix is to replace the screens in post, but that has its own issues: motion tracking / match moving, keying, handling reflections, synchronizing animated and real-life actions, and the like. Often, though, you can eliminate moiré in-camera by doing something we don’t usually do: shoot at a tiny stop, where diffraction dominates.


Moiré?
Moiré and aliasing arise when fine repetitive details in the scene — like the RGB pixels making up the screen of a smartphone — almost align with the photosites of your camera’s sensor, and are of the same scale. That slight misalignment means that while some photosites “see what they should” (for example, a red-channel photosite is illuminated by the light of a red subpixel on the screen), others don’t (a red-channel photosite is illuminated by a blue subpixel in the source image, which is just a complete waste of time and effort). The result is that “screen door” interference pattern called moiré, after the “watered silk” textile of the same name.
Diffraction?
In a nutshell, squeezing light through small apertures causes it to blur slightly: a point source isn’t rendered as a point, but as a slightly blurred circle called an Airy disk. The smaller the aperture, the greater the blurring; you can clearly see this when pixel-peeping a lens at progressively smaller apertures. (Mario Orazio has amusing articles on the topic from 2005 and 2008.) That’s why the sharpness sweet spot of a lens is typically a couple of stops down from wide-open, and not fully closed: stopping down reduces pesky aberrations but increases diffraction blurring, and the sharpest aperture strikes a compromise between those effects.
Stop It Down
The trick here is to use diffraction from a small aperture as a low-pass filter, blurring fine detail enough to eliminate moiré without overly reducing sharpness. The tighter the photosite pitch is on your sensor, the sooner that diffraction takes effect, so (for equal sensor resolutions) you can more easily reach that point on an MFT sensor that an S35 or a FF sensor, or (for equal sensor sizes) you reach that point sooner on an 8K sensor than a 4K sensor.
Shorter lenses help: the aperture diameter for f/16 on a 100mm lens is four times larger than f/16 on a 25mm lens. Put another way, you’ll get the same blurring from a 25mm at f/16 as from a 100mm at f/64.
Of course the method your camera uses to demosaic the sensor has an effect too, as does the presence of an optical low-pass filter and its strength.
Practically speaking, I can almost always shoot a screen using a GH5 (MFT, 5.1K) with a 50mm somewhere between f/11 and f/22 with no moiré. Using an X-T3 (S35, 6.2K, no OLPF) 25mm at f/22 usually works, but at 55mm I can’t stop down far enough. With an A7Riii (FF, 7.9K, no OLPF), 16mm at f/22 works, but 35mm doesn’t, and shooting screens at 16mm is a bit constraining. And an A7Siii (FF, 4.2K, no OLPF)? I don’t have a lens short enough with a stop small enough to blur moiré away.
I’m using mirrorless cameras, but the same physics apply to video and cine cameras, too. Indeed, if you’re shooting with a 1″, 2/3″, or 1/2″ camera, you should be able to pull this off more easily. However some very-small-format (1/3″ and smaller) video cameras with built-in lenses may not be blurrable this way; some of those cameras use an internal, graded ND wedge for “small apertures” specifically to avoid diffraction blurring. Darn it.
How To…
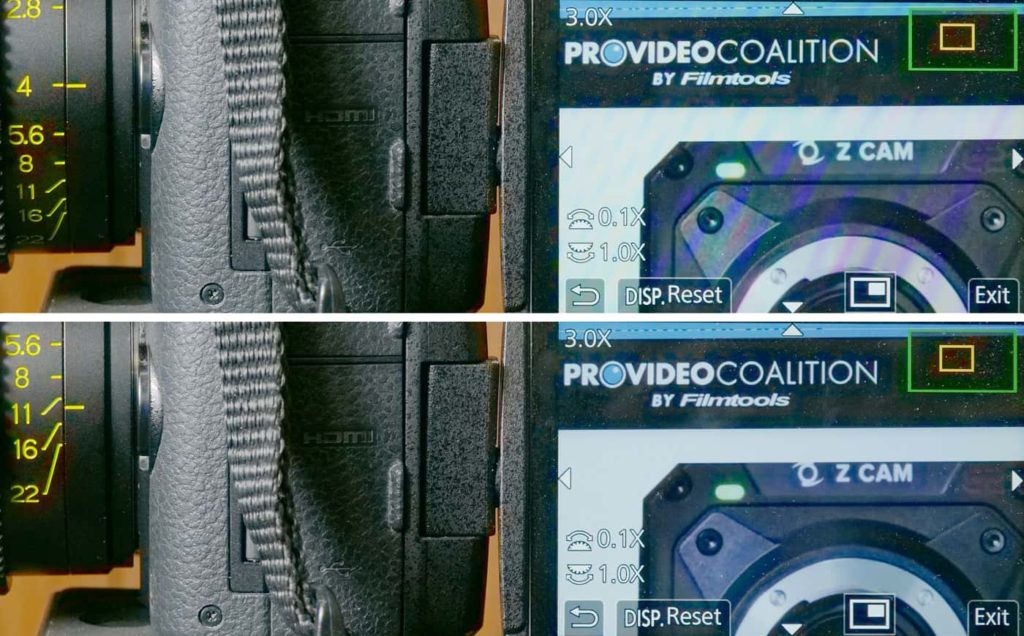
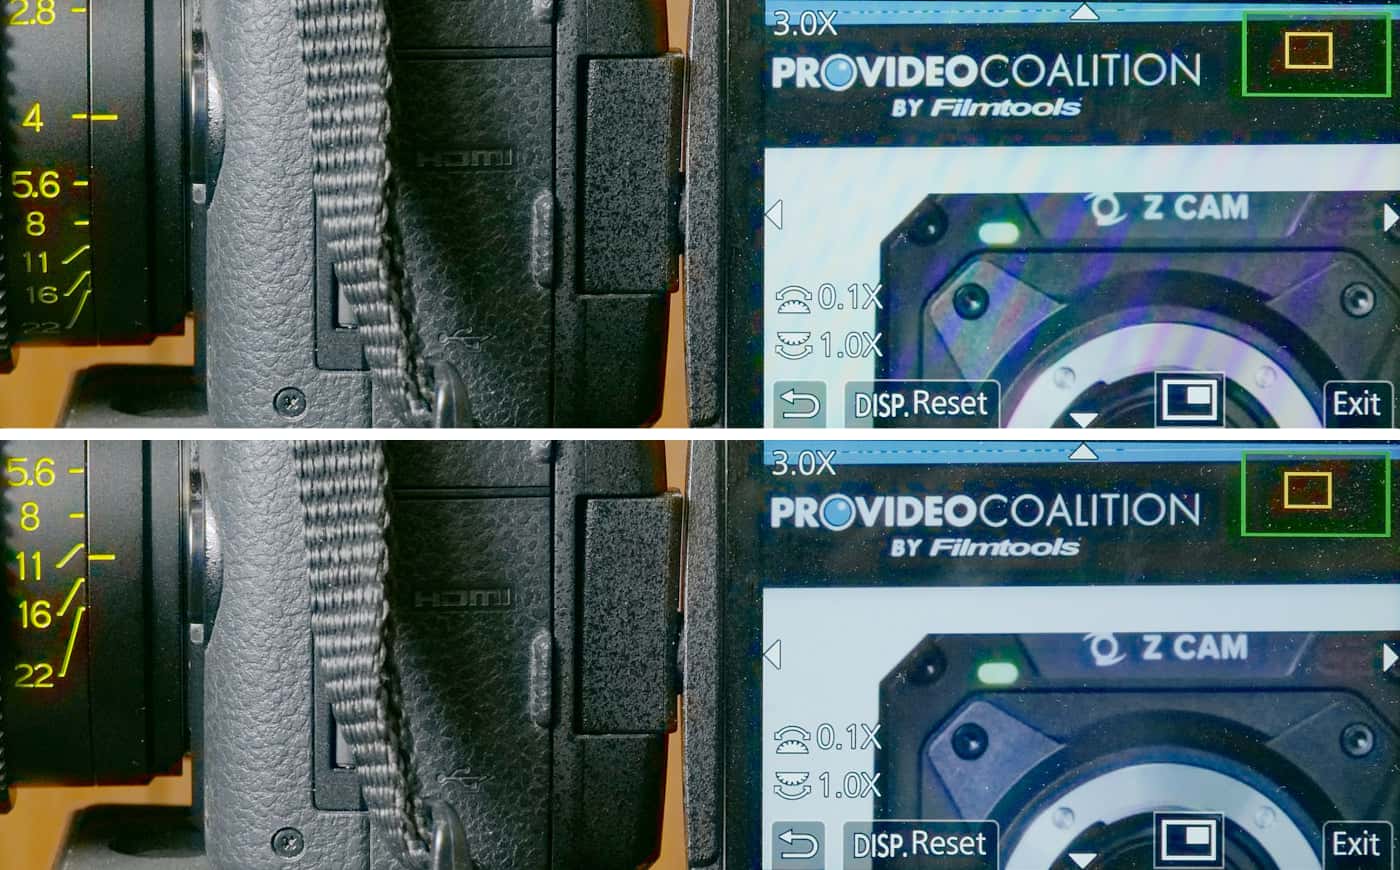
When trying this out, use your camera’s image magnification function to see as close to the unvarnished truth as possible. Some aliasing artifacts can go unnoticed on a low-res EVF or LCD image, but pushing in closer to pixel-for-pixel display should reveal any lurking nasties.
In this case it wasn’t needed as I purposefully chose a framing that maximized moiré, but in many cases it’s the subtle, fine aliasing that screws up the shot, and that sometimes won’t show clearly on the unmagnified picture.
Without built-in image mag, an HDMI or SDI feed to a separate monitor is helpful; again, pixel-for-pixel mode is recommended. If you just pipe your feed to, say, an Odyssey 7Q+ and don’t use pixel-for-pixel to check things out before hitting REC, you might wind up in post with subtle but shot-ruining aliasing and the need to reshoot everything (ask me how I know, sigh).
As you traverse apertures from wide to small, they’ll all look horrible until you’re within a stop of the blurring aperture — it’s not a gradual change, it happens all of a sudden.
When the shot allows, use a wider lens closer in rather than a longer lens farther back.
Sometimes a slight reframing makes a huge difference in visible aliasing. Mind you, this works best with static shots; if you’re following a handheld smartphone around, all bets are off.
If the picture starts looking a little soft? Yeah, you get that, but if you’re not A/B-ing f/22 pix with sharper pix at f/4, you may find it looks just fine. And if not, a bit of sharpening in post can crispen it up nicely.
And, finally, it won’t always work. In some cases you may just have to fix it in post with a screen replacement. Sorry.

Filmtools
Filmmakers go-to destination for pre-production, production & post production equipment!
Shop Now


