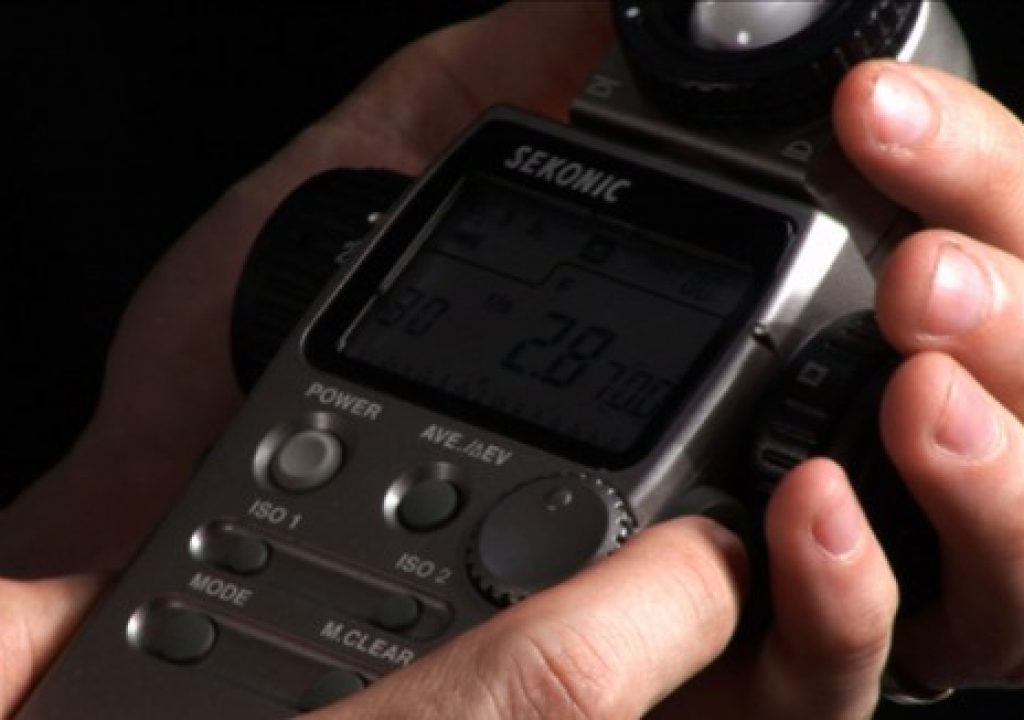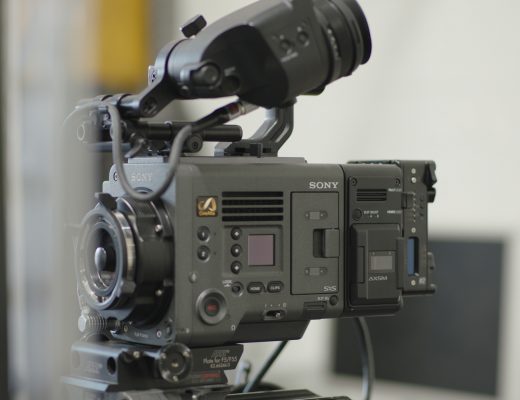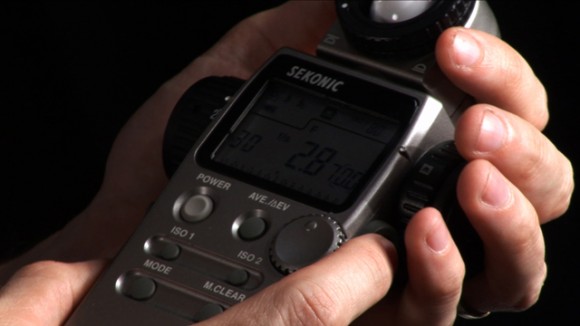
A light meter can prove to be an invaluable tool on any set, allowing you to quickly and efficiently set lights and know the correct exposure values of those lights. Light meters were initially designed for still photographers and cinematographers can easily calibrate them to a given film stock speed for shooting film. But what about today’s digital cinematographer? I’m glad you asked. With a light meter in hand, today’s digital DP can more efficiently set lights and spot check problem areas on a set without pulling up a camera frame. An experienced Gaffer can use a meter to dial in contrast ratios in advance sans camera/monitor, so when the DP or Director arrives at a location, most of the lighting plan is already in place.
In this tutorial I’ll show you how you can use a light meter to quickly and efficiently light a scene, and gain better control over your camcorder’s exposure.
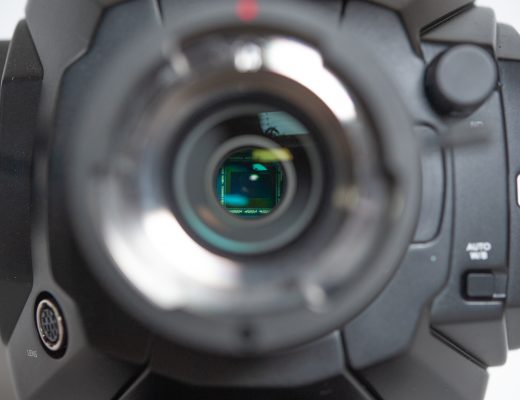
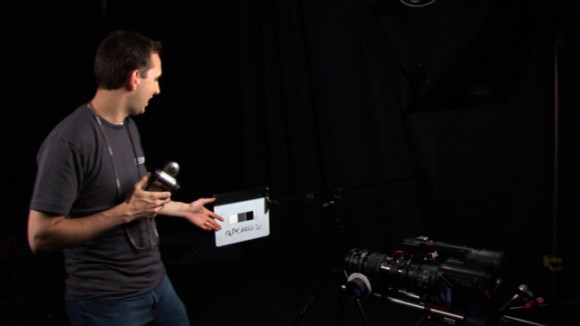
To use a light meter in concert with today’s digital video camera, you must first obtain the native ISO rating, or “baseline” sensitivity of your camera. Since manufacturers assign a lux rating in place of an ISO rating it is up to you determine the ISO. In the video I will walk you through the steps of setting up a light meter and calibrating it to your camcorder.
Just so people know, this will setup your baseline camera to your light meter, changing settings like shutter speed, frame rates, or adding filters of any type including NDs built into the camera need to be adjusted and compensated for in the light meter. This also goes for changing 35mm lens adapter brands, as each unit has a certain amount of light loss inherent in the system. In the case of lens adapters, it’s suggested that you baseline the camera with the lens adapter attached, consider both together as one complete camera system. And of course once a 35mm lens adapter is attached, the camera’s aperture should remain locked, all aperture adjustments made in concert with the light meter should be made on the 35mm lens, not the camcorder.
You will need the following gear to get started:
* Your video camera, make sure no filters of any type are in front of the lens, and ND’s are turned off.
* A flat, even light source. A softbox works well.
* A chip chart, or at minimum an 18% gray card.
* A light meter with cine functions, frames per second, and shutter angles. If you need to do shutter angle to shutter speed conversions, check out this post on the math to do those conversions.
* A waveform monitor of some sort if your camera does not have a built in spot meter. FYI, you can hook up your camera to a computer via firewire and use the waveform monitors in most NLEs, but be aware that some scopes programs cannot handle an HDV signal (downconvert cam output to DV in that case).

Filmtools
Filmmakers go-to destination for pre-production, production & post production equipment!
Shop Now