https://www.youtube.com/watch?v=RJOUy7ZBTPs&feature=youtu.be
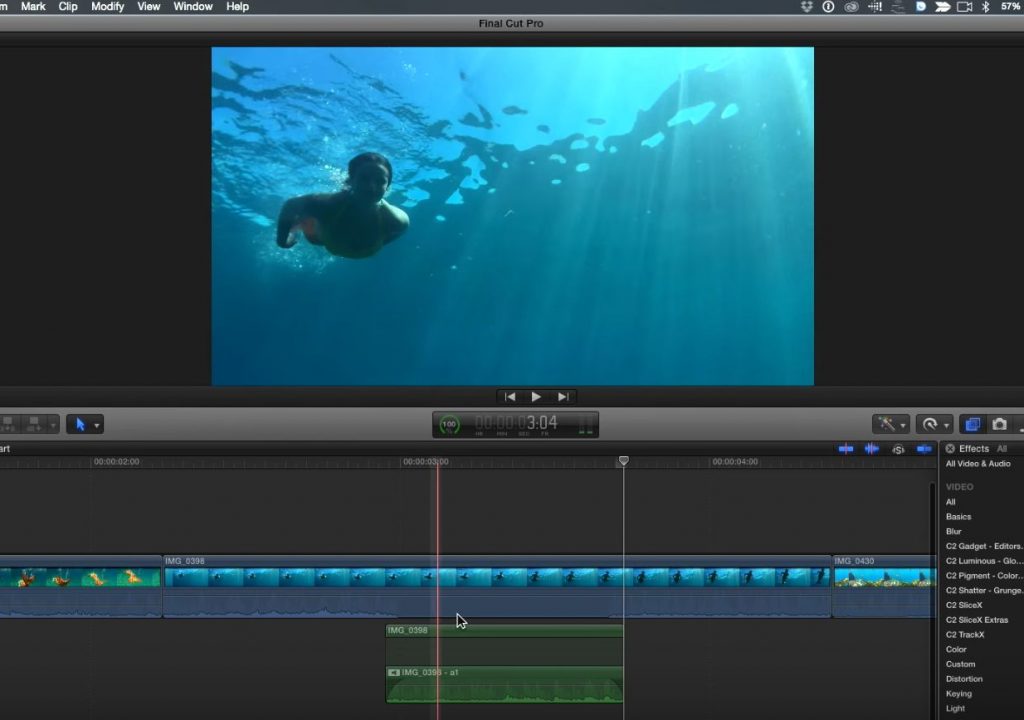
This week on MacBreak Studio, Steve Martin from Ripple Training shows us how he prefers to apply audio filters to a specific range of a clip.
It’s a common editorial task to sweeten or repair just a section of audio: perhaps adding some EQ or some compression, or a noise gate filter. And you might think that to do so, you could simple set a range on the clip (press R for the Range tool, then drag out the range, or better yet, press and hold the R key, drag the range, and release to automatically return to the default Select tool), but you’d be disappointed to discover that when you then drag your selected audio effect on top of your clip, it is applied to the entire clip instead of your range. Rats.
So, most editors resort to blading the range they want to modify with the audio effect. While this approach works, it has few disadvantages: first, you blade both the video and audio, creating unnecessary through edits. Second, it’s not a simple task to cross-fade between your filtered and unfiltered audio clips (applying a cross-fade transition will affect both the video and the audio).
Steve uses and recommends a different procedure, in which he sets a range on the audio he wants to filter, then disables that range (by tapping the V key), then copies that range and pastes from the start of the range, creating a separate copy of the audio connected to the video clip. He is now free to apply audio effects to this range and then, it is a straight-forward task to create smooth cross-fades between this affected audio clip and the audio leading into and coming out of this clip.
Check out the process in the video above. If you dig it, check out Ripple Training’s Sound Editing in Final Cut Pro X.

Filmtools
Filmmakers go-to destination for pre-production, production & post production equipment!
Shop Now


