When you do a ton of online training, like I do, there are two hugely important factors that you need to consider, when getting yourself set up. First is the microphone. For anyone that’s interested, I recently switched from a Sennheiser microphone, to an Audio Technica A2020, which is a fantastic microphone, USB based, for anyone looking to get into screen recording. The second, and equally as important, item that you will choose when getting yourself set up, is the screen recording application. For me, Screenflow has always been my “goto” application for all my screen recording needs. Even when I need to screen record on Windows, I’m breaking out my Parallels and Screenflow, so I can record everything exactly the way that I like. Now, with that being said, it’s been a couple of versions since I have upgraded. I was currently running Screenflow 4, and Telestream has just come out with Screenflow 6, so let’s see what I’ve been missing in version five, and we can see if version six is worth the upgrade.
COST & UPGRADE PATH
Let’s get this out of the way right off the bat. For a new license of Screenflow, it’s $99US. Now, what’s funny is that I was looking to see what the upgrade cost was, but there is no button, nor is it mentioned on the Screenflow spash page, but needless to say that after a bit of Googling, I found this link that breaks it down a little bit better. To be honest, I found the whole method of upgrading to be slightly annoying. There should just be a button on the Screenflow Splash Page that says “UPGRADE”, right beside the “BUY” button to make life a lot easier. The actual cost to upgrade is only $34 US, which is a super great deal, once you find it.
WHY WOULD AN EDITOR EVER NEED SCREENFLOW?
This is a great question that I was pondering for about 3 seconds, when I came up with this simple answer. Have you every had a producer say to you “Can we recreate someone going to this website in After Effects?” If you’ve ever heard a producer say something like that, Screenflow can do that job in one take, in about 2 minutes. After Effects recreation equals about a days worth of work!
WHAT’S NEW SINCE VERSION 4
There have been a ton of new features added to Screenflow since version four, and I want to highlight some of the bigger ones in version five, before moving onto the newest features.
Version 5 Highlights
- iOS Recording, with the ability to record your iPhone and iPad, just like recording off your webcam!
- Native support for MPEG TS/AVCHD Files – Now you can import and work with MPTS and AVCHD files directly in Screenflow, just like any other imported file.
- Set recording frame rate – a great feature that let’s you choose the recording frame rate, as opposed to converting to it on export.
- Direct access to your iPhone and iTunes libraries, right in the Screenflow interface
- Rolling Edits – this is a big one for me. Previously, I’ve had to drag the incoming/outgoing heads separately, and now I can do it like a trim in Media Composer
- New Transitions – 20 additional transitions to add to the collection
- Add Markers while recording – A great way to mark a problem section quickly, without having to stop recording
- Quickly clean up sources that are not being used. This is a big one for me, who’s huge on media management.
- Batch Export – I had a good laugh at this one thinking “Who would ever need this one?”, until I rebranded all of my Media Composer tutorials, and this came in SUPER handy!
Now, these were the big features in version five. Let’s see some of the great new features in version six!
Version 6 Highlights
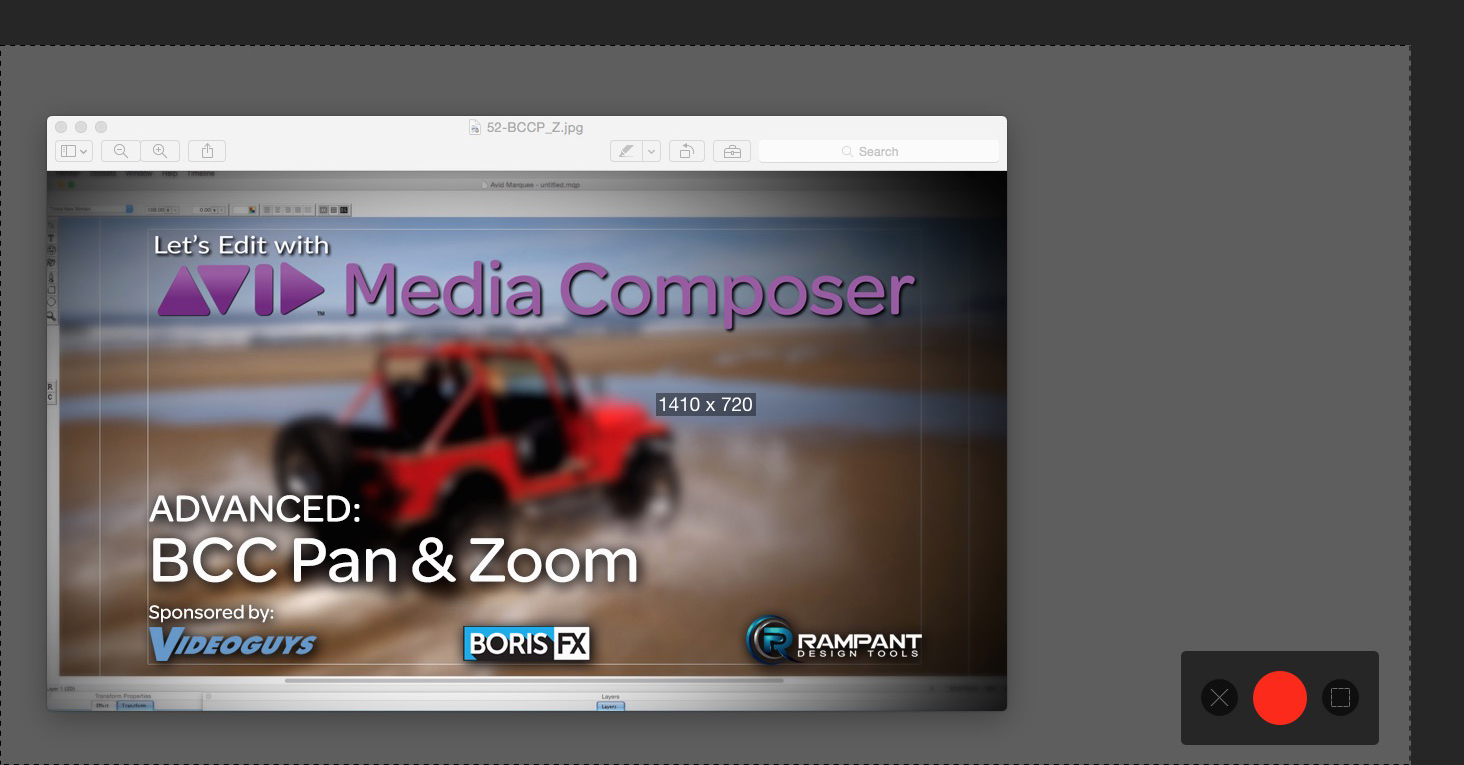
- Partial Screen Capture – This was always a big on that Camtasia Studio on Windows had, and Screenflow never did, until now. When setting up your record, simply hit the icon to the left of the record button, and select the area you want to record.

- Multi-Channel Audio Mixer – Do you have a USB mixer that you want to use on the fly while recording your screen, and need access to those separate audio tracks after you’re done recording for specific audio mixes? No problem. Now you have access to up to 16 discreet audio channels for all your mixing needs!
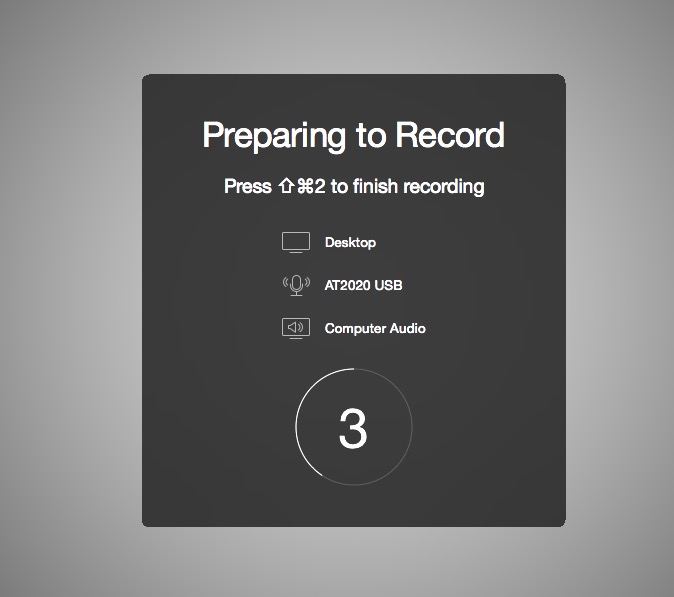
- Redesigned Countdown Overlay – Believe it or not, this is a big one, as before, there were times when I was recording, where I needed to record the computers audio, and I thought I had clicked the option, and only after I was done, did I realize that it didn’t get clicked. Not to worry now, as all the recording information is displayed right in front of my when I hit record, so I can quickly stop and make any adjustments if necessary.

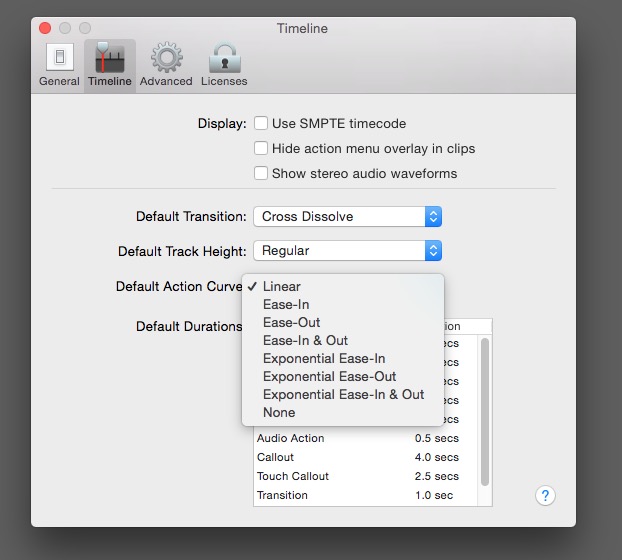
- New Motion Curves and Set Default Curve – This is a pretty big one, as before, Linear was really your only option when it came to types of animation movements in your timeline. Now you have a bunch to choose from including Ease In and Ease Out, and you can easily set the default behaviour in the Preferences.

- Replace Clips in the Timeline – Now, you can easily swap clips in the timeline, without having to delete and redo any animations or sizing/parameter changes
- Export Animated GIF’s and ProRes 422 at 422 LT – This was another big one that would have come in handy a few months ago, on a job we were working on in the office, where we were exporting files, and we need to deliver ProRes files. We could have easily just exported PR directly from version six, and been good to go!
- Export Status in Dock – Now, you can see the status of your exports in the Dock, without having to go back into Screenflow!
Now, keep in mind that these are only a few of the almost twenty new features in Screenflow, and you can check out all the new features here.
WHAT DO I THINK
Screenflow is the absolute, hands down, best screen recording application on the market today. Period. Mac or Windows (even though it’s a Mac application only). With that being said, I do have one request of Telestream that I hope they read and implement in an upcoming version. I find myself doing a lot more “work” then I think is necessary, when editing my screen records, and that is because of the way the Animation window is setup. Most of the parameters I use are at the top right corner of the screen. The timeline is at the bottom of the screen, so I find myself constantly “Mouse Up, Mouse Down, Mouse Up, Mouse Down, Mouse Up, Mouse Down, Mouse Up, Mouse Down, Mouse Up, Mouse Down, Mouse Up, Mouse Down, Mouse Up, Mouse Down, Mouse Up, Mouse Down, Mouse Up, Mouse Down”, and so on and so forth. What would be an interesting idea, would be to make the animation panel dockable. This way I could potentially add it below the timeline, so this way I can easily access the parameters I need to alter, with as little mouse movement as possible.
In the end, if you are even thinking of doing any screen recording on the Mac, you absolutely have to use Screenflow, as it is the best on the market, and my two gripes (attempting to find the Upgrade path/price and the dockable Animation window), are really very minor issues . The best screen recording application has just gotten even better with Screenflow 6. Download the demo. You won’t be disappointed.

Filmtools
Filmmakers go-to destination for pre-production, production & post production equipment!
Shop Now


