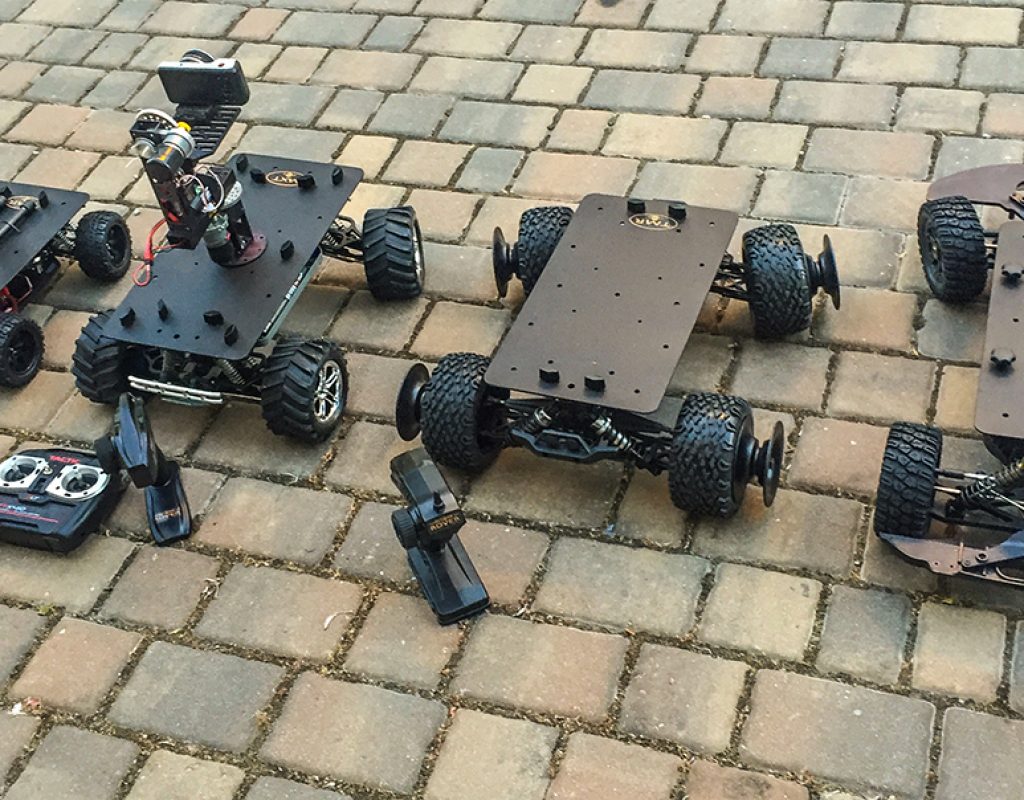
After experimenting with my own kit build of my first 1:5 scale POV Cine Rover (see Part 1 of this series on ProVideo), I had a great discussion with Joe at Eclipse Rover last year about the design hurdles in perfecting UGVs (Unmanned Ground Vehicles) for cine/video use. So we’ve agreed to run several of his models through a series of tests, configurations and some real-world production to see what the best combination of UGV and camera configuration provides is with the best results.
After experimenting with my own kit build of my first 1:5 scale POV Cine Rover (see Part 1 of this series on ProVideo), I had a great discussion with Joe at Eclipse Rover last year about the design hurdles in perfecting UGVs (Unmanned Ground Vehicles) for cine/video use. So we’ve agreed to run several of his models through a series of tests, configurations and some real-world production to see what the best combination of UGV and camera configuration provides is with the best results.
https://youtu.be/KOARDgOgnGA
Eclipse Rover Models
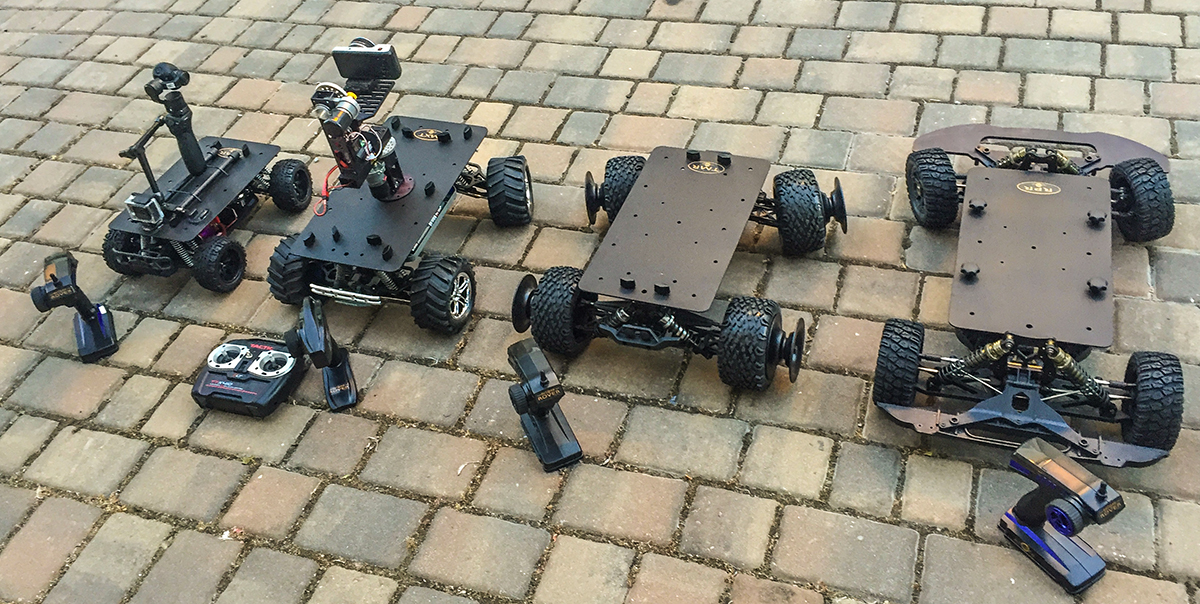
Eclipse Rover makes 5 different 4WD rover models for every budget and use requirements and payload. Of course each model has its specific usefulness for its size and there are many options available for the different models to make them most suitable for your needs. From smallest to biggest, they are the SMR, TMR, MXT, RPR and MTK. I didn’t get the largest model shipped to me yet (MTK) but the other 4 have been run through several sets to date and continuing.
Eclipse Rover SMR (Consumer)
MSRP $908
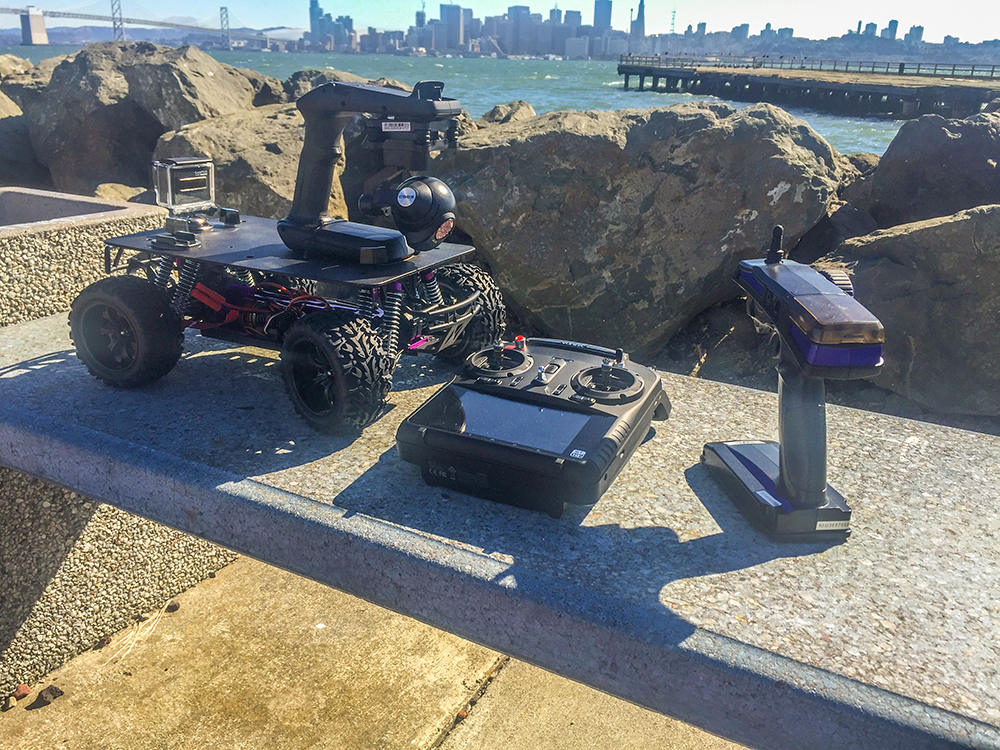
The smallest in the fleet and probably most agile for tight spaces, the Eclipse Rover SMR may not be the smoothest ride on the block for high-end video or cine work, but it’s small size and low profile make it good for getting a visual on the action you might not be able to get to otherwise. It features a 1/8″ aluminum mounting plate that will accommodate small POV cams or even a small gimbal cam like the DJI Osmo, the Yuneec GC03 grip or the GoPro Karma Grip.
I mounted a few different cameras to the SMR and did some basic test runs to see what kind of footage I might be able to capture with it. While I was pleased overall with the operation of the SMR and the speed/range for its size, it’s probably not my first choice for any kind of smooth video operation on the ground, but rather a fun POV cam shot in hard to get to places or when you want that “animal cam” shot with a GoPro or small wide angle cam. It would also serve as a good portable rover to toss in with your DJI Osmo to capture some harder-to-access and low POV shots on location.
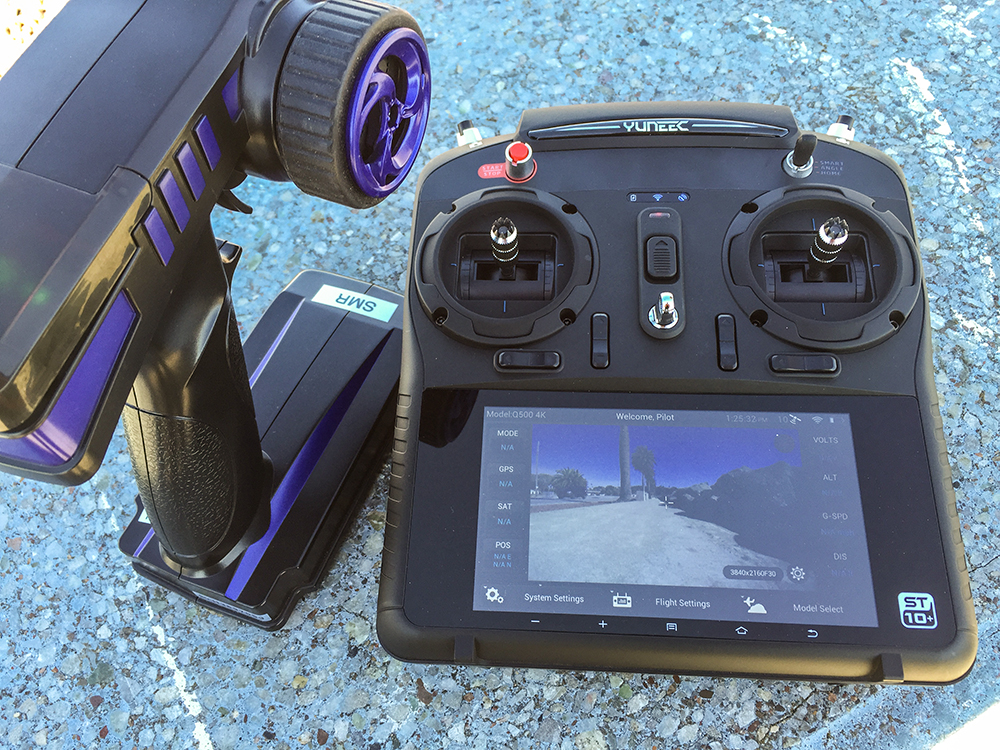
My tests with the Yuneec CG03 that ships with the Q500 4K and comes with a handheld gimbal mount, proved the camera itself isn’t really accommodating to such movement.
I would highly recommend getting some kind of vibration dampening plate in addition to the gimbaled camera for this setup.
Here is a short video clip of this setup on the sidewalk:
https://youtu.be/P2Ek6oZV2LU
Eclipse Rover TMR (Consumer/Prosumer)
MSRP $1262
The Eclipse Rover TMR is really built for a lighter but solid payload as there isn’t much wheel travel and it sits low to the ground. But it’s wider track and larger surface platform than the MXT allowing some versatility in mounting options – plus a steadier option with more tracking control. It also features a dual-power option where you unplug one of the two battery packs and it cuts the speed down to 50% allowing for smoother dolly shots. It also features brushless motors to provide smooth motion and acceleration through the entire range.
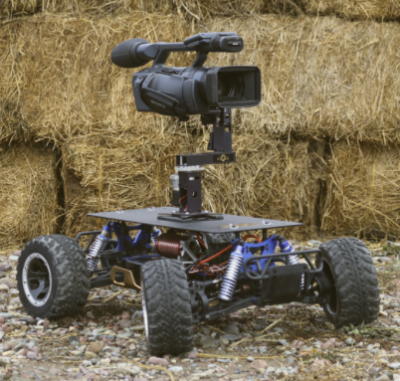
We’ve only done a few driving tests with the TMR so far, but my colleague Terrence Williams (formerly with 3DR as a flight test engineer) is going to be doing some electronics modifications to explore autonomous missions and programmable controls to allow auto tracking and dolly moves. Stay tuned for updates.
Eclipse Rover MXT (Prosumer)
MSRP $1726
By far the most versatile small scale rover in the lineup – and the one I’ve been drawn to the most so far. The long-travel 8 oil-filled shocks allow the Eclipse Rover MXT to handle a pretty hefty payload, including the 1/8″ removable/magnetic aluminum mounting plate.
Being that this model is considered the “Prosumer” level, I’d have to agree that while the chassis is based off a toy-class 4WD Traxxas monster truck, the capabilities, size, payload and modifications that Eclipse Rover has provided with this kit, make it very useful on several levels of remote video production.
The 8 dual-mounted oil-filled shocks provide great suspension under load and allow for a multitude of roving environments both off-road and on. The unit I’m testing came with two sets of tires – both street and off-road, so I can try it out in various conditions, as you’ll see.
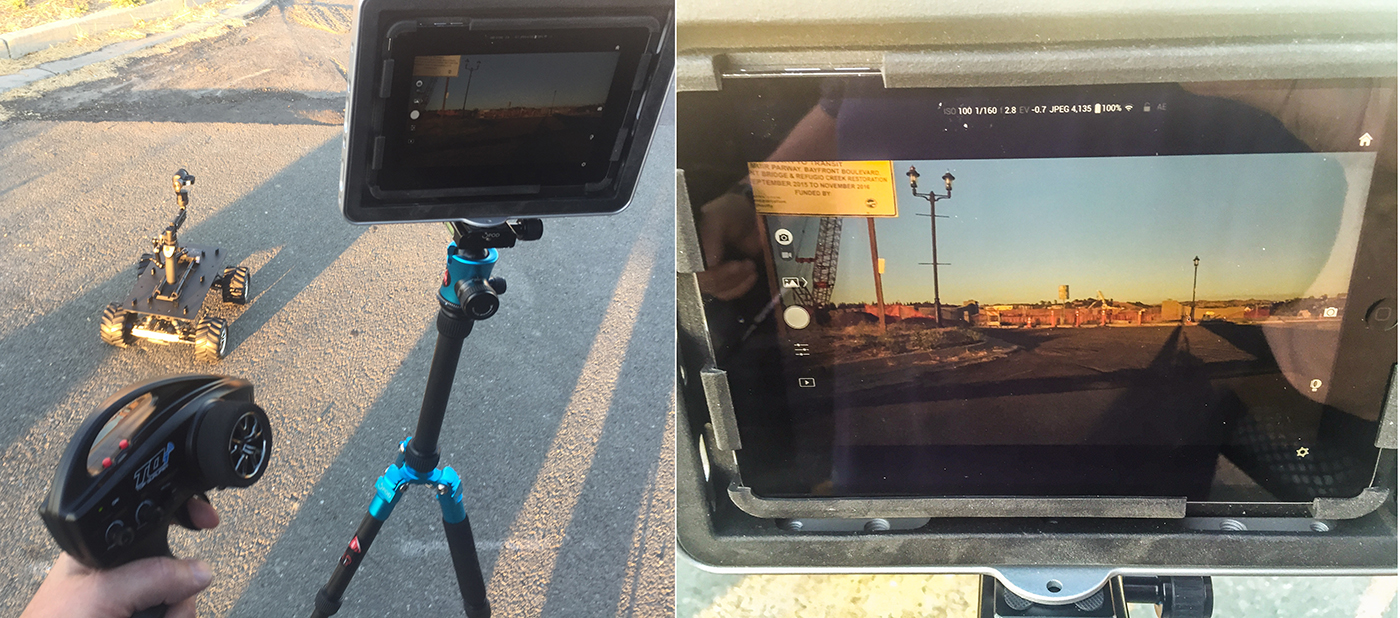
So far, most all of my testing with the MXT has been with the DJI Osmo mounted either with the extension arm or with an A-arm and the Z-axis mount. The main reasons I’ve been using the Osmo is that it has a smooth gimbal 3-axis gimbal, clear optics and can shoot 4k/30 or 1080/60, and it can match the footage I can shoot with the DJI Inspire 1. It also uses WiFi to connect to an iPad or iPhone (or other smartphones) so I can control not only the camera settings but also preview what the camera is shooting live and make adjustments to camera tilt/pan/zoom on-screen. Here I’ve got the iPad Mini in a Padcaster mount on a tripod so my hands are free to run the controller.
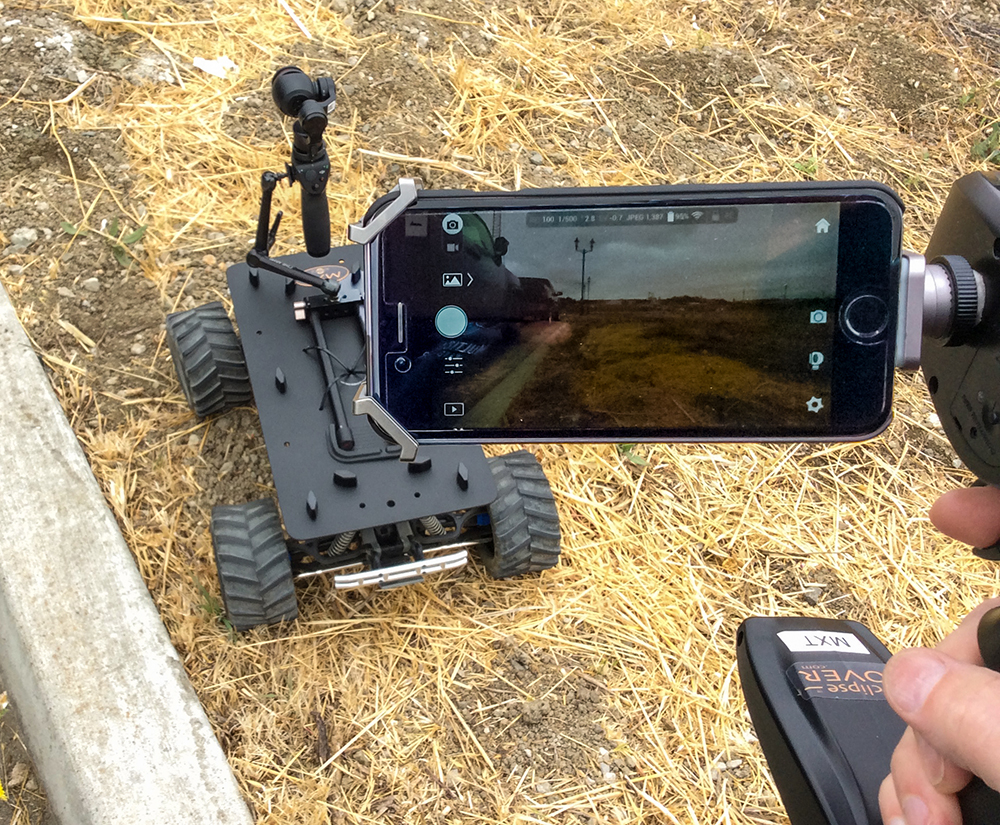
With the Osmo iPhone mount attached to the side of the MXT radio controller:
Here are some offroad and street test video examples:
https://youtu.be/uuN3c-6fZdw
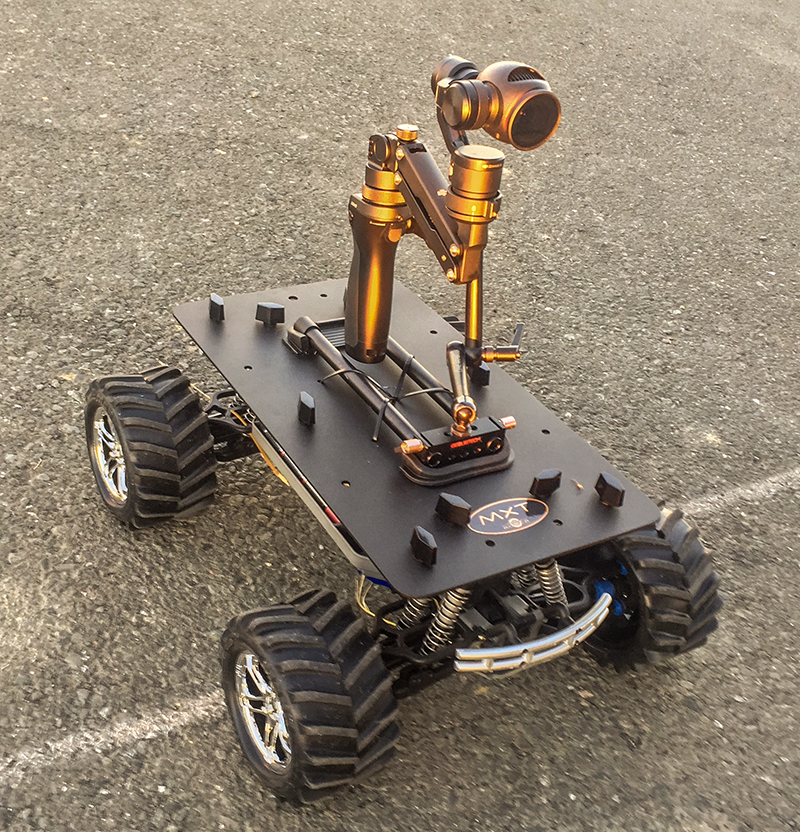
This test was done with the DJI Osmo Z-axis arm, which I’m not totally impressed with for this application – but here’s the results:
https://youtu.be/PX0Fqk4y_IA
MXT with the GoPro Karma Grip (and Hero5 Black)
Since I already had the vertical mount installed for the DJI Osmo, I attached the newest GoPro Karma Grip with a Hero5 Black to see how the stabilization handles the motion.
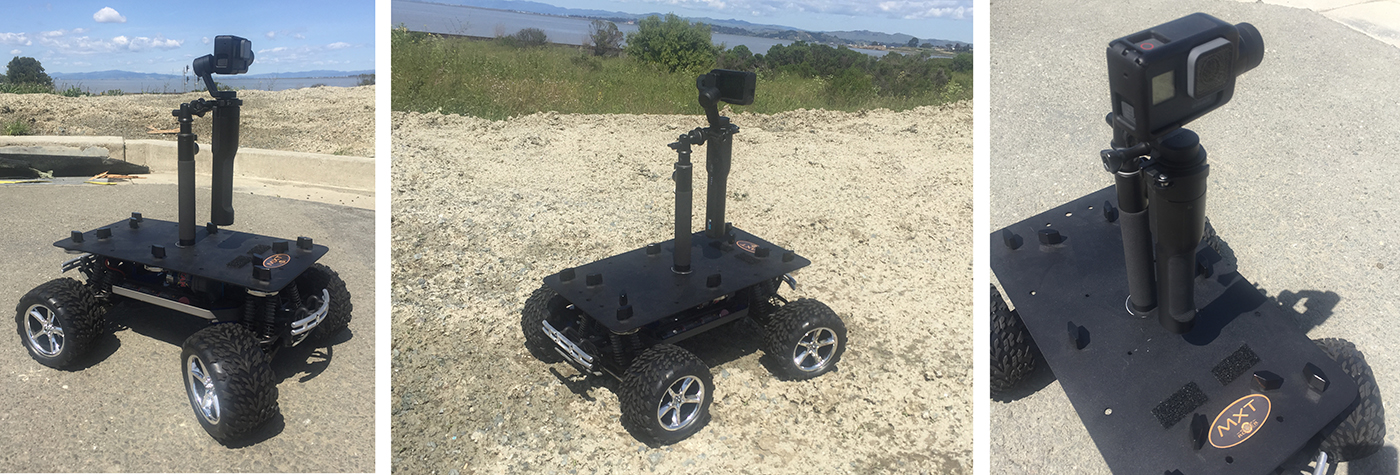
It worked surprisingly well and gave very similar results to the DJI Osmo in this setup. Here’s some short video clips of the tests:
https://youtu.be/PIwg4hNOgCM
MXT removable plate
The removable magnetic 1/8″ aluminum mounting plate attaches with 4 fasteners and can be quickly and easily attached to any metallic flat surface to provide a steady platform for your camera from a low POV not he rover to the top of your car to the side of a piece of heavy equipment and back to the rover on rails – all without removing or unmounting your camera gear from the plate.
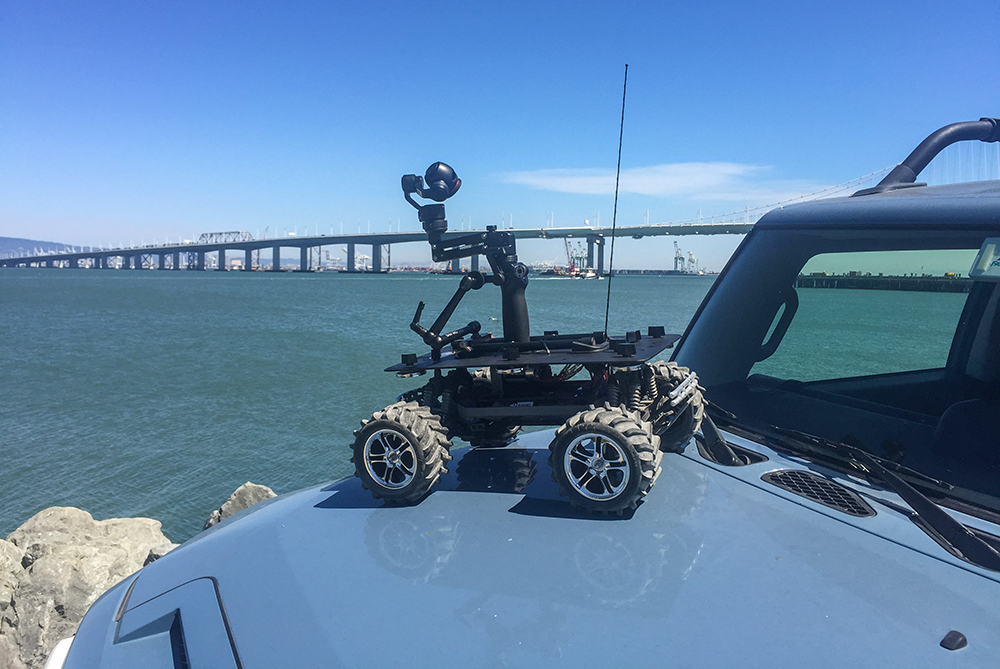
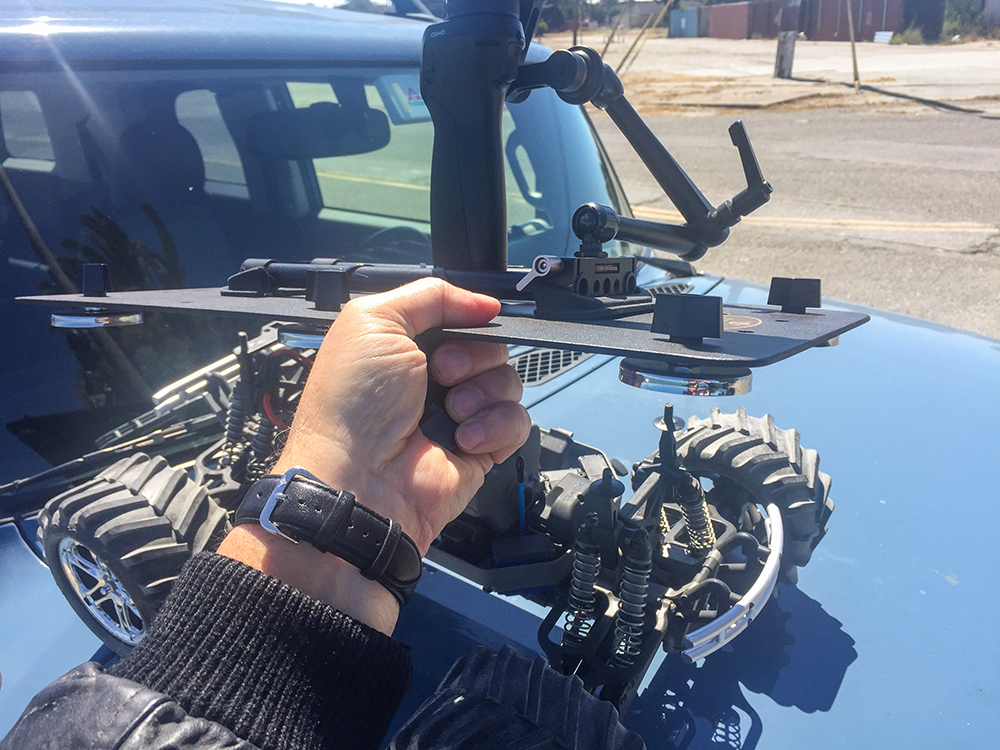
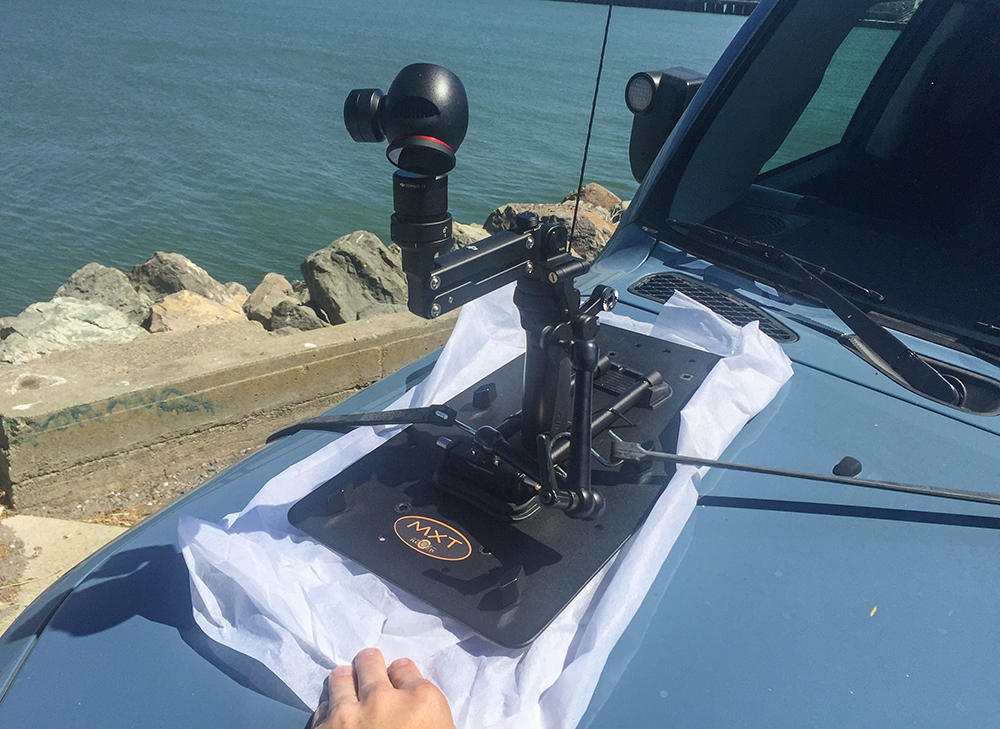
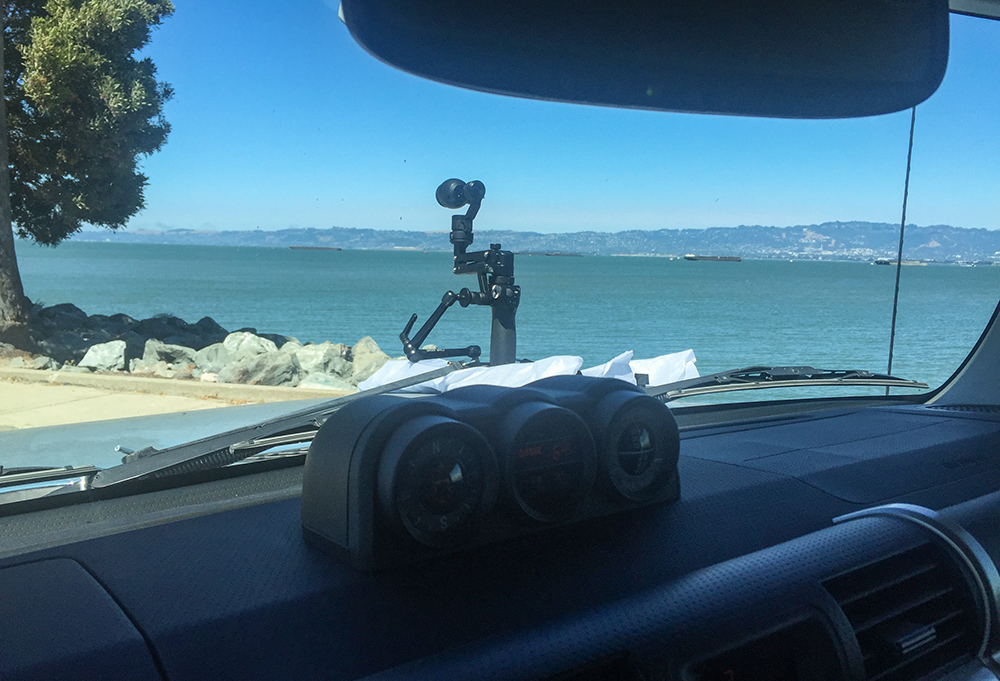
In this test video, I simply removed the plate and used some cotton batting as a paint protector for the hood of my FJ to drive around Treasure Island, in the San Francisco Bay. I also added a couple bungie cords just as a safety since I was traveling on a public road, but they really served no other purpose.
https://youtu.be/PvNfhmtDjO8
Updating/Tuning the MXT (Traxxas) Radio Controller
Eclipse Rover has selected this incredibly-durable and versatile chassis as their base for the MXT Rover – another reason it has really been my choice to start with in my initial tests.
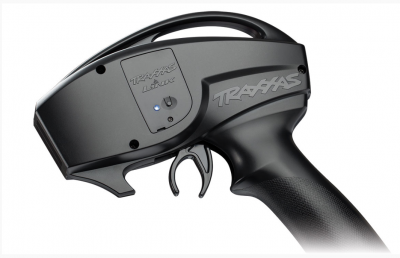
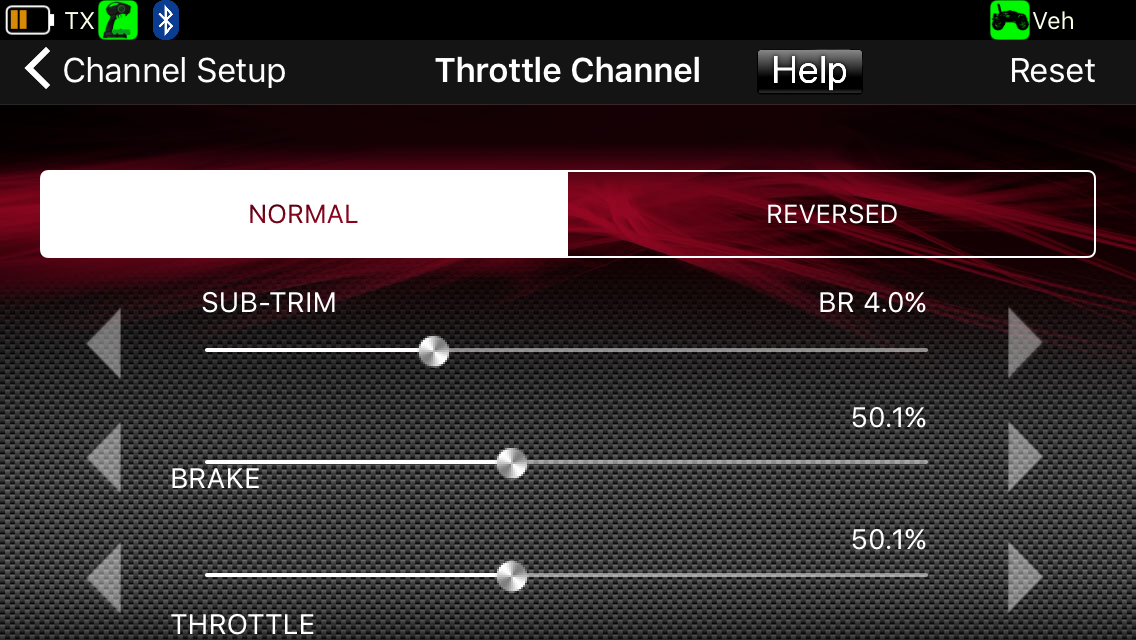
Out of the box, the MXT controller allows you to with from 50/50 access/brake on the controller (extending your range for forward movement) and to trim your steering. It also has some preset modes built in the the rover’s onboard speed controller to cut the speed in half for slower motion (also called “training mode”) so your rover doesn’t take off like lightning down the street with an expensive camera attached to it!
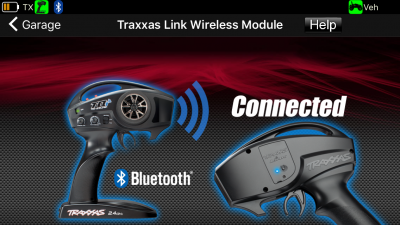
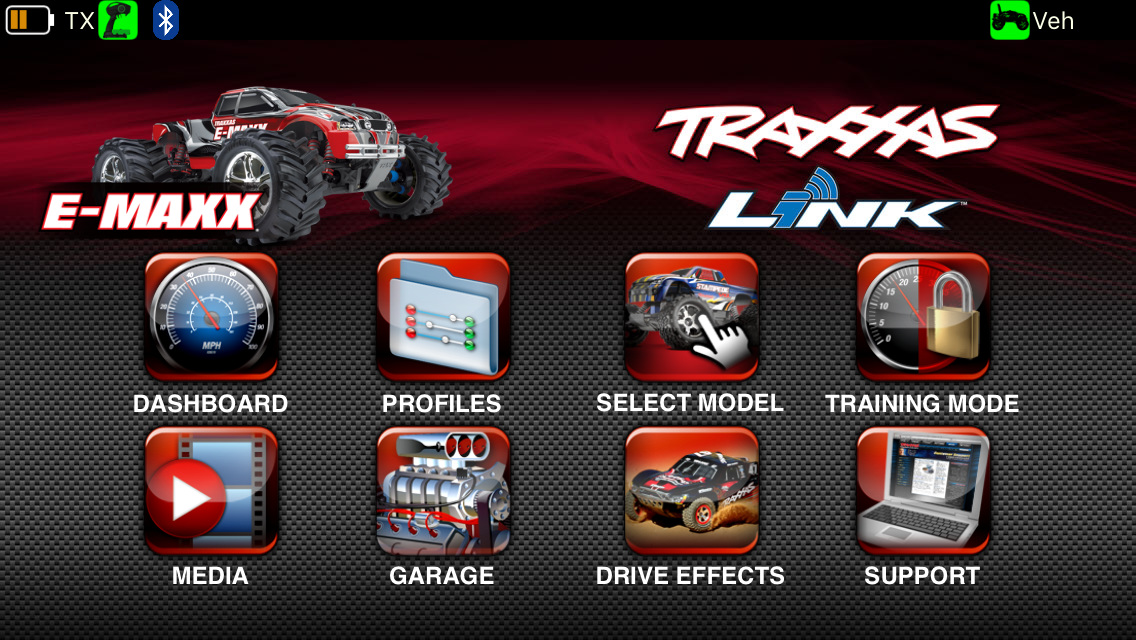
But simply adding the Traxxas TQi Link BT Wireless Module and downloading the free Traxxas Link app for your smartphone/tablet, you can fine tune many of the channel settings to get precisely the performance you want for the production you’re working on – then switch it back or create your own profile for a fun and wild off-road experience!
MXT on Rails
Of course, one of the major features that make the Eclipse Rover a true “Cine Rover” is the patented wheel coupler hubs that allow you to run any model on 1-1/4″ pipe rails or a special cable system (which we’ll get into more in future tests).
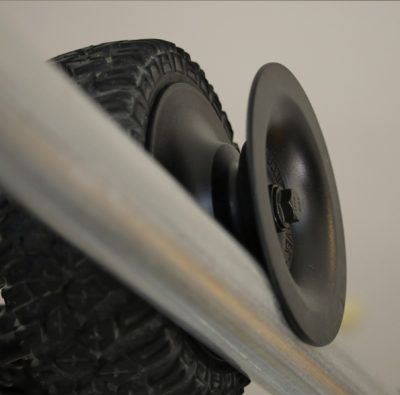
The coupler hubs are designed specifically for each Eclipse Rover model to fit perfectly on the outside of the wheels/tires and secure the mounting to the rover shaft.
With this patented design, the tires aren’t contacting the pipe so no matter if you have an uneven wear spot on the rubber or a worn wheel, the coupler hubs maintain a smooth glide across the pipe.
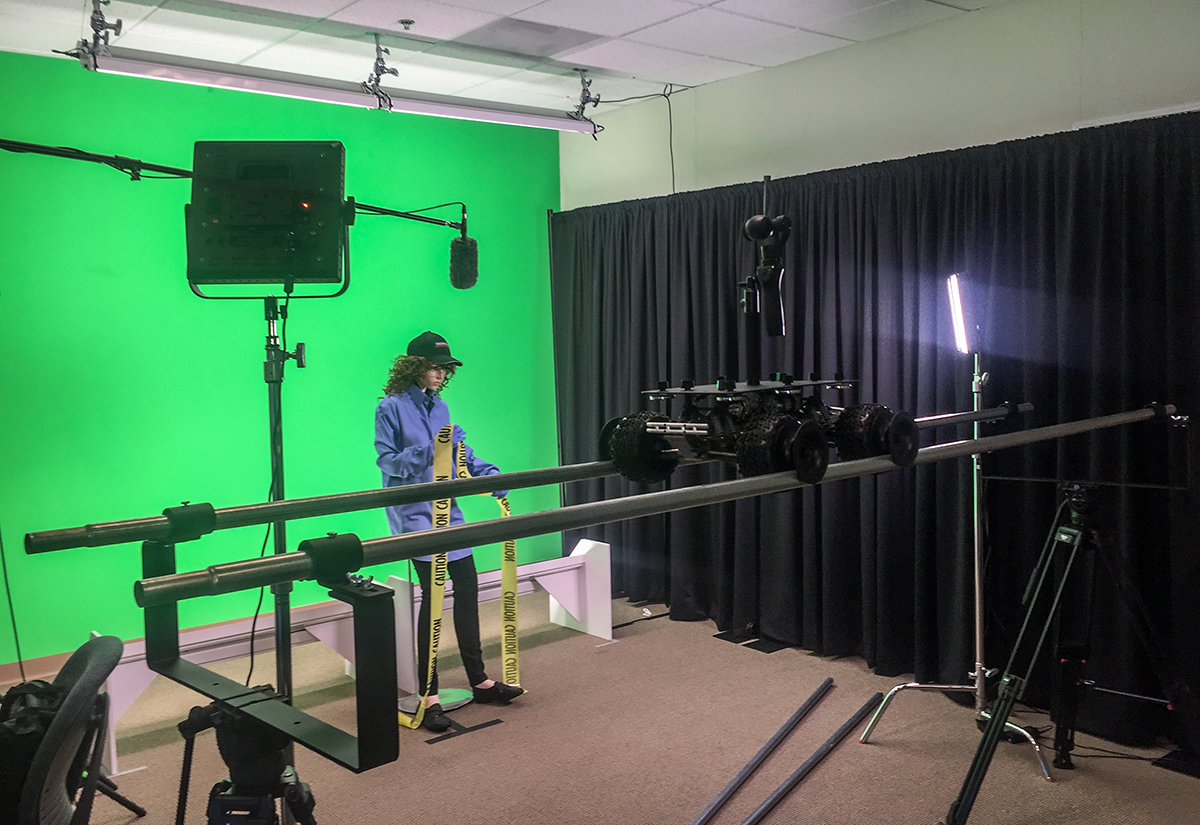
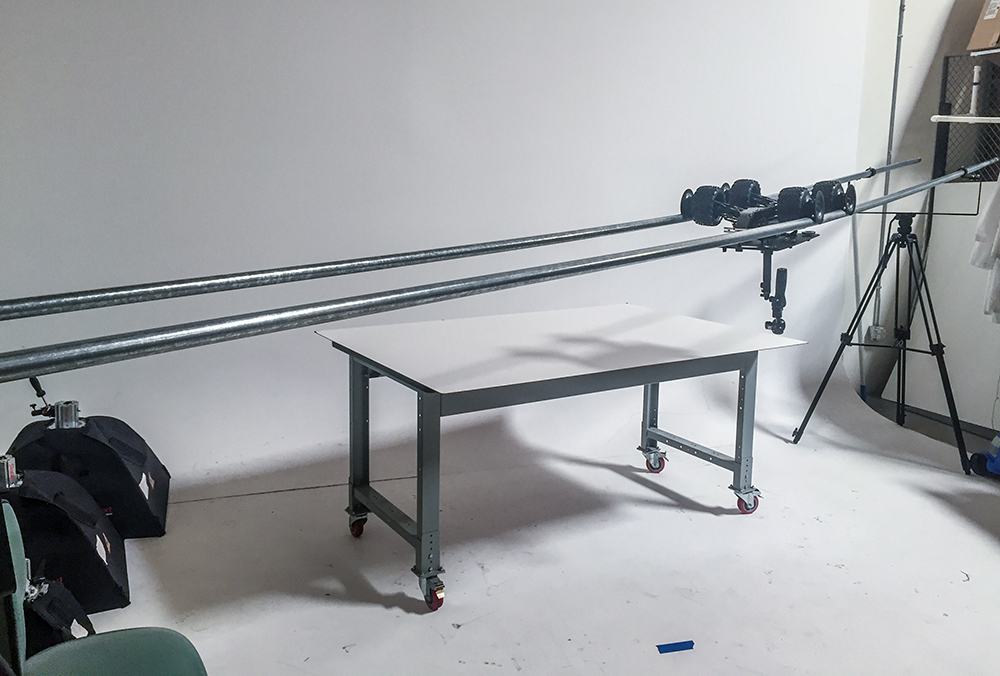
We only had a short period to work with this setup in the green screen studio this week and will return in our next part with much more on using this system both suspended and on the ground for try smooth tracking video.
Here’s a couple short test clips we shot in the studio with the DJI Osmo attached to the MXT:
https://youtu.be/6_utKt9fvbw
Eclipse Rover RPR and MTK (Professional/Commercial)
MSRP (RPR) $2048 / (MTK) $5828
I’ve had only a few tests with the larger Eclipse Rover RPR and have experimented with adding a vibration isolation plate system but still need to spend a lot more time experimenting with the right combination of gear to get a smooth video from in both free-roving and pipe-tracking modes.
Here you can see it next to my FJ Cruiser so scale comparison – it’s quite big and loaded with gear can easily weigh over 30lbs. Stay tuned to see what crazy combinations we come up with on THIS beast as well!
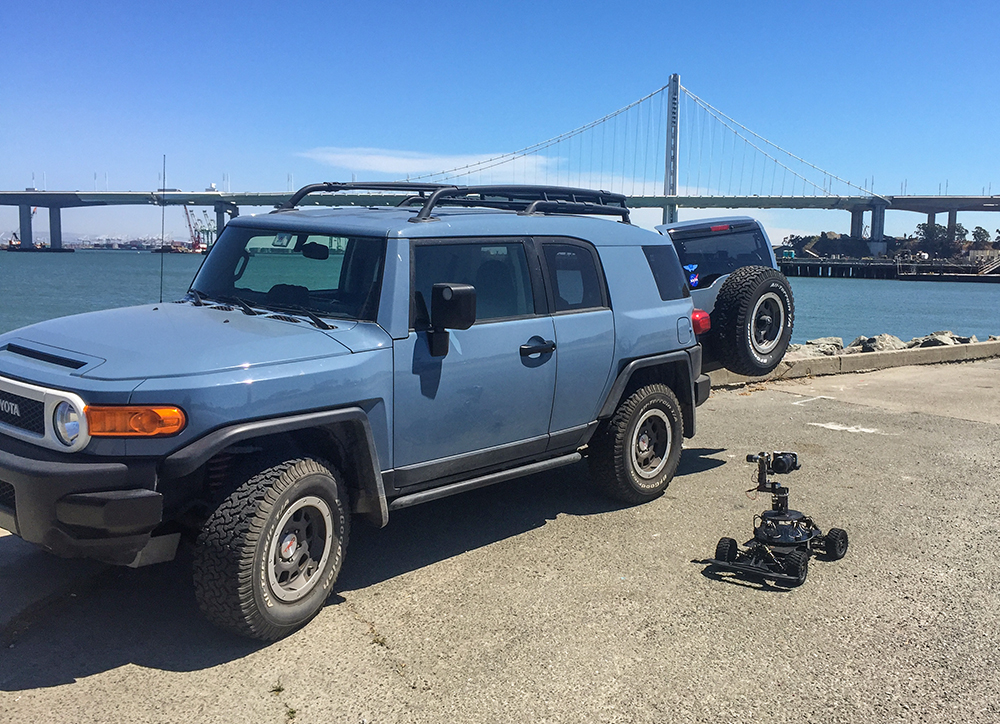
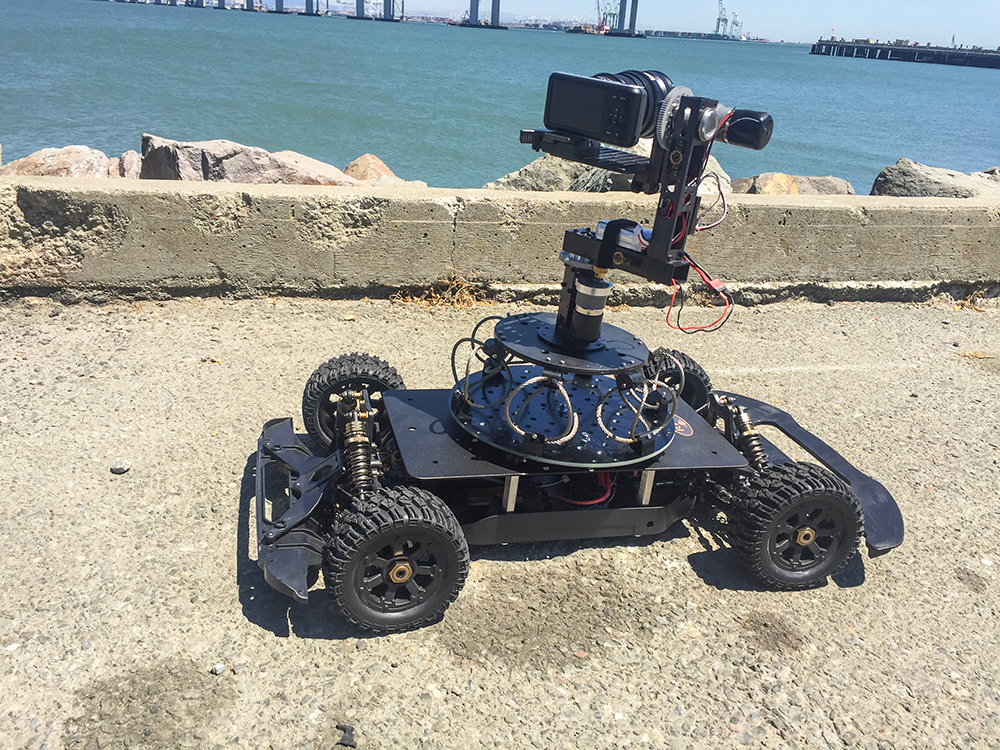
Not shown/tested: Eclipse Rover MTK – the biggest beast that they make (almost 3′ in length). Was too big to include in our first testing run with the other 4 rover models, but it can be upgraded to handle up to a 100lb payload and has an aluminum chassis and metal gears. It’s built to last and take abuse of daily operation in a commercial environment.
The entire line of Eclipse Rovers are detailed and outlined from their website.

Filmtools
Filmmakers go-to destination for pre-production, production & post production equipment!
Shop Now