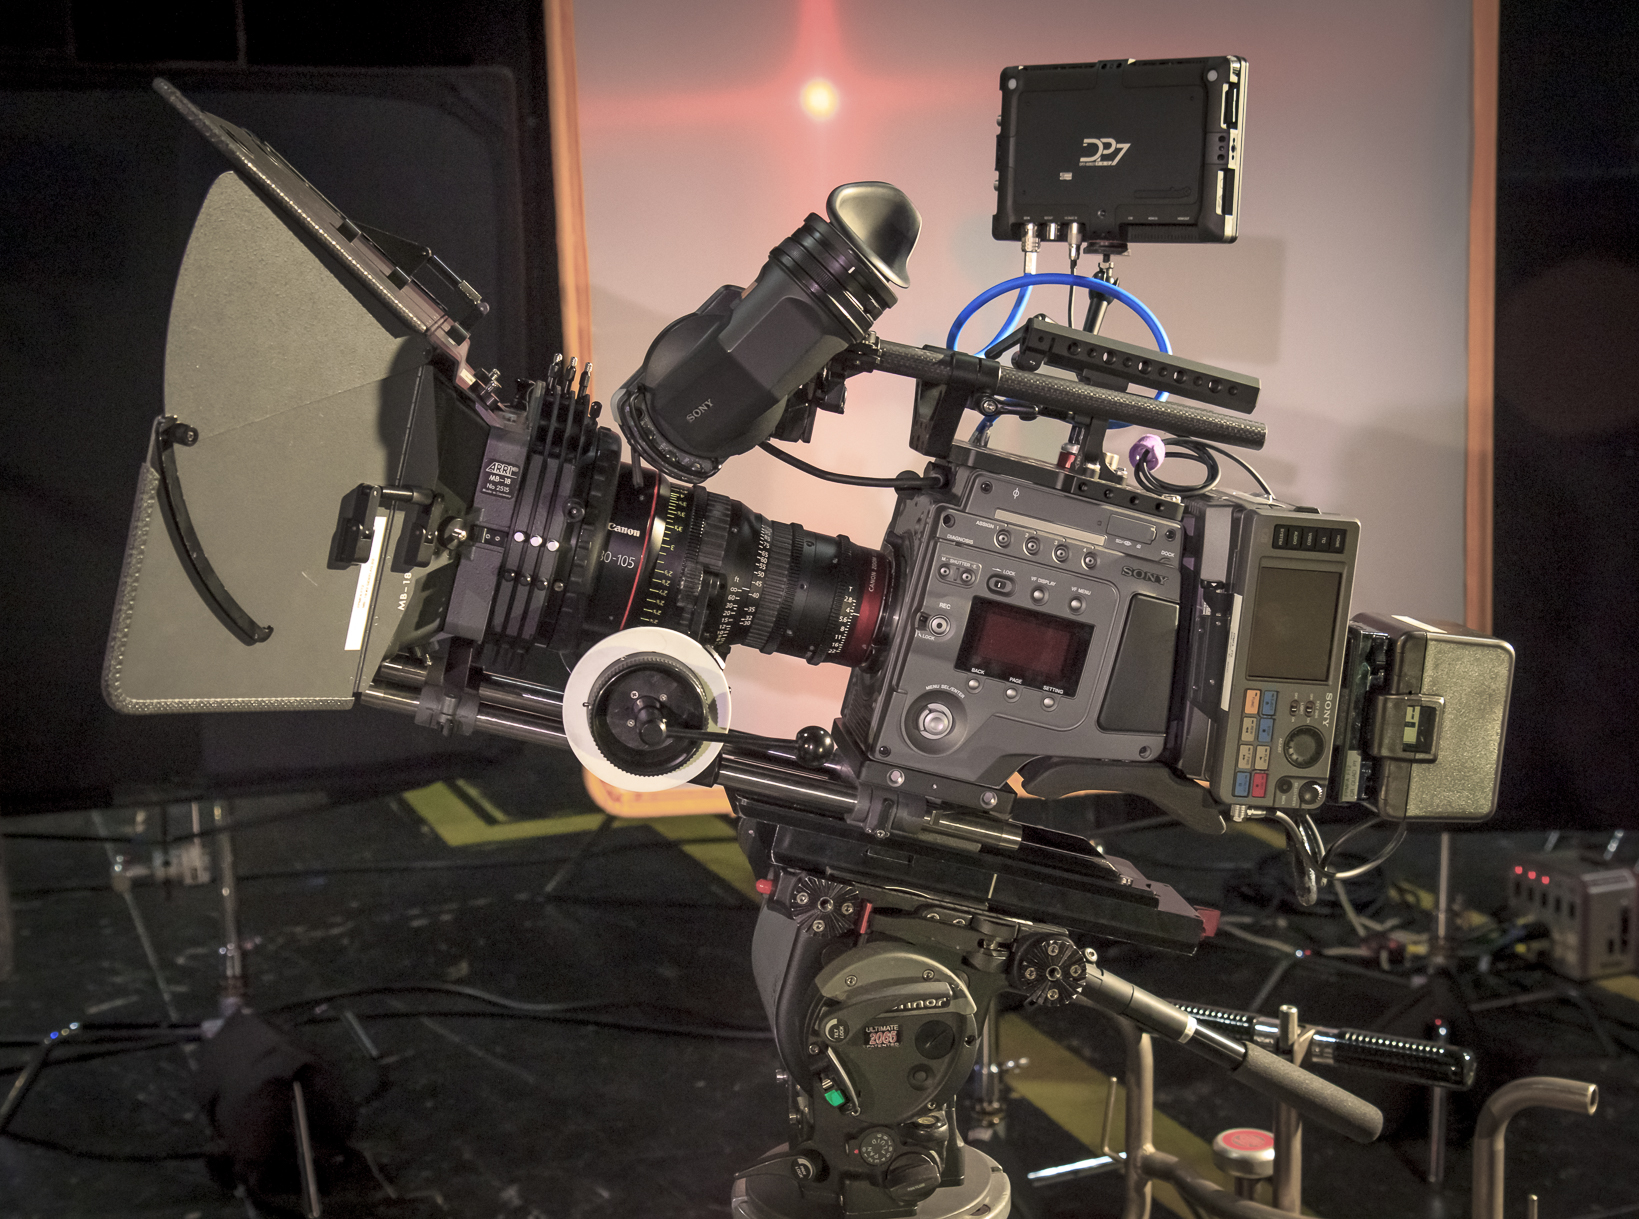
When Adam Wilt and I shot “Fire and Ice” together on a prototype FS700 we had no idea that it would be shown at NAB… and that it would be hit. We wanted to do more, so we pitched Sony a commercial concept for a local company that involved high speed “veggie baseball.” Guess what: they sent us an FS700 again. Edible baseball never looked so good.
A while back I shot a spec spot/demo piece with director Ian McCamey and a prototype Arri Alexa. After the success of “Fire and Ice” I approached Ian to see if he had any ideas for future projects that might take advantage of affordable slow motion. As it turns out, our timing was excellent: Colin Stuart, star of the Alexa demo video, is CTO of a company called Betabrand, a boutique clothing company that makes a lot of very cool and unique fashion items, and they wanted to shoot an offbeat promo for their new line of vegetable-dyed clothing. Ian had a discussion with Colin and CEO Chris Lindland, and the upshot was that they decided to shoot a slow motion food fight in a San Francisco park.
Our plan was to capture all of this at 240fps, the highest speed at which the FS700 can record in full 1920×1080 HD.
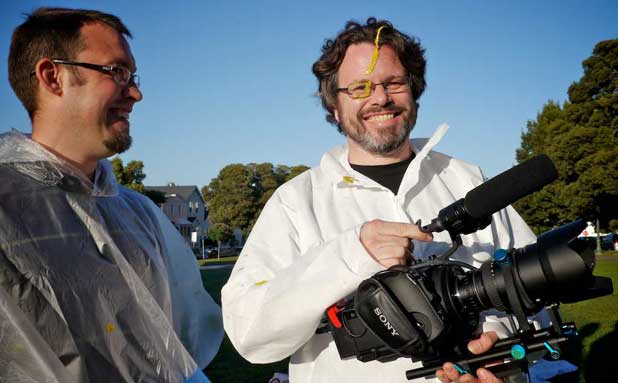
The camera arrived last week fitted with a Nikon lens adapter, and Adam Wilt volunteered himself as camera assistant along with his collection of Nikkor zooms (12-24, 17-55 and 70-200) and Vinten sticks to shoot the project. We both invested in garbage bags, drop cloths and full-body Tyvek painting suits as I expected to be quite close to the action and we didn’t want to destroy a camera that hasn’t been officially released yet. I like to get the camera close and wide in order to enhance depth in action shots, and this paid off in a big way for at least one take.
We had two location options for our shoot day (Friday, May 11) and we opted for the second. Our first choice had a baseball diamond but was up on a hill and high winds made it unusable. Our second choice, Precitas Park in Bernal Heights, was considerably less windy, so we rallied there. As we financed this shoot ourselves we didn’t bother with permits and such; we just showed up with a bunch of fun people and a new camera and littered a park with food. (We did clean up afterward, which was a bit of a chore.)
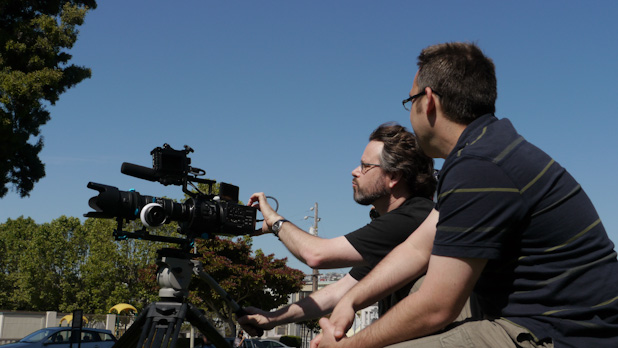
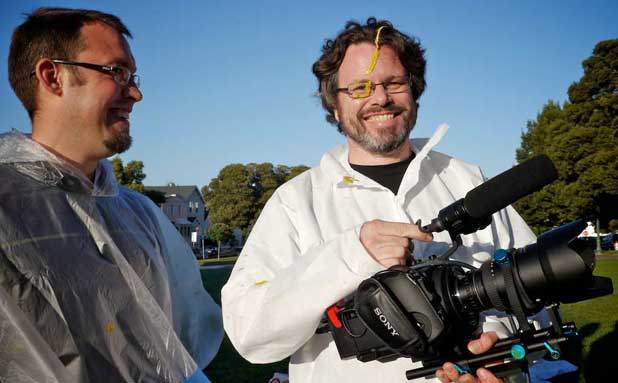
Ian and I set up our first shot. Note that we are not yet wearing any protective clothing. Ah, we were so young and naive then…
Initially we hung back on longer lenses and got some pitching shots, but before long we felt the urge to destroy food with a bat so we wrapped the camera in a garbage bag, taped plastic drop cloth around the legs, and gaffer-taped my Formatt ND .30 filter to the front of the lens as an optical flat. This made operating quite difficult as I had to cram my head under a garbage bag and pull the bag taught so the wind didn’t blow it between my head and the on-camera monitor. I operated a couple of shots by instinct as the bag occasionally blew in front of my face at just the wrong time.
We started with hot dogs and quickly moved into half gallon containers of milk, chocolate pudding, balls of frozen ice cream and, at one point, a whole baked chicken. You’ll have to wait for the final spot to be completed to see most of this, but there will be a piece cut specifically for Sony to show at CineGear 2012. (We’ll see if the chicken makes it into that cut. It’s one of those shots that causes hysterical yet guilty laughter.)
Let’s start with a simple tomato:
Colin Stuart takes aim at a ripe tomato, technically turning the park into a salad.
Slow motion is a tricky thing. It almost always looks better when the camera moves, but the moves are hard to accomplish because everything happens incredibly quickly. We captured eight second “bursts” at 240fps, which is a bit over six times normal speed and plays back over about 80 seconds of real time. Part of operating a shot like this is getting a feel for the range of motion by watching rehearsals, and trying to decide whether to move the camera to make the shot more dynamic (or save it if it goes wrong!) or to just let it play in a static frame. In this case I framed the shot to play out over time: by keeping Colin on the right of frame and anticipating where the strike was going to happen I created a composition that started “off balance” but then achieved balance when the strike occurred. Compositions happen over both space and time, and by starting with an off-balance frame and letting the action within the frame complete the composition I created a much more interesting shot. The beginning “off balance” composition creates a subtle tension that is released when the composition is balanced.
This is probably how most people would frame this shot anyway, but in my case there’s an extra bit of thought that goes into it. (According to some people I “over think” things like this. I prefer to think of it as “Doing my homework and ensuring results.” It also helps me communicate my techniques to others, which helps when teaching or giving instructions to second unit cinematographers.)
I should mention that I set the camera’s shutter at a hard 1/1000th of a second. I don’t like to use degrees to set a digital camera’s shutter because degrees are relative: the exposure changes depending on the frame rate, whereas I’d like to choose a shutter speed and know exactly what the camera is doing at any given time. For example, shooting 24fps with a 180-degree shutter results in a 1/48th of a second shutter speed, which is not always safe to use with sources that have magnetic ballasts (like overhead fluorescents, LED-lit signs, etc.). I prefer instead to choose a fraction, such as 1/60th, and know that I’m getting an exact shutter speed of 1/60th of a second, which is a very safe flicker-free window for HMIs under 60hz power.
I mentioned that we recorded shots in eight second bursts. The FS700 operates very similarly to the Phantom, which captures data in a buffer before transferring it to a storage device. The reason for this is that the buffer, which is solid state memory, has a much greater write speed than does removable media.
First, though, let’s distinguish between modes:
Slow and Quick mode allows the camera to record at speeds between 1 and 60fps directly to the SD card. Rolling the camera is as simple as pushing the record button to start and pushing it again to stop.
Super Slow Motion routes image data directly into the buffer. Once this buffer is full the contents can then be written out to the SD card at 60fps, which is the fastest speed at which the data can be written to the card. There are several ways to initiate recording:
In Super Slow Motion mode the camera is always writing to the buffer–shoving images in the front and discarding them out the back–so it’s possible to set the record button to capture whatever is in the buffer when the record button is pushed. This turns the record button into an “end trigger” where the data that is currently in the buffer, the previous eight seconds at 240fps (the time buffered varies depending on the record speed), is captured and saved. Hitting the record button after an event captures the previous eight seconds of time, which (hopefully) contains your event.
The record button can also be configured for simple start and stop operation: pushing the button once tells the buffer to start accumulating data, and pushing the button again stops this process immediately. If the record button isn’t pressed before the buffer fills then the camera will stop recording automatically when the buffer is full.
Once the shot is captured in the buffer the camera immediately starts laying it off to the removable media. During this process the shot plays back in the on-camera monitor, which offers a great chance to review the take and see if the important action was captured. (The shot is played back at 60fps during lay off, not 24fps, in order to minimize down time and get the camera ready to capture the next shot.)
After lay off was complete we were able to play back from the SD card and view the take at 240-for-24fps, but doing so took the camera out of Super Slow Motion mode. It’s important to remember to hit the S&Q button after playback to put the camera back into slow motion motion before rolling again.
NOTE: The S&Q button can be set to toggle through both S&Q and Super Slow Motion modes, or it can be set to bypass one or the other. In our case Adam set the S&Q button to bypass S&Q mode and go directly to Super Slow Motion whenever the button was pushed. After playback, when the camera dropped into normal recording mode, this setting allowed me to hit the S&Q button and return immediately to Super Slow Motion mode.
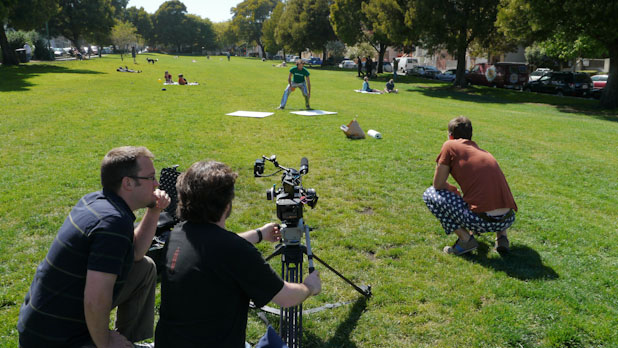
Surely there are better ways to toss a salad…
There’s more whacky food-fight goodness on the next page…
Here’s a shot where I tried to follow the object into frame:
My reactions aren’t the best–they’re average, which works well for most things–but I compensate for this with a spectacular sense of timing. We got into the habit of Ian giving a count down (“Three, two, one, action!”) to allow me to get into the groove of the shot. After the first take I got a sense for when the orange would enter the frame, and I started my move to catch it and follow it to the strike. This doesn’t always work because the pitch isn’t always perfectly timed, but a countdown has the subtle effect of getting everyone into sync. It’s amazing how actors, and even non-actors, get into a rhythm for shots like this. Even on a regular set the pattern of saying “Settle… and.. action!” gets everyone working to the same rhythm.
Once the rhythm is established it holds fairly consistently until performers get tired or fed up.
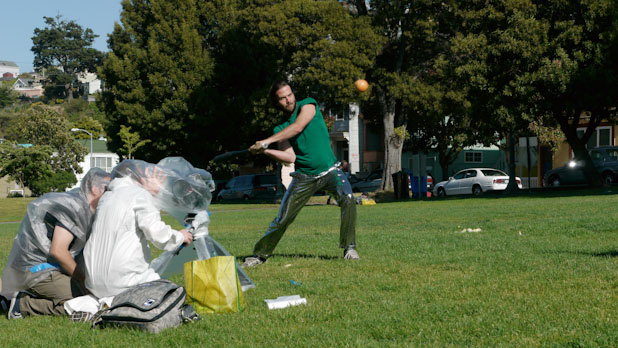
Ian and I hide in a garbage bag while trying to watch a shot in buffeting winds.
This shot was an experiment. Most of the time I followed the bat instead, and I think the results are much more fluid. You’ll see those shots in the final spot.
Here’s where getting close with a wide angle lens pays off:
Most of these shots were done at 28mm on Adam’s 17-55 zoom, not just because that was a good all-around focal length for what we were doing but because we restricted the zoom’s movement by taping the ND .30 “optical flat” on the lens and we wanted to move fast. It was easier to select a dynamic focal length and move the camera around than it was to constantly tape and untape the lens to change the focal length.
For this shot we were behind the strike by maybe 4′, and the sense of depth is helped marvelously by huge chunks of cheese growing dramatically as they approach the lens. That’s what “close and wide” buys us.
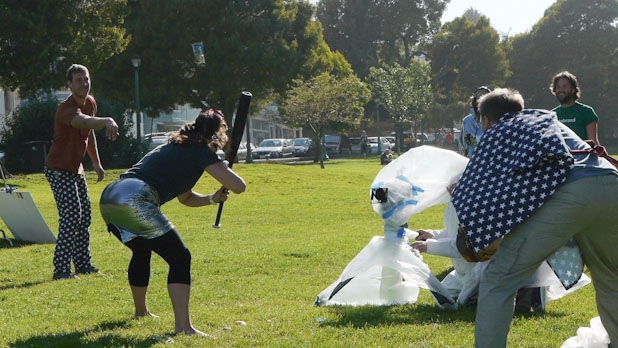
As you can tell, we weren’t taking any chances with the camera.
We beat the hell out of a lot of food that day. At one point we had an audience of kids who were excited about the number of raw hot dogs littering the ground around us. Fortunately their overseers put an end to an impromptu picnic.
Speaking of dogs, quite a lot of them came by to help clean up.
As we moved from afternoon into evening the gang really wanted to stage a food fight before the sun went down, and who were we to deny them this pleasure? As it turned out, we had not yet begun to fertilize the park:
Backlight makes transparent liquids pop nicely. This is the first shoot where I had to think carefully about whether gravy should be backlit or front lit for best effect. (Answer: it’s opaque, so front light works better.)
This is the point where I talk about what I like–and dislike–about this camera:
I like the color. A lot. This is not classical prosumer Sony color. It doesn’t look to me like EX1/EX3/F3 color, which is okay but not very subtle. It’s pretty, it’s saturated without being overbearing, and the white balance is perfect right out of the box.
It’s cinematic.
It’s easy to detect that this camera comes from the prosumer division and not the Cine Alta division by the fact that the white balance options are labeled “indoor” and “outdoor,” but still–I think it creates a very pretty picture. I’ve not had a Sony F3 white balance preset that looked anywhere near as nice. (F3’s tend to be a bit greenish unless the white balance is cheated or painted.)
I’m very happy with the highlights and how they blow out. There’s a lot of detail held right to the edge of clipping, and the clip itself looks less electric to me than I’m used to seeing with the F3. It doesn’t seem to block up in the same way. I probably need more time with this camera to know whether I’m happy with how it clips in other situations (such as shooting into overexposed windows) but for this project I’m very happy with the quality of the highlights. I wasn’t expecting this from a “prosumer” camera.
I’m not happy with the built-in monitor. It’s very hard to see shadow detail in sunlight, and while there is an eyepiece hood that snaps on for day exterior shoots I was unable to use it as we didn’t have an external monitor as Ian watched most shots over my shoulder. The zebras were very easy to see but the monitor was way more contrasty than the image I was recording. In a way this is good as it’s always nice to see there’s more detail in the actual file than there is on the tiny camera monitor, but in some cases it caused me to overexpose for shadow detail when I didn’t have to.
For example, the food fight above was lit entirely by skylight from the front and raking sunlight from behind. As the shadows appeared very dark in the on-camera monitor I cracked the aperture open to make sure I had enough exposure in the shadows. I didn’t need to; everything was perfect, but I didn’t know that until later. The flour clouds clipped a bit, which isn’t too noticeable, but it was much nicer when we did another take and I closed down the aperture a bit:
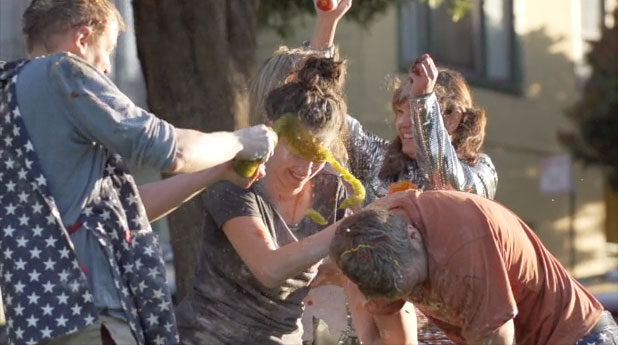
Stopping down a bit for this second food fight brought the highlights down while leaving the shadows nicely open.
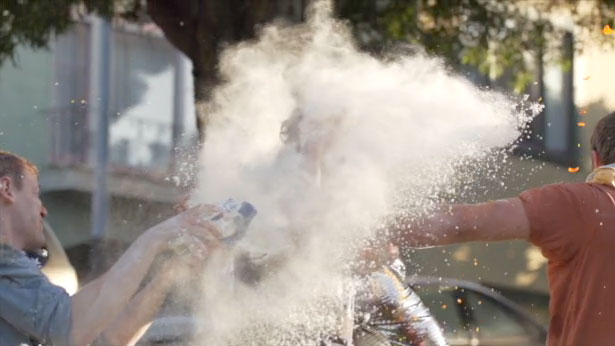
Now the flour clouds have a lot more texture to them. There’s no loss of detail from blowing out.
I shot the first food fight on the 17-55 zoom as I wasn’t expecting much flying food. Little did I know that the performers opted to add squirt bottles to their performance, with the following result:

Director Ian McCamey compliments me on my choice of condiments.
I backed off and shot the other food fights (the second one above, plus one more) on the 70-200 zoom.
One thing to notice about these is how I tried to keep the camera moving quickly the entire time. Slow subtle moves at 240fps aren’t very dramatic, but sharp and quick moves look perfect. I operated by sheer instinct, and most of the time that payed off.
I mentioned that I really like this camera’s color. In years past Sony color was a bit zingy and artificial, particularly in the blues: anything that had blue in it would leap to life and obliterate anything around it. For example, a blue object in the shot would appear blue, but so would a purple object and a cyan object. That’s not the case anymore: the higher end Sony cameras (F900R, F35, F65, F23) and Arri’s Alexa treat blue very differently and very subtly, to the point where daylight shot with a tungsten white balance looks pleasantly cool but not electric blue. This camera has that feel to it as well.
Due to the speed of our shoot, the lack of crew, and the size and unpredictability of some of the shots, I brought two bounce cards but quickly gave up using them. Most shots are front lit or filled with blue skylight, but they don’t look crazy blue at all! The shadows look very natural, with pleasing flesh tones. That was a very nice surprise.
A gentleman I know through the Cinematography Mailing List (CML), Mark Forman, showed me (through Vimeo) a slow motion trick that he did with an FS700. He starts with the camera tilted fully sideways and then rotates it to level while rolling at high speed. I tried the same maneuver for an impromptu end-tag shot and it worked marvelously:
Everything looks beautiful at 240fps.
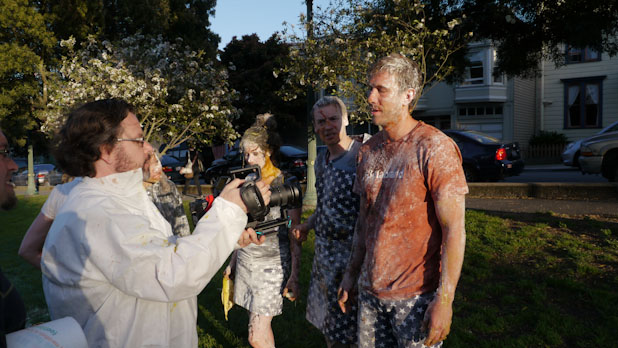
Winging it and hoping for the best: I saw this logo shot when I magnified the image to check focus on a previous setup and thought it worth grabbing.
That’s the 12mm end of a 12-24 Nikkor zoom about 18″ away from the shirt. Focus was trickier than I expected; I shot three or four takes and this one was the one that was best in focus. (Focus is another thing the on-board LCD doesn’t show well.)
Mark’s footage is here. Mark notes, “I had use of the Sony LA EA2 lens adaptor, in conjunction with a Sony/Zeiss 16-35mm A-mount still lens, and utilized its phase detect autofocus function to lock onto the subject during extreme moves. When doing shoots without a camera assistant this is a great tool to have in the arsenal.”
I’m really excited to exploit this camera more, but I’m equally disappointed that it has been crippled a bit to keep it from interfering from its older brothers. The 8-bit AVCHD is a bit of a disappointment, as is the 8-bit HD-SDI output but the sensor is “4K ready” pending a software update, so maybe this will resolve some of my complaints. I haven’t seen a situation where banding was an issue, so I’m going to stress the camera a bit in future tests and see how it does. I hope banding issues are as scarce as on the Canon C300.
I can’t complain about this camera too loudly, because it already does more than it should for under $10K. This camera is going to give Epics and Phantoms a run for their money on lower budget shoots. This camera fills a long-neglected niche, and I think it’s going to be very popular.
Adam sent me the following notes about how the camera was set up:
Black Level: 0
Gamma: Cine4
Black Gamma: Range High, Level +7
Knee: Manual, 105%, Slope +5 (e.g., knee disabled)
Color Type Standard, Level 8
Detail Level 0, Manual Set Off.
ISO 640 (native)Basically, all system defaults for Picture Profile 1 except for Gamma, Black Gamma, and Knee.
Adam cranked up the black gamma to open up the shadows for maximum dynamic range. I’m normally nervous about doing this as it tends to dramatically increase noise in the shadows, but I don’t see any objectionable noise in the footage at all.
Thanks are due to writer/director Ian McCamey and Betabrand, but especially to Adam Wilt and Sony. Thanks to all we had a nice day in the sun, wore a lot of food, and came away with some footage that I think we’ll all be proud of.
The camera we used is on loan from Sony. We were not paid to produce this footage, but we do plan to exploit it for our own nefarious purposes. Adam and I will be hosting a presentation about this camera at CineGear and showing a lot more footage, so mark your calendars! (I’d post a link but the CineGear website is currently “suspended.” Ooops.)
Thanks are due Adam Wilt not just for his generous, professional and knowledgeable support but also for contributing still photos for use in this article.
Art Adams is a DP who was considered a bit slow in school, but that’s because he moved much faster than everyone else while they could only view him in real time. His website is at www.artadamsdp.com.

Filmtools
Filmmakers go-to destination for pre-production, production & post production equipment!
Shop Now