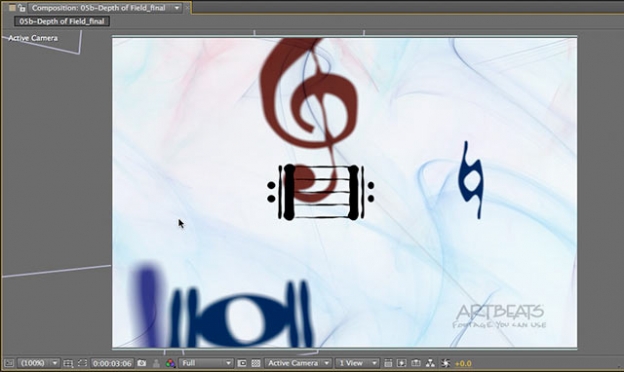
As we mentioned recently, we've been updating our After Effects Apprentice video courses to reflect changes in the third edition of the book, and in particular new and enhanced features introduced in recent versions. One such feature is Depth of Field blur for 3D cameras in After Effects. AE has supported this feature for years, but few have used it as it was slow and had poor quality to boot. In After Effects CS5.5, this feature finally received a much-needed overhaul: It's faster, it looks much better, has many new parameters to control the look of the blur, and also received some handy utilities accessed through the Layer menu which make it easier to tie the focal plane to target layers. These are all demonstrated in the movie below:
In addition to having access to all of these very nice iris settings in the 3D camera, After Effects CS5.5 also introduced a new effect called Camera Lens Blur which can apply the same look with the same parameters to 2D footage, allowing you to create some lovely boken (out of focus blur) effects to already-shot footage in post. Indeed, we suggest learning how these iris settings react on 2D footage first, as its faster and easier than working with a 3D scene, and then applying what you've learned to your 3D scenes in the future.
A nice “hidden gem” of Camera Lens Blur and the Lens Blur effect before it as that they are also compound blurs, meaning they can look at a second layer for a map of how to blur the layer they are applied to. The look of this effect is much better than the traditional Compound Blur effect, which has the same gloppy “fast rectangle” blur look of the old depth of field blur. If you've ever used Compound Blur in the past, use Camera Lens Blur in its place in the future.

Filmtools
Filmmakers go-to destination for pre-production, production & post production equipment!
Shop Now


