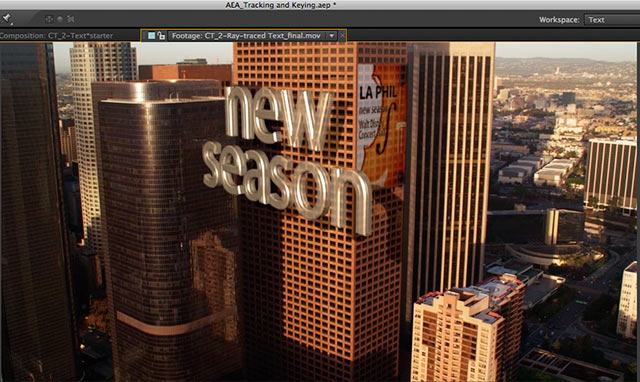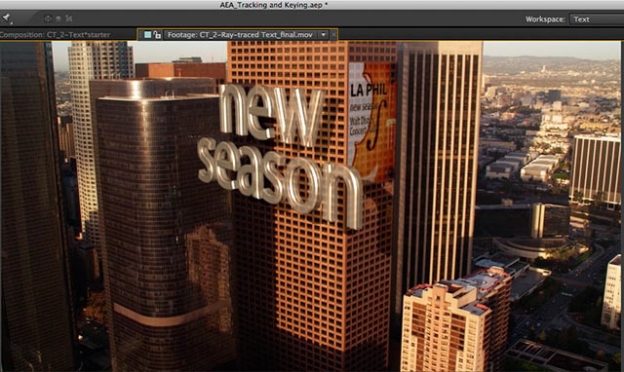
One of the major additions to After Effects CS6 was the introduction of a new ray-traced 3D rendering engine. This allowed 3D text to have actual thickness (extrusions and beveling), and added transparency and reflectivity parameters to the Material Options list for all 3D layers with the ray-traced rendering engine is selected for a comp. However, choosing this engine over the “classic” (formerly known as “advanced”) 3D renderer also takes away several features, including the use of blending modes and track mattes.
In the movie below, I walk through the procedure of taking an already-built 3D composition that used the classic 3D rendering engine and converting it to use the ray-traced 3D engine. There are both gains and losses: The type gains translucency, reflections, and depth, converting it from a postcard to a glass object – but the flat poster artwork applied to a building loses the use of blending modes and has to rely on ordinary opacity to make it work in the scene:
It's important to remember that there's almost always more than one way to solve a problem in After Effects. The composition featured in the movie above uses the new 3D Camera Tracker, with both the type and poster being 3D layers; if you didn't want to lose the use of blending modes for the poster, you could leave it in 2D and use a 2D tracker such as mocha AE (which we demonstrate here). But once you do that, managing shadows becomes more of an issue, requiring the use of “shadow catchers” to ensure 3D shadows are rendered against 2D layers.
By the way, this video is part of our video course After Effects Apprentice 12: Tracking and Keying. We recently updated this course to cover the new Warp Stabilizer introduced in After Effects CS5.5, as well as the 3D Camera Tracker shown above plus the Rolling Shutter Repair effect introduced in After Effects CS6.

Filmtools
Filmmakers go-to destination for pre-production, production & post production equipment!
Shop Now


