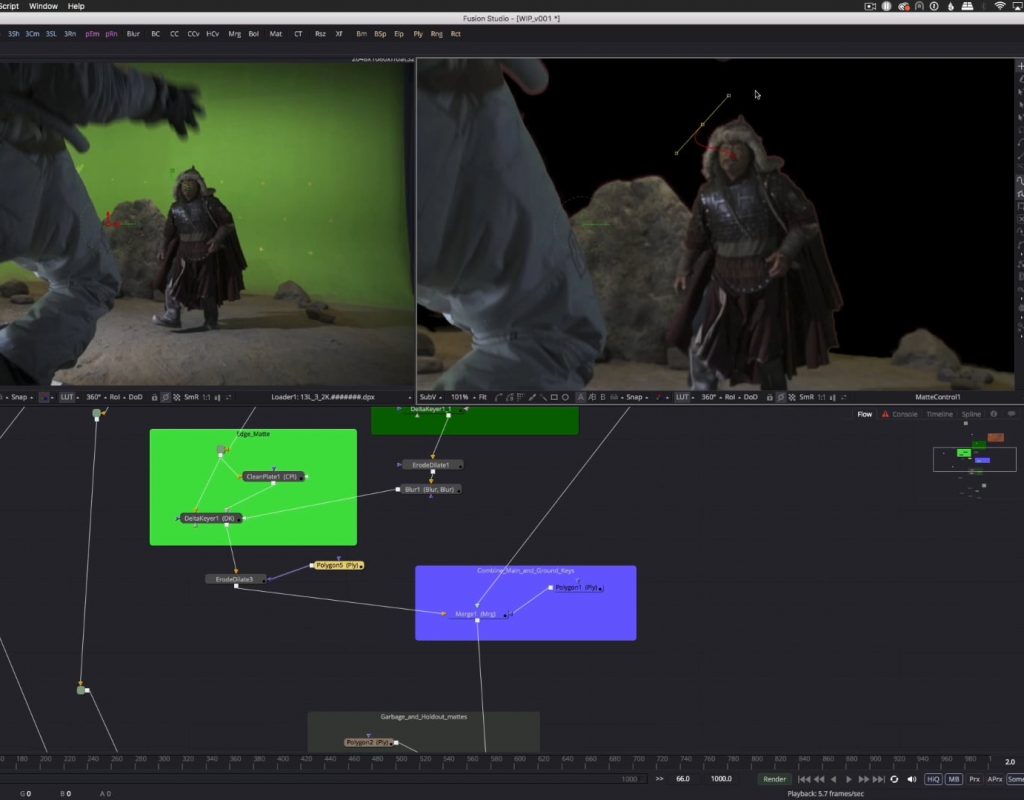
We’ve all seen them: green screen plugin videos where the demo artist clicks a button and all the green disappears, replaced by a perfectly composited background. But in the real world where most of us live, pulling a green screen is ugly, sweaty work.
The happy news is that there’s always a solution. But the sad truth: no one wants to show you how to work with a tough green screen shot. For good reason: tutorials that show too much real world workflow are messy, unwieldy things. So most training focuses on the basics and hopes you’ll somehow get “inspired” and figure out the rest.
moviola.com just released its latest fundamental training series, and the focus is just this issue: keying real-world, messy green screens. But before we get to the video, here are the key take aways:
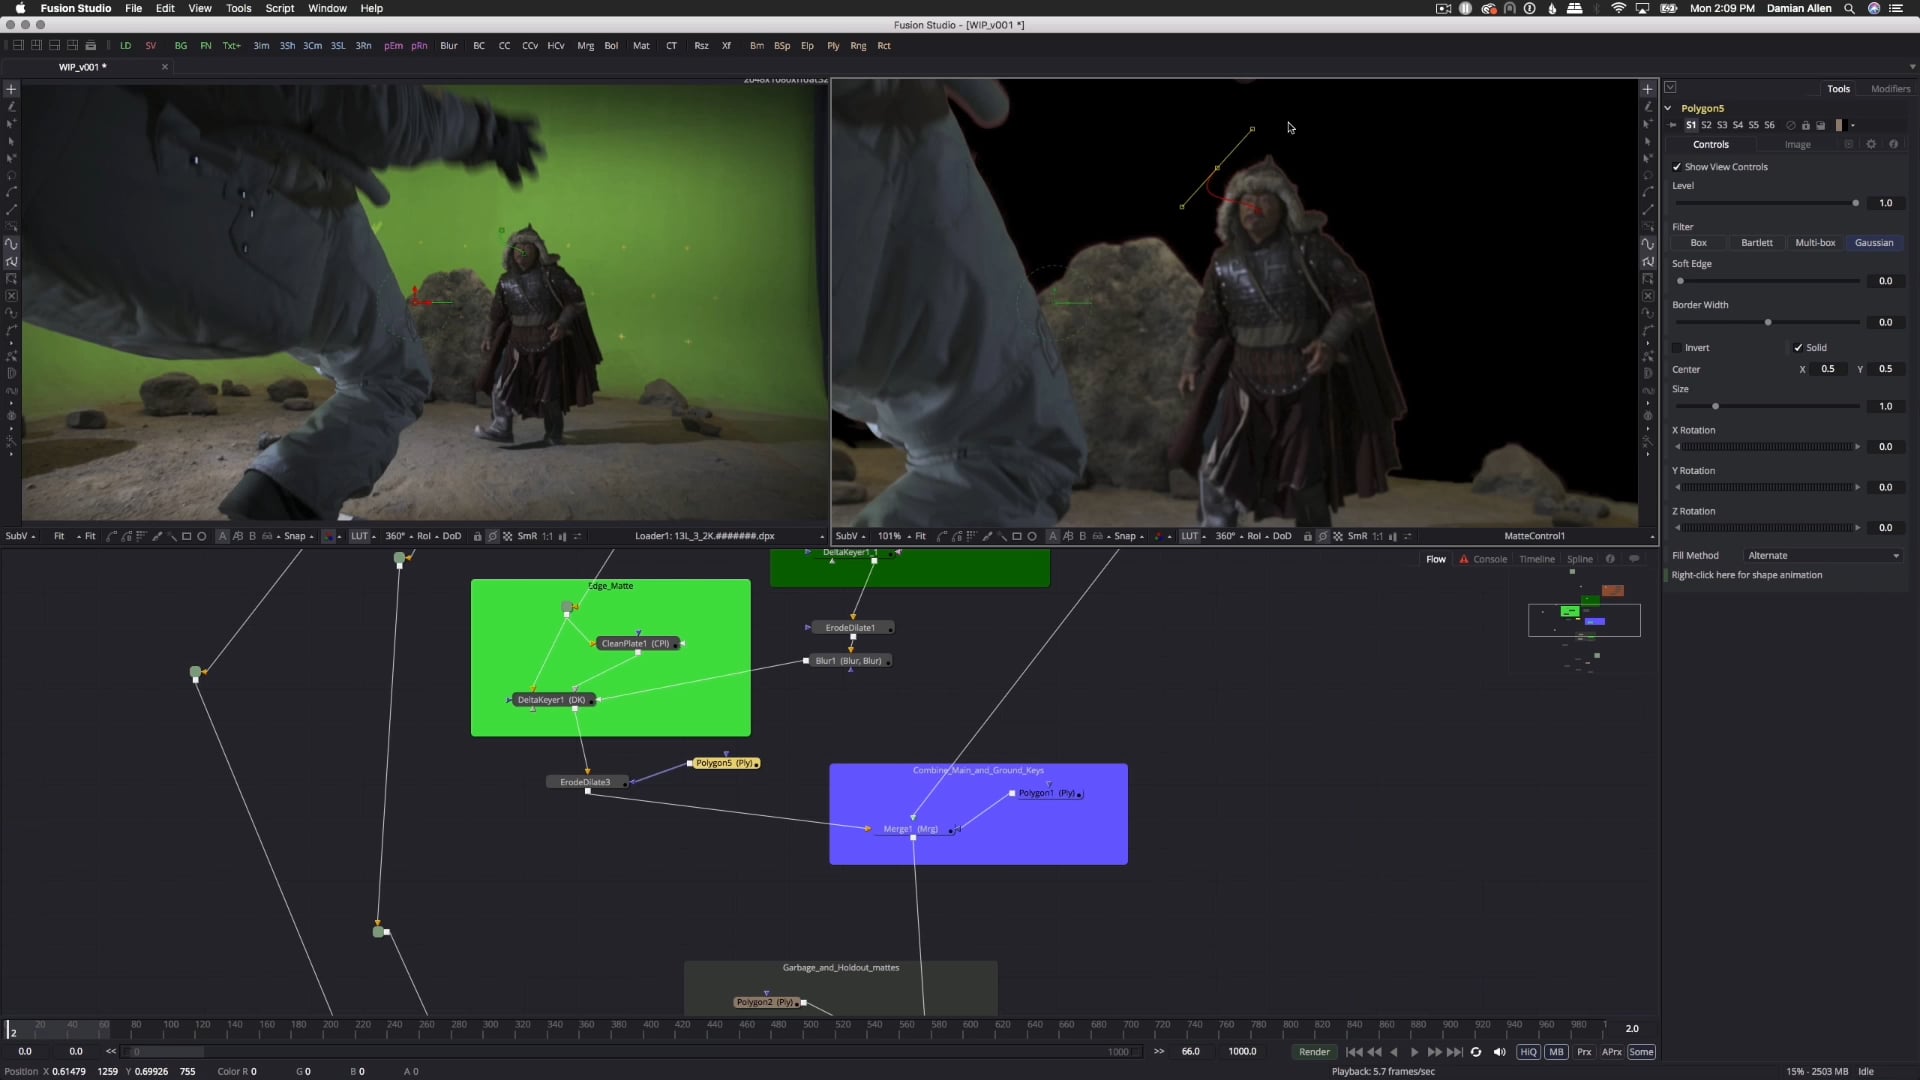
Modular keying with nodes is the only way to go
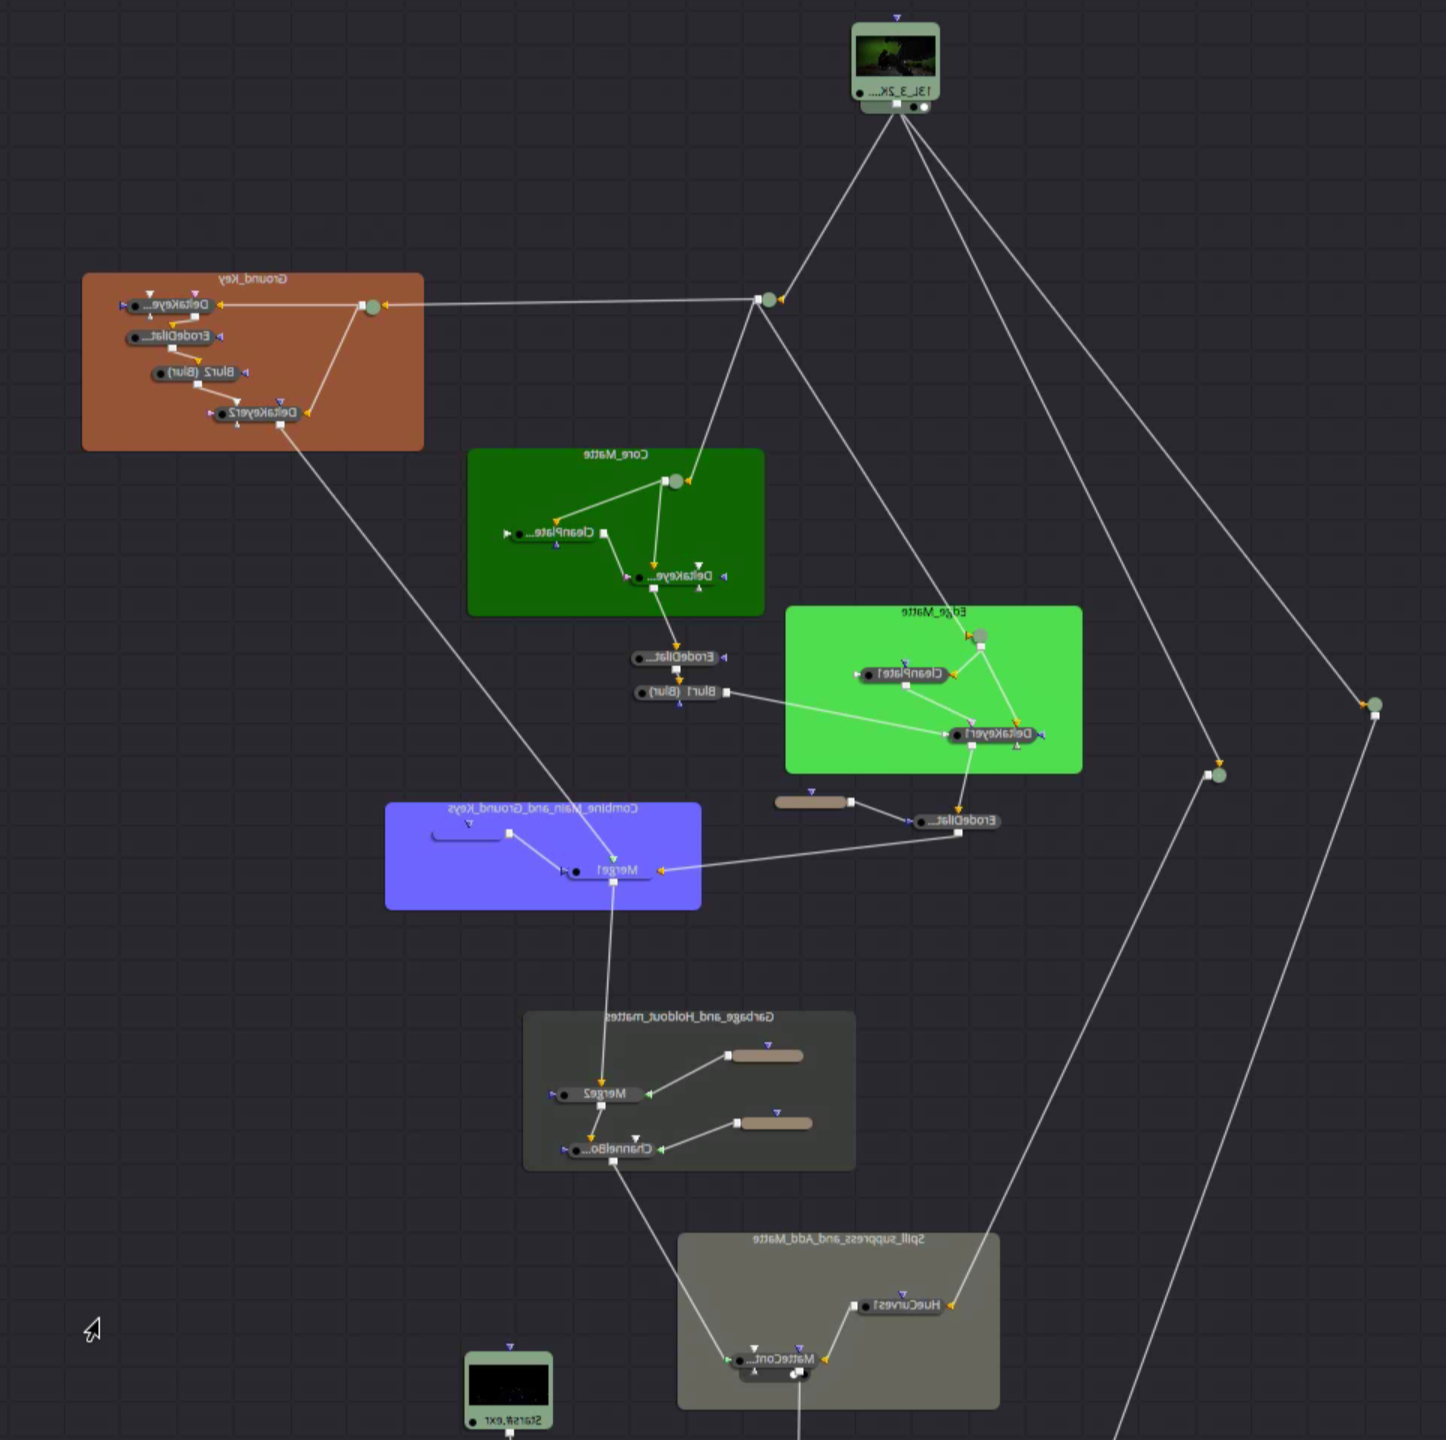 If you’re intimidated by node-based compositing, it’s time to get over your fears. The flexibility to solve unique problems using a custom collection of nodes is extremely difficult to replicate using a layered timeline system like After Effects. With highly capable node-based compositors like Blackmagic Fusion now free to download, there’s no reason to avoid nodal workflow.
Why nodes? Because at the end of the day, every green screen key winds up with a whole bunch of “digital duct tape” to pull it together. There’s almost never a simple, one click solution. Compositing with nodes is the only real way to keep your sanity while you’re applying all the custom fixes to the shot.
If you’re new to nodes, check out our short training on node-based compositing.
Don’t try to do everything in a single keyer
This is something of an extension of the previous point. Keying settings that work for one part of the image often won’t work for another portion. Rather than settling for a poor average, create separate keyers for each region, then combine them using an isolation matte. We go into more detail in the video (link at the bottom of the article).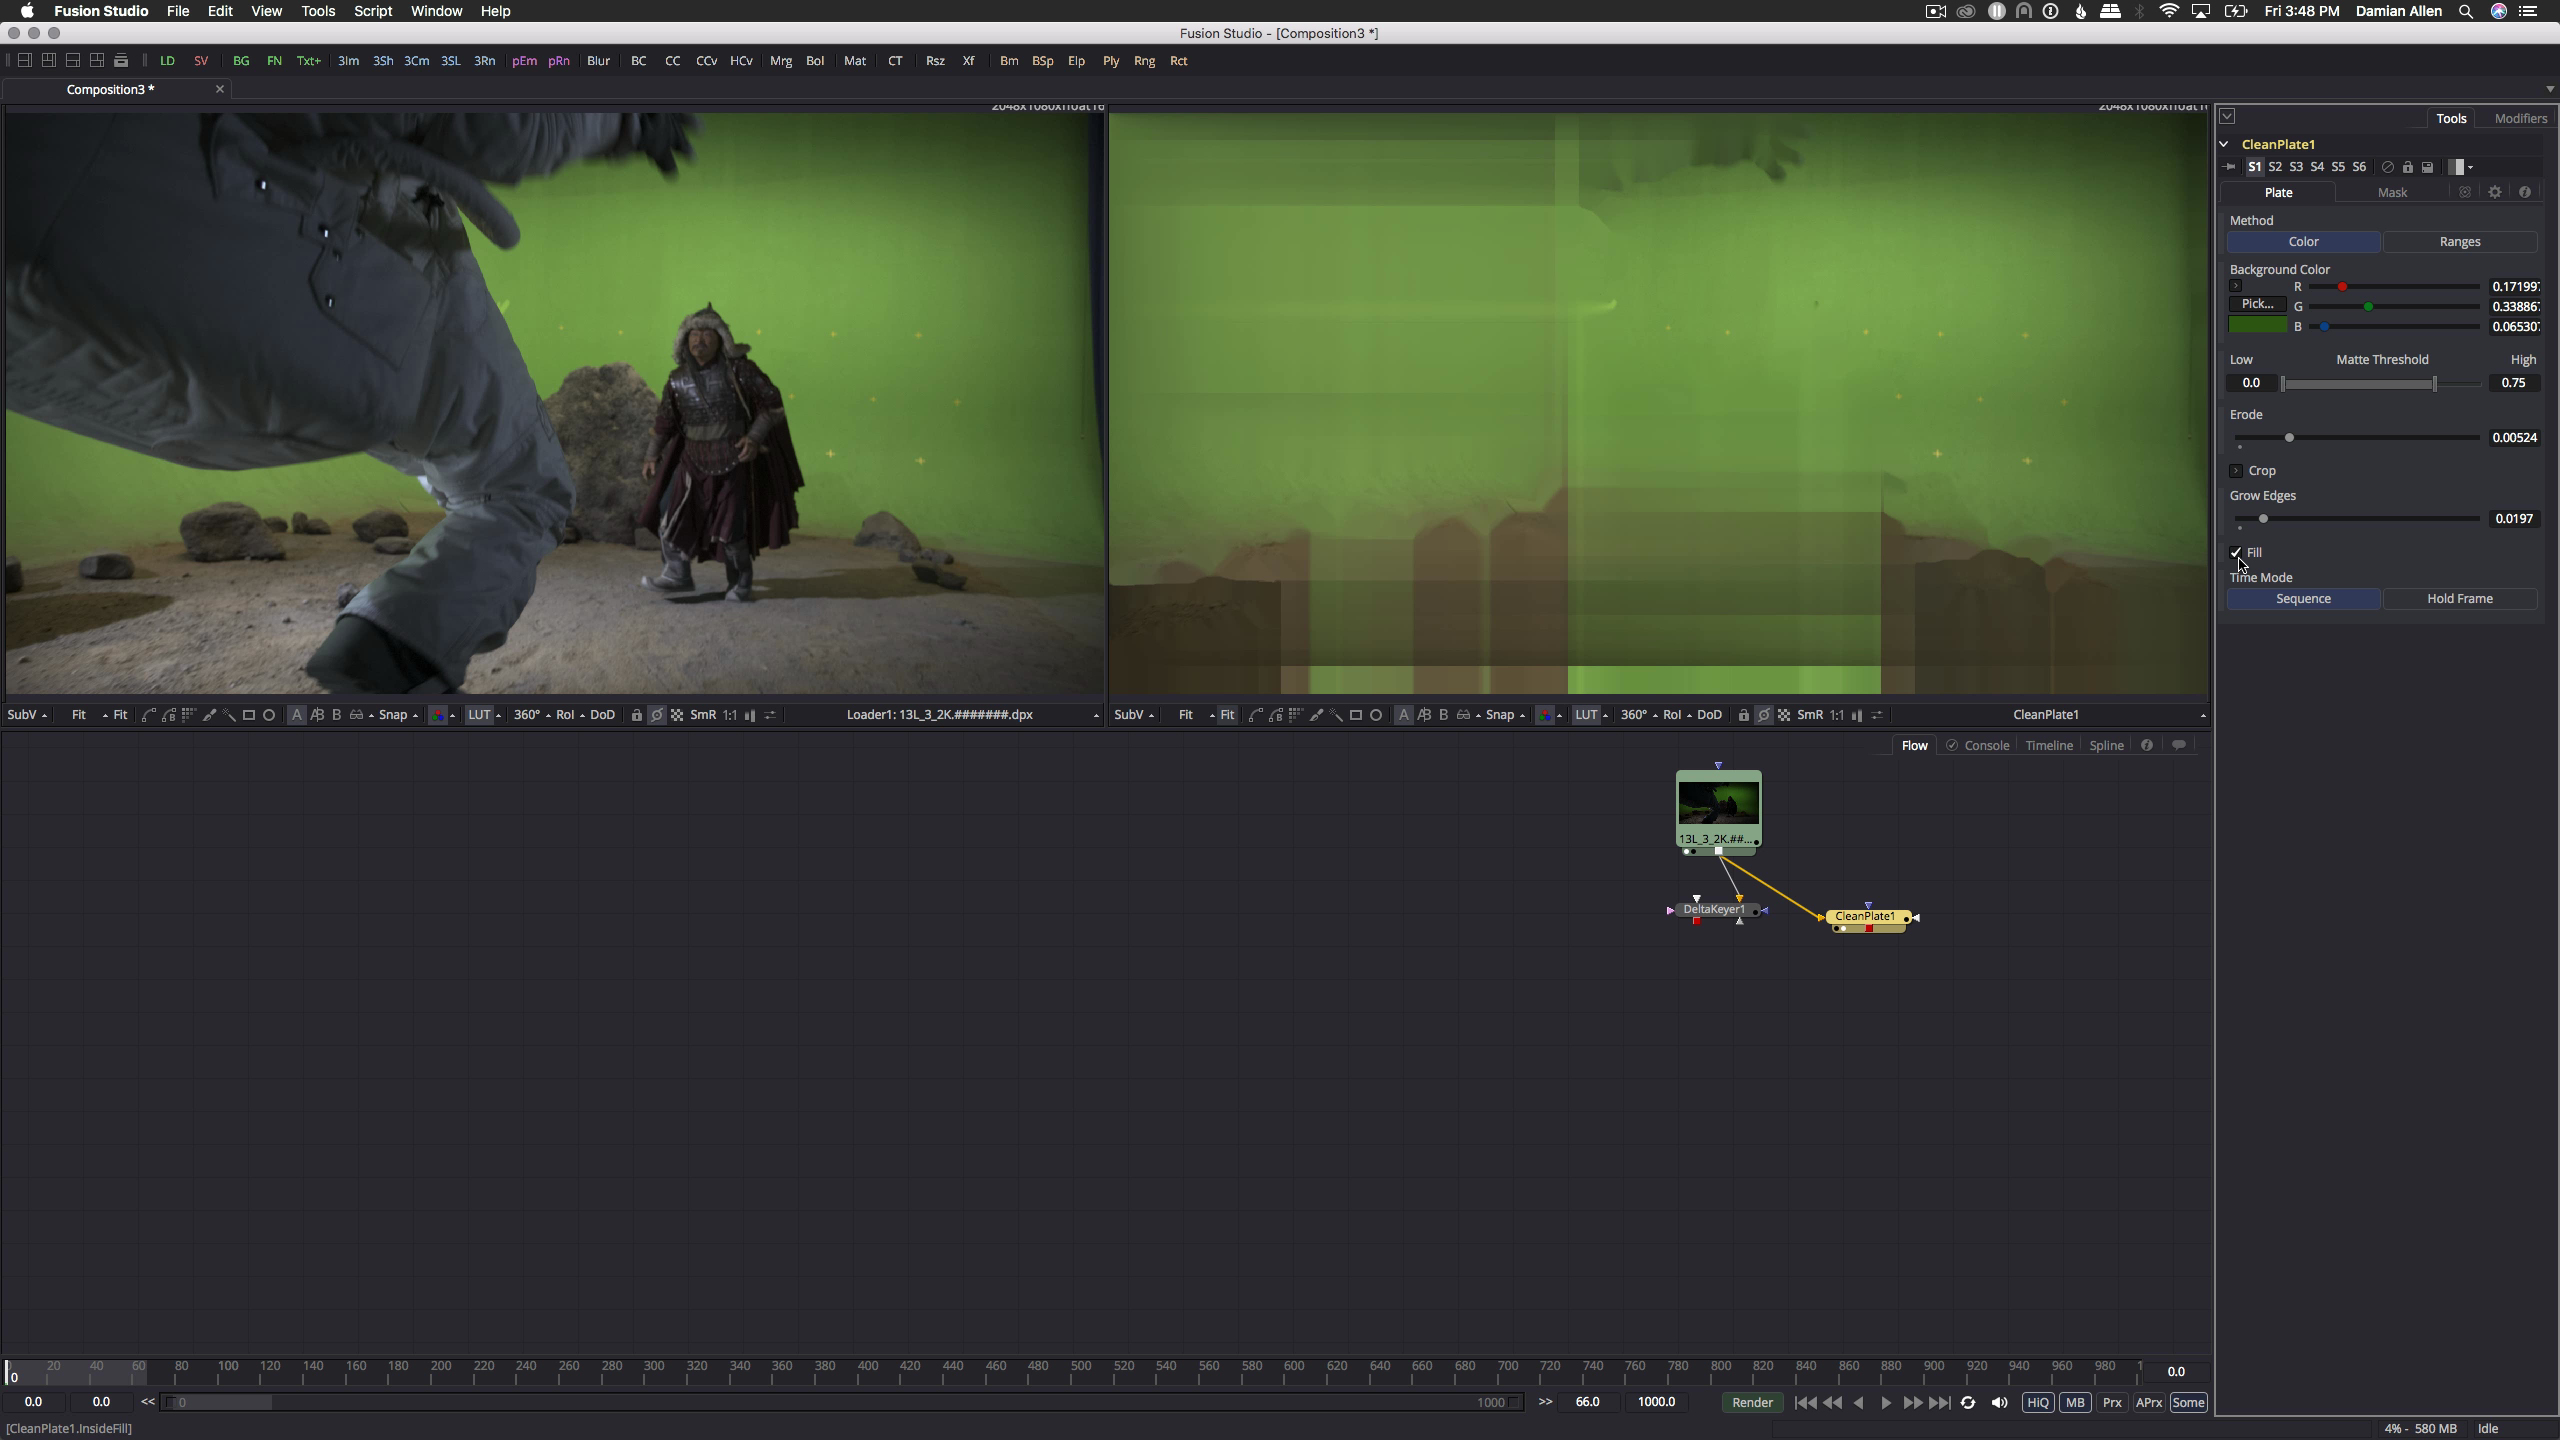
Use a clean plate to give yourself a fighting chance
A clean plate (a copy of the shot with the foreground actors and objects removed) allows the keyer to account for uneven lighting in the green screen. “Ah,” you say. “But no one shot a green screen.” Usually not a problem: many keying applications include filters for synthesizing a clean plate for you.
When all else fails, roto
At some point you always seem to need to do a little rotoscoping on a shot. The trick is to figure out when the keyer is going to do the job with a little tweaking, and when it’s faster just to manually roto out the problem area.
 Shoot it right in the first place
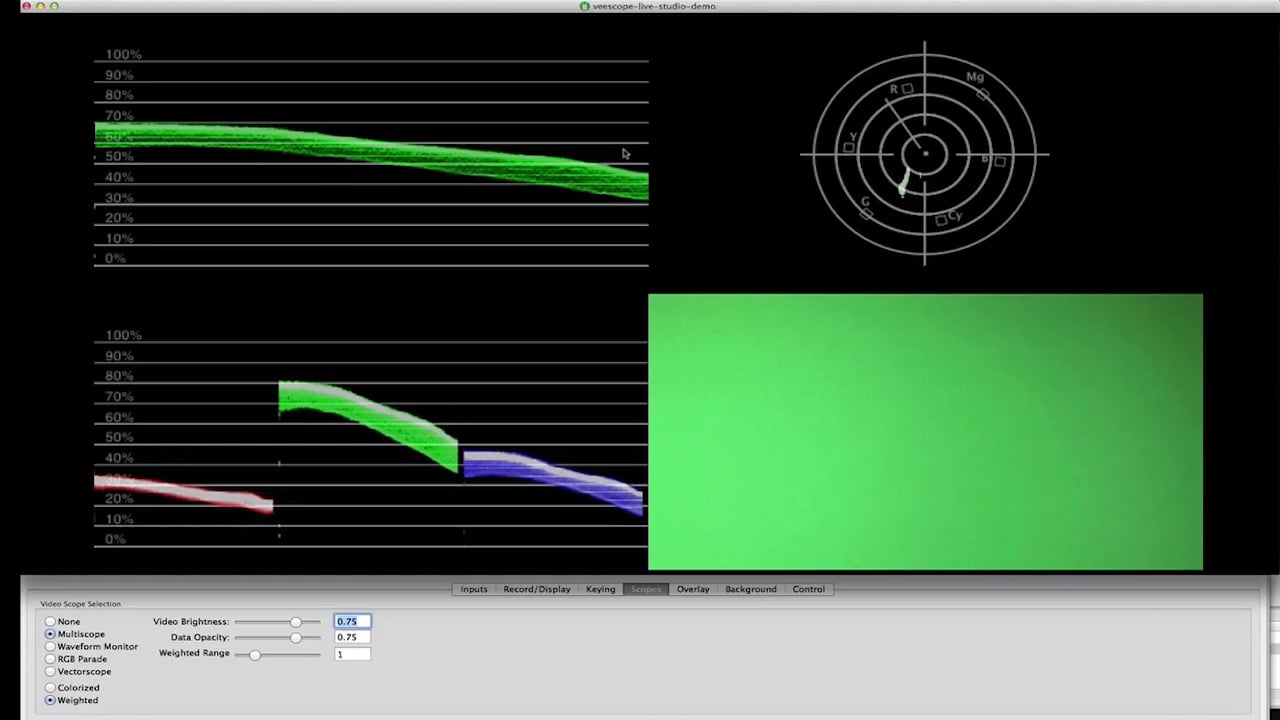
Really, the job would be so much easier if people learned how to shoot green screen correctly in the first place. If you’re unsure how to light a green screen and set the correct exposure, be sure to watch our quick series on Shooting Greenscreen.
Watch the complete Keying Greenscreen training at moviola.com now.

Filmtools
Filmmakers go-to destination for pre-production, production & post production equipment!
Shop Now