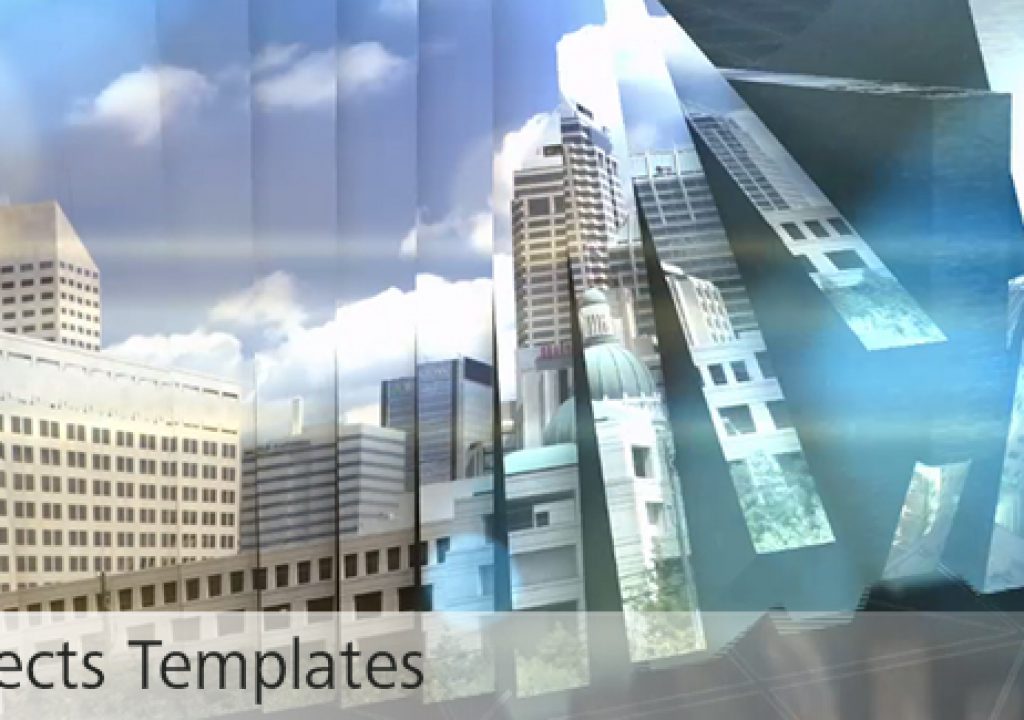
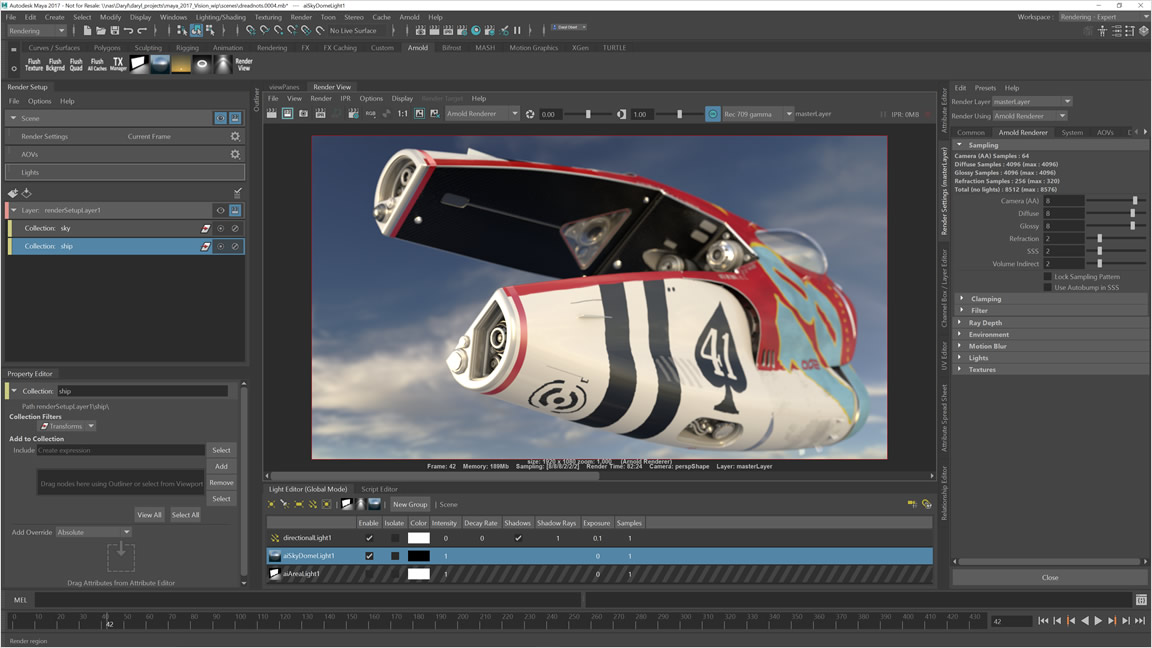
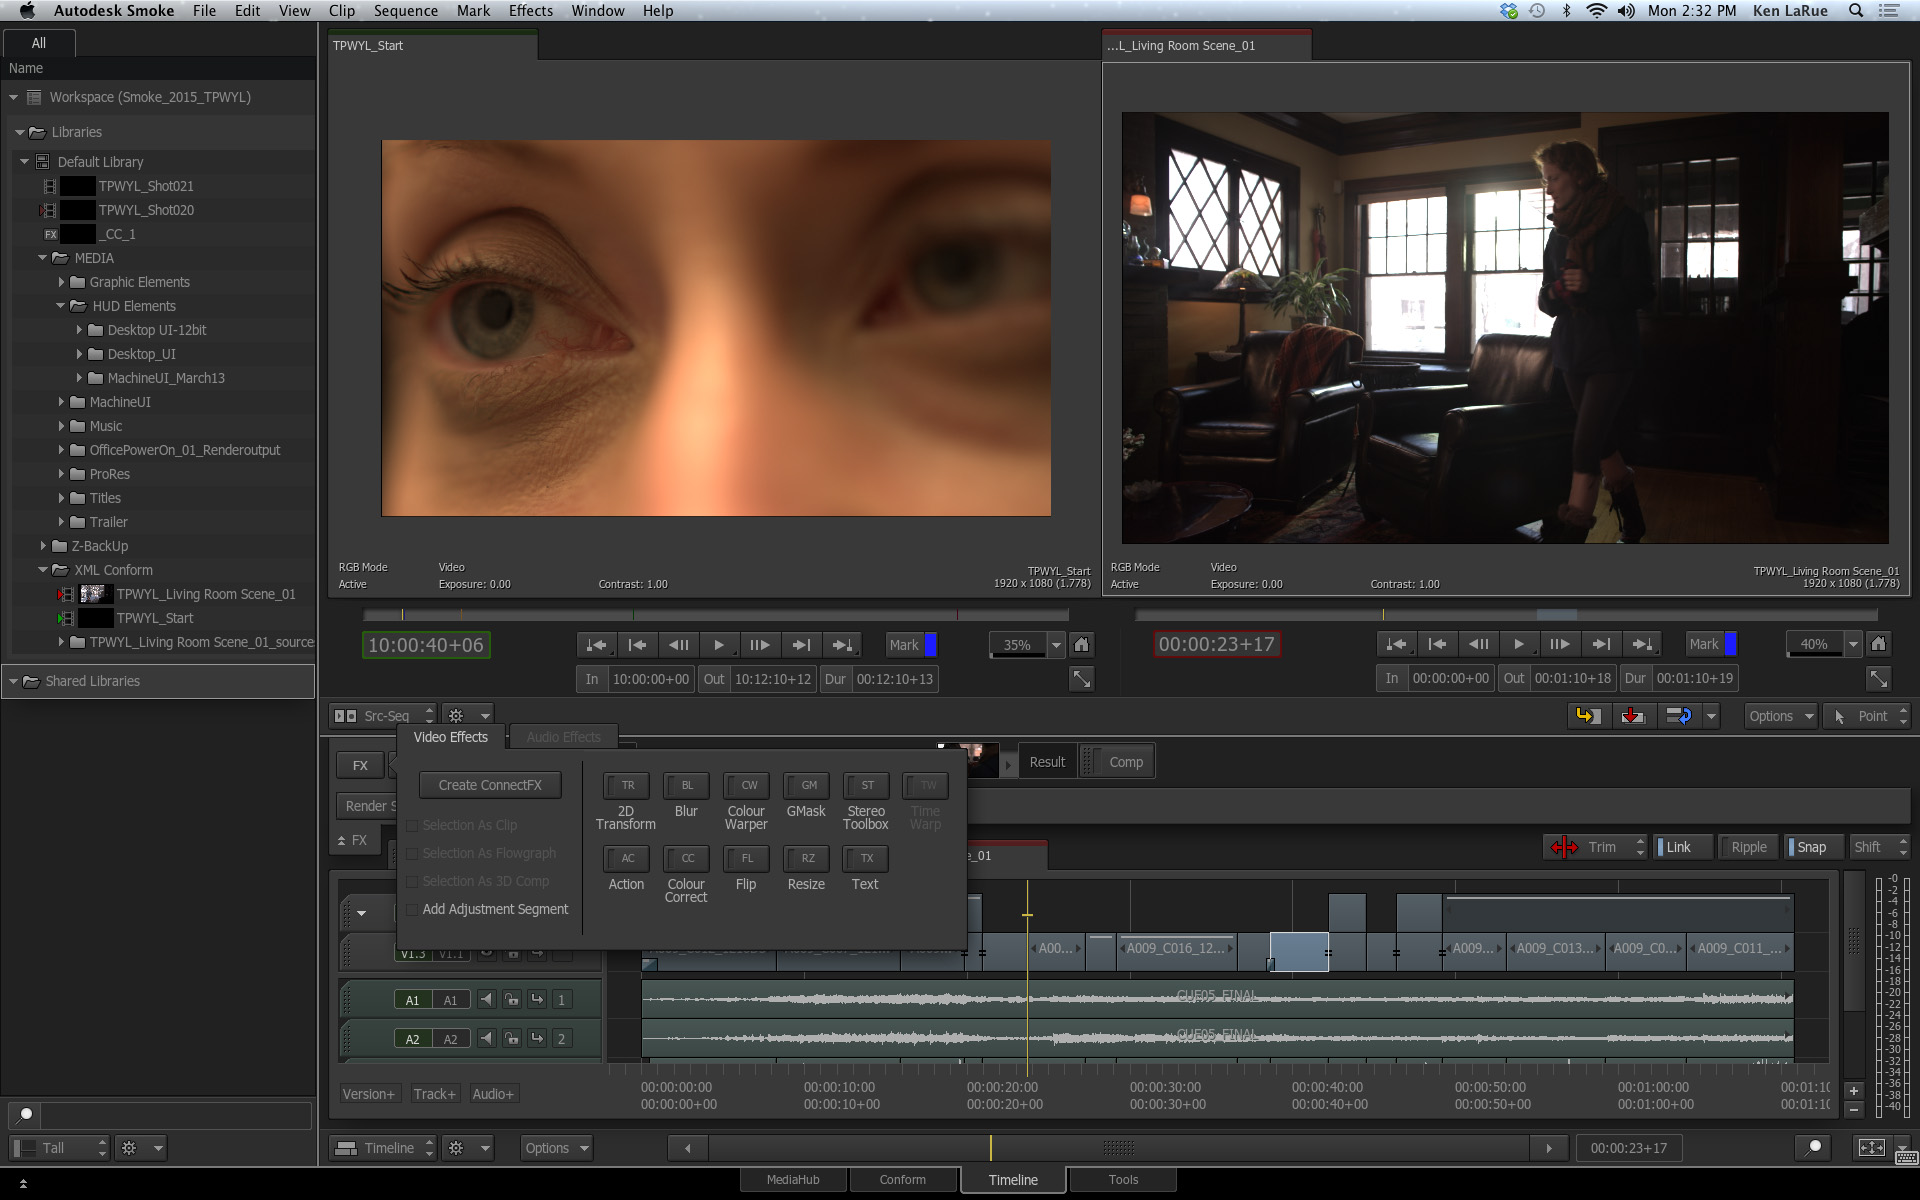
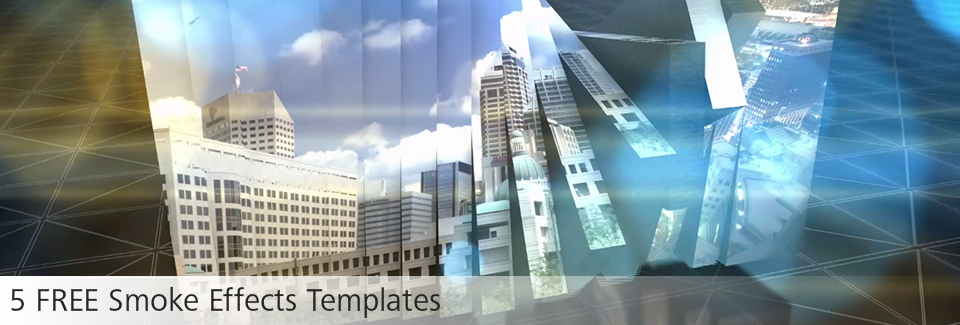
 Autodesk recently released five free 3D effects templates created by Smoke master Brian Mulligan in Autodesk Smoke 2013 Extension 1. Each template comes as a ready-to-use Smoke archive and provides a great introduction to working with animated 3D elements, textures, reflections and 3D lighting to create motion graphics in Smoke. Video tutorials demonstrating how VFX artists and editors can customize and work with each template are available here: http://area.autodesk.com/freetemplates
Brian is no stranger to ProVideo Coalition so I thought we'd use the oppotunity to talk with him about how Smoke users will be able to utilize the templates no matter what their experience level. In this interview he answers a few questions about what users can do with these templates and also explains some key technical details.
Tell us about the Smoke Effects Templates. What are they? What's cool about them?
I created the five 3D effects templates for Smoke 2013 Extension 1. They are the first set of templates that have been put out there publicly for Smoke and I think they do a great job of showcasing the power of Smoke, especially in the timeline, ConnectFX, and Action. These templates also show how it’s possible to move outside the scope of what people traditionally expect from Smoke.
Tell us a bit about your background and why Autodesk approached you for this project.
I’ve been a Smoke editor for seven years and I’ve always used Smoke a little non-traditionally. I work at WTHR-TV, a broadcast television station in Indianapolis. In broadcast, we never get creatively pre-cut spots to finish – we have to cut everything from scratch! And, we usually are only given a day to get them done. I also have to be able to do a bit of everything, from motion graphics to promo spots and commercial work. Smoke has made it a lot easier and faster for me to manage all of these different tasks because the tools I need are all in one application, so I don’t have to bounce around from one application to another. I think Autodesk approached me for this project because they saw some of the effects and graphics work that I’ve done using Smoke.
Who do you think these templates will appeal to?
These templates should appeal to everyone who uses Smoke or is curious about what Smoke can do. They offer a wide variety of styles to play around with and lots of different ways to customize the effects within them. Frequently, you see the end result of a work but it’s rare that you have the chance to actually poke around at the actual set-ups and really see how things are put together. The templates are especially useful for anyone that is in a position where they need to produce a custom graphic for a project quickly. All they have to do is replace the video and text and then render it out.
Do you use templates in your daily workflow?
I often work on long-term projects that involve several spots. For these projects I’ll create a custom look with certain effects that I can then repurpose to build five or six different sub-spots. As an example, WTHR-TV currently has all of the NFL Indianapolis Colts primetime games on its air. We created an original spot to promote that WTHR-TV is the primetime home of the Colts and throughout the season we use this spot to create individual game spots with the same look and design. We save a lot of time because we’re able to quickly swap out the game footage, type, and audio. The original spot took around two days to create and now we can create sub-versions in less than half a day.
Which is your favorite template?
I think the Dancing Panels template turned out especially well with its twenty 3D panels of video and reflections on the floor. There’s something about the lighting and the lens flares that makes it really stand out. For this template, I actually made my own custom lens flares. I started with the presets that are in Smoke and played around with them to create my own.
I also like the TypeLand template with the world of text. It’s clean, simple and has nice ambient occlusion and texturing on the type. Changing the type in that template with your own custom type is very easy.
How did you prepare for this project?
Autodesk Editing and Effects Evangelist, Marc-Andre Ferguson, and I bounced around a lot of ideas. We looked at templates that are available for other effects software, and based on these, determined how we could best showcase the features in Smoke. Eventually, we narrowed it down to a few concepts and from there I created the 5 templates. My goal was to illustrate the wide variety of things you can do in Smoke with 3D elements, layering, and in the timeline – without using third party plug-ins.
For the most part you avoided pre-renders and video layers. Can you explain why?
There are a couple places in the templates where you can pre-render clips to reduce overall rendering time, but for the most part I prefer to keep everything live because it allows you to go in and change virtually anything on the fly. I wanted the templates to be as fluid as possible. For example, there are a lot of animated mattes that I created just out of black and white squares, and in the tutorial videos I explain how you can customize them. If I had just rendered out the mattes as they were and threw in video clips, you would be very limited in your ability to go back and make changes later on.
A lot of people may not think of using Smoke for this kind of motion graphic work; however these are some of the most versatile templates we've seen. What is it about Smoke that makes it possible to create this level of customization?
Smoke has allowed me to make these templates very open and flexible. One of the beauties of having a node-based workflow inside of Smoke is that its modular format allows you to change what you want and leave everything else live. There’s nothing pre-baked in the templates so you can easily customize them to create a whole new look. You can swap out the video placeholders, import your own 3D elements, and manipulate and rotate the camera. The fluidity of the templates prevents you from ever locking yourself into a situation where you’re stuck with a pre-rendered 3D element that you can’t make changes to later on.
Some of these templates are quite complex. Do you have any advice for users of Smoke who may not have your level of expertise with ConnectFX and Action?
If you’re new to Smoke, you should make sure to watch the 30-minute tutorials that I recorded for each template. The tutorials walk you through how I built the templates and how you can customize them. The end results look very complicated when you watch the 30-second preview videos but when you take a closer look at how they’ve been put together, a lot of the effects are just variations upon themselves on the timeline. To create each template, I copied an effect from the beginning, moved it up on the timeline, and made a few changes to it so that it looks like a new effect. Once you start thinking about how Smoke can build and re-use its own effects, you realize that the templates are not as complex as they may first look. The easiest way to start out is by just dragging and dropping your own footage into the placeholders in the templates, and making small changes to type, lighting, and colors.

Filmtools
Filmmakers go-to destination for pre-production, production & post production equipment!
Shop Now