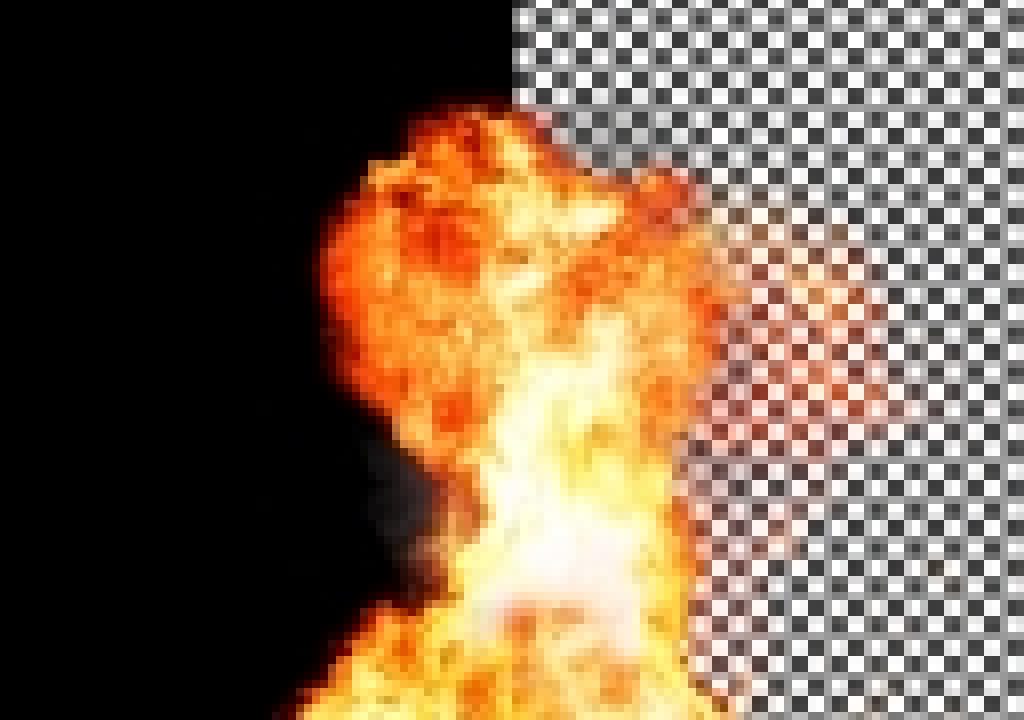
Third-party unmult plug-ins for After Effects are used to create a composite with an alpha channel of a layer based on luminance or brightness. They're often used instead of composite modes like Screen that don't create an alpha channel. Alpha channels were discussed in a companion post recently, Alpha channels: premultiplied vs straight.
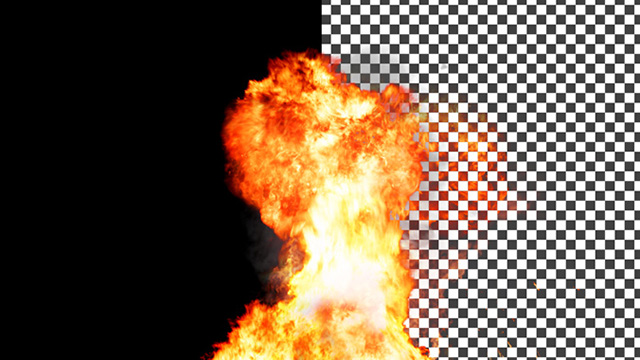 The most popular unmult plug-in is Knoll Unmult from Red Giant. This effect has no controls, and only creates “an alpha channel from any image shot on black. Unmult is particularly useful for generating alpha channels for flares rendered on black or video or filmed media that is shot on black like cloud tank, lighting, or water droplet on glass.”
You can also use Xmult from Fandev, which is also free, and 32-bit capable for Mac and Windows. It still works, and comes with a Blend with Original slider. Also, Video Copilot Color Vibrance, a free new plug-in, does the same and lets you adjust color and alpha at the same time. Here's video backgrounders on Red Giant Unmult and Video Copilot Color Vibrance.
As noted, info on alpha channels was collected in a recent post, Alpha channels: premultiplied vs straight, but there are other more comprehensive and coherent resources available.
 Mark Christiansen has a good succinct advice and discussion of alpha channels in his book Adobe After Effects CC Visual Effects and Compositing Studio Techniques. An excerpt of an earlier edition is still available as Alpha Channels and Premultiplication, part of a chapter on Selections: The Key to Compositing in Adobe After Effects 7.0. It's updated and more readable in the current version of the book, now for Creative Cloud. That chapter is just one reason to have the book handy.
Another excellent resource is the Channel filter section of After Effects: Insight into Effects with Chris Meyer and Trish Meyer on Lynda.com. There you get an entire context of video tutorials for Calculations, Channel Combiner, transparency & mattes, Remove Color Matting, and more. There's even movies on how to use Channel Combiner (an 8-bpc effect) to process filters in YUV (and back after the effect), or convert Straight alpha to Premultiplied for filters that crunch some alpha channels. With both processes, Channel Combiner instances sandwich the process in question (to convert back to straight alpha, check the Invert box on the bottom duplicate).
 Chris and Trish also have discussion in Creating Motion Graphics, and more directly at Artbeats in Managing Transparency Part 1 (simple techniques to get rid of ugly black fringes) and Managing Transparency Part 2 (dealing with backgrounds of different colors, plus edges. You'll get great bang for your buck by spending time with these two PDFs.
You don't really need a 3rd-party plug-in: you can do-it-yourself with AE-native Channel filters, although some of them are only 8-bit per channel effects. Several resources have mentioned how.
 For a brief period in the CS5 era, Knoll Unmult was unavailable even on the Mac, and users gravitated to a 32-bpc Adobe solution, 'Alpha from Max Color', a Pixel Bender filter from Adobe. Pixel Bender shipped only with CS3-CS5. If you can find Pixel Benders and really want to use them now, Pixel Bender Accelerator from CROSSPHERE.Koizum runs PB filters natively using the GPU of your video card.
Awhile back, Chris Meyer, Brian Maffitt, and Dennis Wilkins reminded us of other solutions, for instance the Set Channels effect (32-bpc), with the Use for Matte popup set to Maximum or Luminance, followed by the Remove Color Matting filter, all of which can be saved as an Animation Preset for quick application. In CMG Hidden Gems: Chapter 22 – Applying and Using Effects, Chris and Trish Meyer explained a related approach using Channel Combiner, an 8-bpc effect:
If you need to render the black solid with an alpha channel to composite the effect in a different application, there is a trick: Apply the Channel > Channel Combiner effect to the black solid, change the From popup to Max RGB and the To popup to Alpha, then apply the Channel >Remove Color Matting effect. This converts the RGB levels of the image to corresponding amounts of transparency. (This is the equivalent of the “unmult” effects available from third parties.) Save these two effects as an Animation Preset whenever you need an “unmult” effect.
You can find nearly the same recipe from Todd Kopriva (leaning on Trish Meyer): “A way to get the same result as the Knoll Unmult plug-in using the effects built into After Effects is to use the Channel Combiner effect, with Max RGB as the From value and Alpha Only as the To value, and then apply the Remove Color Matting effect.”
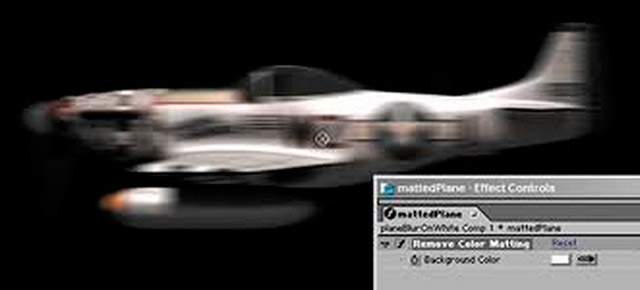
The Remove Color Matting effect, seen above from Mark Christiansen, was previously known as the Unmultiply effect, which “removes color fringes (halos) from layers with premultiplied color channels. This effect works with 8-bpc, 16-bpc, and 32-bpc color. Halos often occur when an area of partial transparency retains the color of the original background and is composited into a context with a different background color.” This effect works on transparency, but doesn't itself create an alpha. It differs from Knoll Unmult, Fandev Xmult, and other effects that synthesize an alpha channel from the color channels in an image.
Chris Zwar has a video on Remove Color Matting an Channel Combiner in After Effects – Leftover Plugins (part 2), an article on 13 plugins and effects “you probably forgot you had”! Chris also has free downloads of presets of the techniques he shows.
One recipe and preset you might try is Removing black or white from layer/footage, deMult/unMult at Motion Graphics Exchange. There you can download a free AE preset that does this, staying in 32-bpc color:
The “deMult_black” is a common way to knock out the blacks. Apply it in order:
1. “Levels” to crush the blacks (optional)
2. “Shift Channels” (a 32-bpc effect) and set the alpha to luminance
3. “Remove Color Matting” to get rid of the rest of the blacks on the edges
The “deMult_white” uses the same technique, but includes a double invert. Apply it in order:
1. “Levels” to crush the whites (optional)
2. “Invert”
3. “Shift Channels” and set the alpha to luminance
4. “Remove color matting” to get rid of the rest of the blacks on the edges
5. “Invert 2”
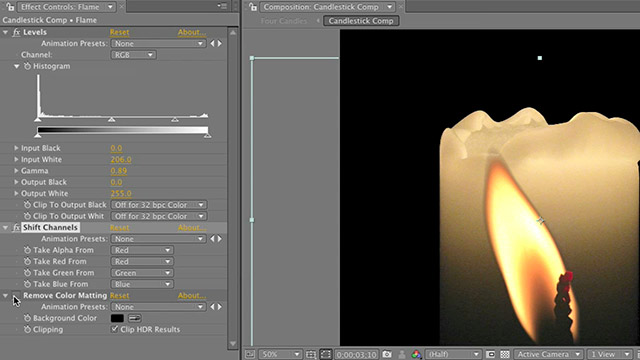
Todd Kopriva posted a similar approach from Steve Holmes that describes the use of the Remove Color Matting and Shift Channels effects to remove black backgrounds from stock footage of fire, smoke, rain, etc. In his handy summary of Holmes' 15 wide-ranging Artbeats podcast episodes, Todd explained Steve's approach:
[He used] the alpha channel value from either the luminance or (in the case of fire) the red channel of the image. Of course, since the black areas have neither luminance nor red, this sets the alpha channel value to 0 in the black areas. In other words, it keys out the black. The use of the Remove Color Matting effect is to get rid of the remaining traces of the black background in areas of partial transparency (of which there are many in a shot of fire or smoke). […] Steve’s technique seems to be more versatile than using blending modes when you’re using the same asset in a variety of different ways, because it actually creates alpha information. This is a good tool to have in the ol’ utility belt.
There were several nice video tutorials in the recent post on alpha channels in AE. If you haven't tried it already and want to a good workout, check out Lens Flare in AE and Premultiplication Explained by Ben Rollason. It's pretty clear, slightly different, and pays off more for those who keep focus on the material as it advances.

Filmtools
Filmmakers go-to destination for pre-production, production & post production equipment!
Shop Now