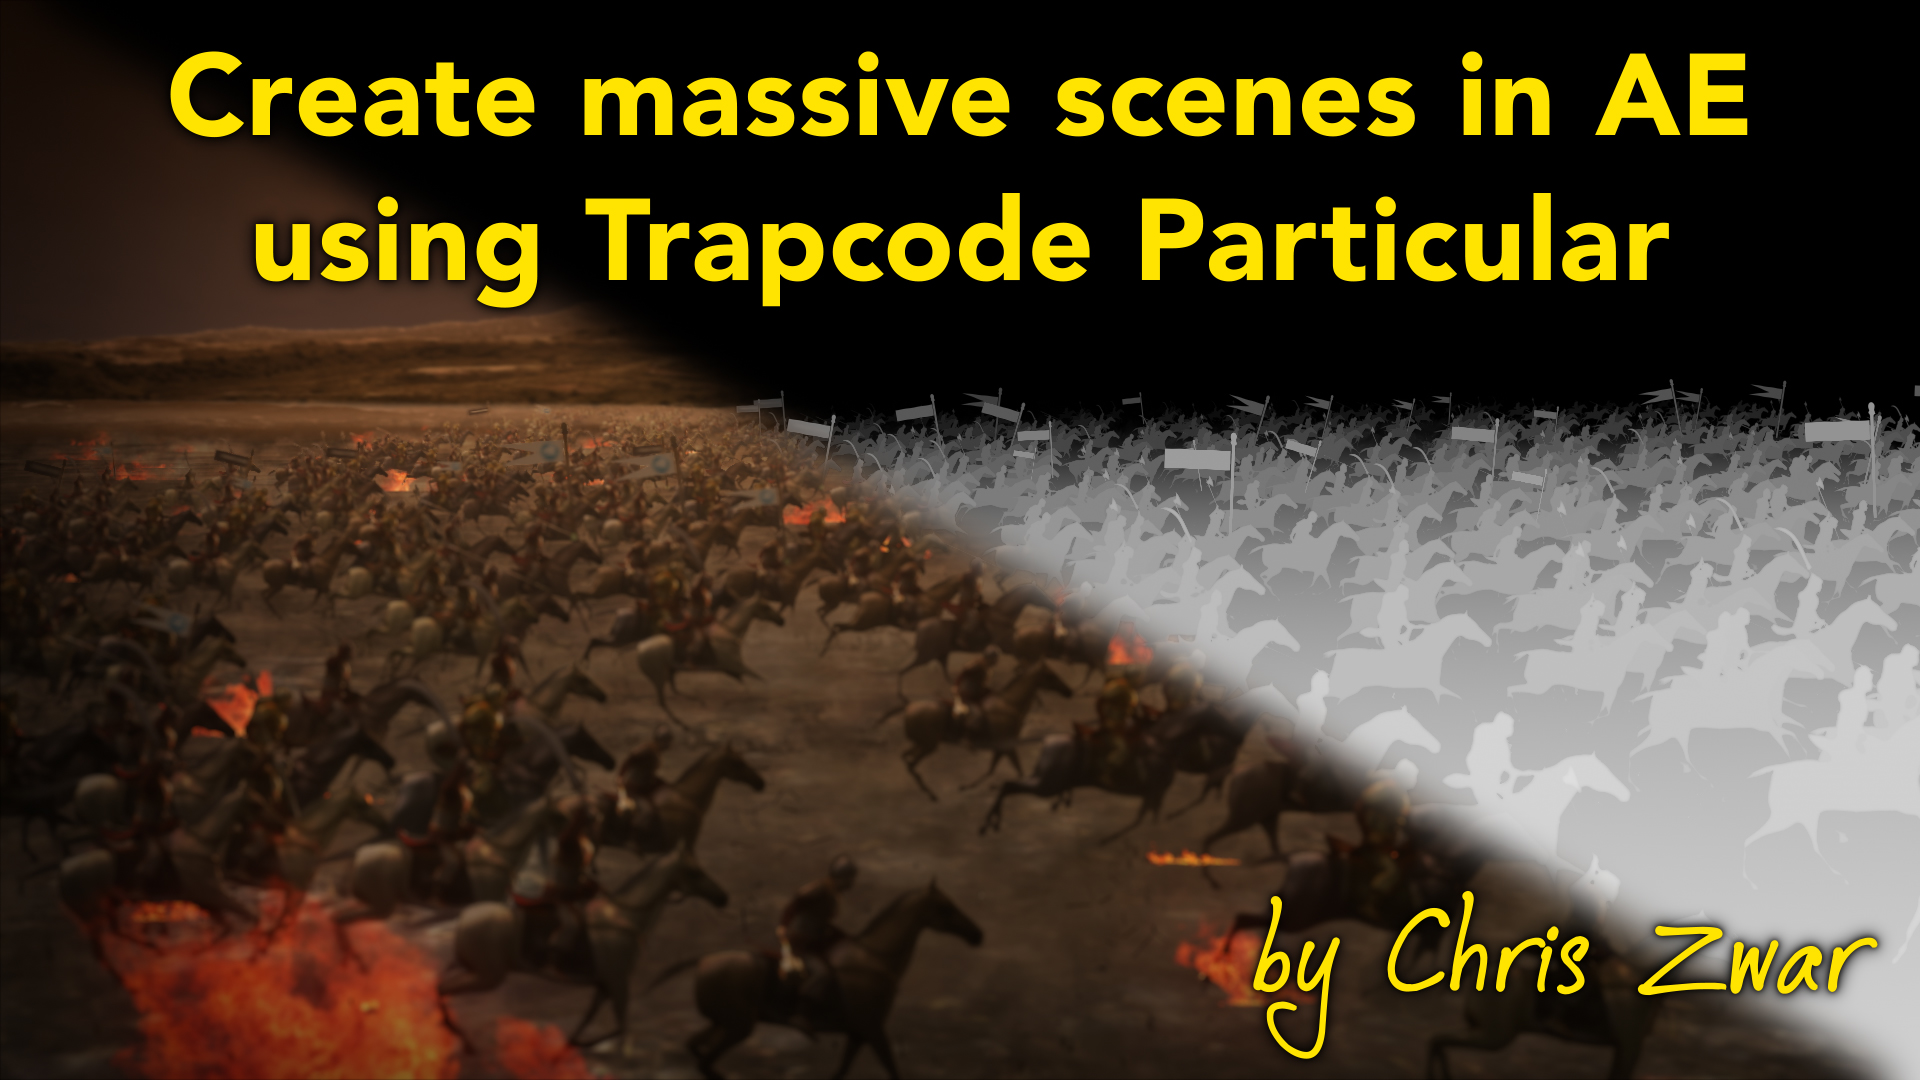
Trapcode’s Particular is probably the most popular 3rd party plugin for After Effects, and amongst its many powerful features is the ability to read a z-depth map. What it doesn’t have, however, is an obvious way to render out its own z-depth map – but by manually adjusting some of the settings we can generate one in Particular and Form, which opens up a whole new world of creative possibilities.
By rendering a z-depth map out of Particular or Form, we can then get the particles rendered by one layer to be correctly obscured by another layer of Particular. With careful project organization, we can quickly build up complex scenes in which many completely different layers of Particular all interact with each other in 3D space.
This 2-part video presentation demonstrates this process, and builds up a complex scene using only seven basic layers. While the final composite contains hundreds of charging horsemen and thousands of dust and debris particles, the basic composition in After Effects has only five layers of Particular, one layer of Form, and a simple background plate.
In a general sense, this is a form of z-depth compositing and it opens up incredible possibilities within After Effects. Because particular can animate millions of particles with realistic physics, hugely complex and realistic scenes can be created quickly, easily, and without the need for setups using 3D layers, lights and cameras.
In part 1, I explain what I mean by z-depth and demonstrate the process to create and use a z-depth map in Particular.
In part 2, I show how we can combine multiple z-depth maps so that many different layers can interact, and use this technique to build up our finished scene.
click the ‘full screen’ icon for best results…
Addendum
I edited a section out of the video to save time, but I’ll quickly go over it here.
Working with z-depth maps is an established compositing technique, however they have one major problem. Each pixel in a z-depth image is supposed to represent how far it is from the camera. This works well for solid objects or anything that isn’t moving, because there is a clearly defined distance to the camera.
However as soon as you have semi-transparent objects, or moving objects with motion blur, then things can get a bit messy. Z-depths don’t deal with semi-transparency very well. In a z-depth map, brightness equals distance, so if a pixel is darker or lighter because it is partially transparent, then that is interpreted as it being closer or further away from the camera than it really is. In the same way, if the edge of an object is blurry because it is moving (motion blur) then in a z-depth map that blurriness is interpreted as a different distance to the rest of the object. Which is not good.
This is a general issue with z-depths and not something unique to the process I demonstrate in these videos.
One thing that I did to help avoid issues, is create special versions of the sprites for Particular that had much less transparency. Basically I crunched the alpha channels so that they were mostly solid.
But I also rendered out without motion blur, and without depth-of-field. By using the z-depth map which I had created for the overall scene, depth-of-field was added with the Frischluft lenscare plugin.
Wait – there’s more!
I’ve also written a tutorial on how to create a z-depth pass from normal After Effects layers… click here to read.

Filmtools
Filmmakers go-to destination for pre-production, production & post production equipment!
Shop Now


