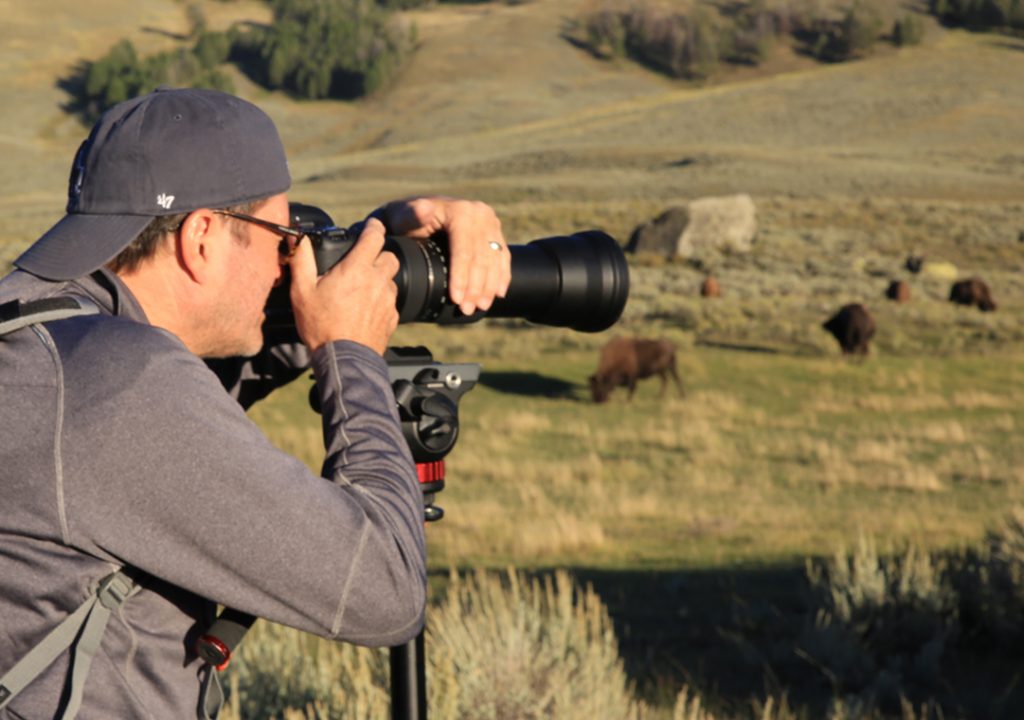
I wanted to use my Tamron 150-600mm lens and see how it worked photographing wildlife. I don’t have much experience with wildlife photography so I called up my father. He shot for National Geographic, the Audubon Society, and many other magazines for years.
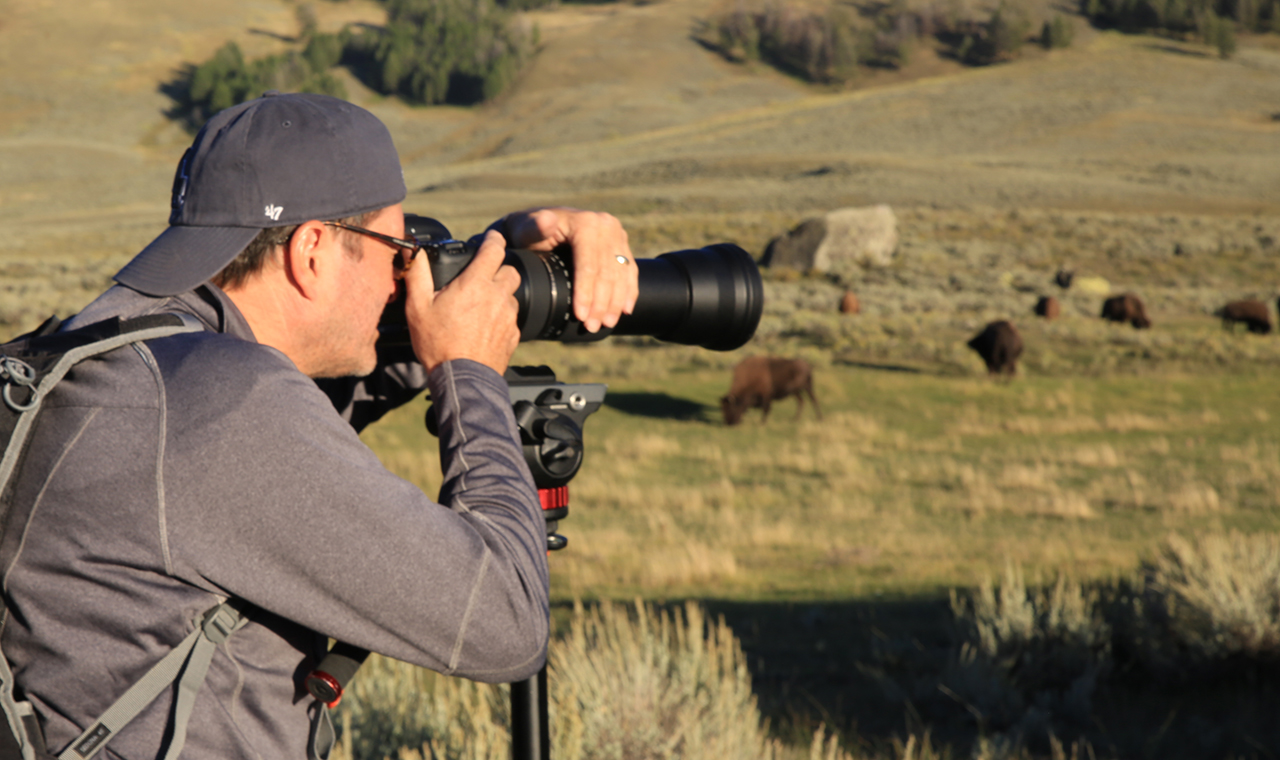
So, here are 11 tips to photograph wild animals without getting killed:
1) Head to the national and state parks. Many wild animal populations are living in proximity to tourist facilities in national parks and have become tame and easy to photograph. Ask around the hotels, ranger stations, and visitor centers in national parks.
2) Use a tripod. When my dad sent in his first images to National Geographic, they sent them back and told him to buy a tripod. I used a fluid head tripod so I could shoot both video and stills. It worked OK but was slow for stills.
3) Telephoto lenses are a necessity. They get you closer to the animals and create great effects and shallow depths of field. However, my dad told me that the most neglected is the wide angle lens because people don’t take enough time to use them properly. Using a wide angle lens will allow you to get close to the animals for intimate shots with great depth of field that also incorporate a panoramic view of the surroundings.
4) Shoot early in the morning and late in the day for good light. Get up early so you are there when the animals are moving around the most. We got up at 5 am and headed to the location where we knew the buffalo would be. It was early but the images were wonderful.
5) Good wildlife photography requires a lot of time – a lot of time spent with the animals so that you learn how to work around them and they get used to you. Once the animals are relaxed and you are relaxed, good shooting conditions happen. Be aware of your surroundings though, these are still wild animals and you don’t want to get killed.
6) Don’t hide away in the hotel or car when the rain or snow comes. Extreme weather brings interesting lighting. Wind, dust, snow, rain, any extreme condition has it’s own lighting and is worth the challenge of shooting in extreme conditions.
7) Social interactions. Get shots that we as people can relate to – mothering, young one playing, fighting, mating, grooming, chasing tourists.
8) Use the Lost Wallet technique. I have seen my dad use this several times to great success. He says, when photographing animals, don’t go charging at the animal but rather pretend to be searching for a lost wallet. Direct your attention to something other than the animals, take your time and zig zag back and forth and slowly make your way closer to the animal. Pretty soon the animal isn’t paying any attention to you and you can get some great shots.
This ends the list of advice from my father, though he said there was a lot more he could have shared. Here are a few things I learned during this process:
9) I set my motor drive on continuous so I could get a few shots off each time I hit the shutter. The first shot may not be the best so you want several shots in a row to catch the action.
10) I shoot at 250th of a second most of the time and changed the aperture and ISO to compensate. The one disadvantage of the 150 to 600mm lens is the variable aperture. Shooting at a high shutter speed allowed me to capture movement, and if the buffalo charged, I might have still gotten a few shots off while running away!
11) Have a backpack set up in your car with the equipment in it ready to go so you can jump and run. Include extra cards, batteries, and lenses.
Here are some of the best shots from the weekend:
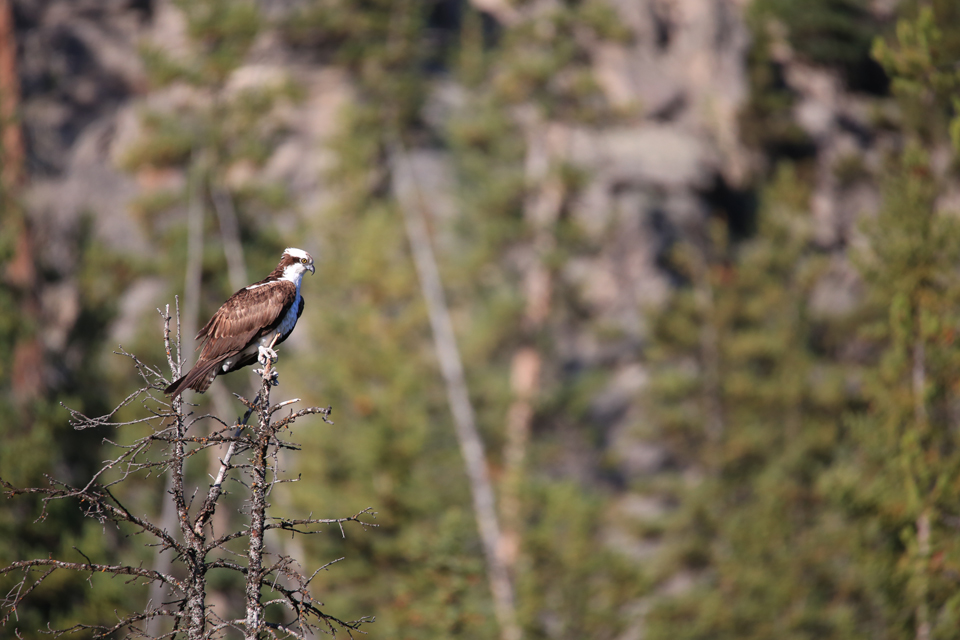
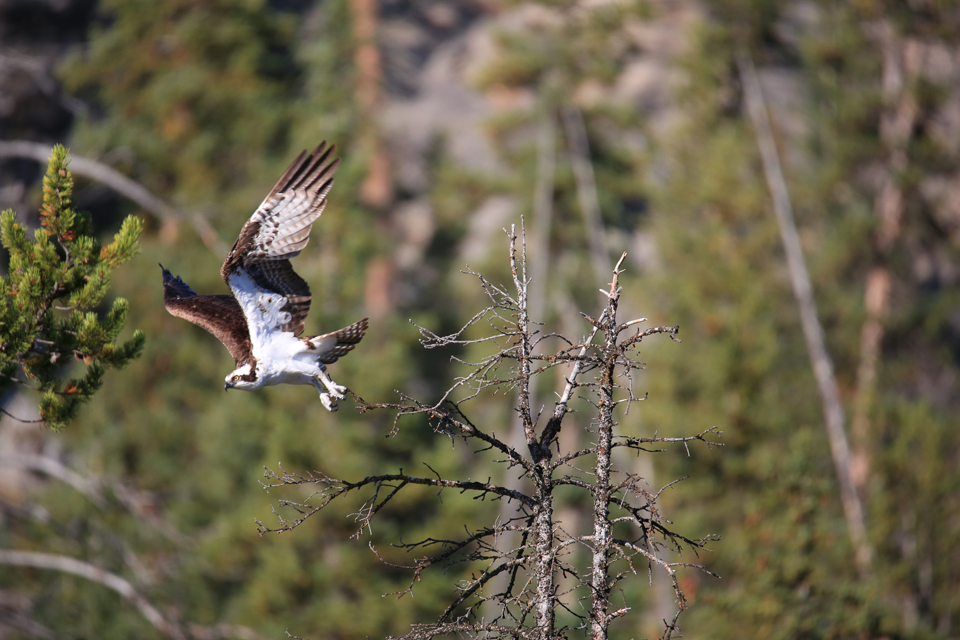
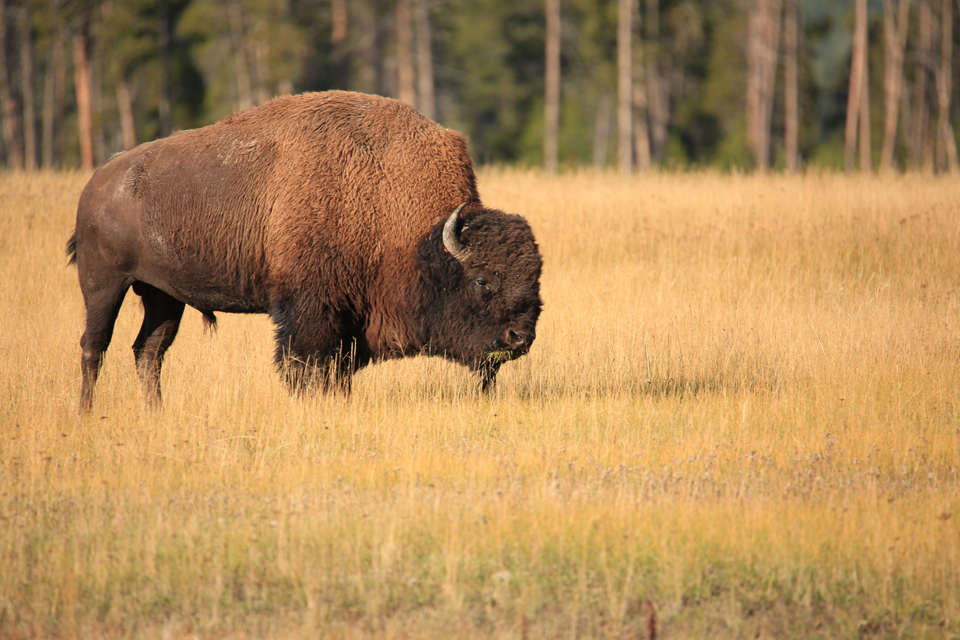
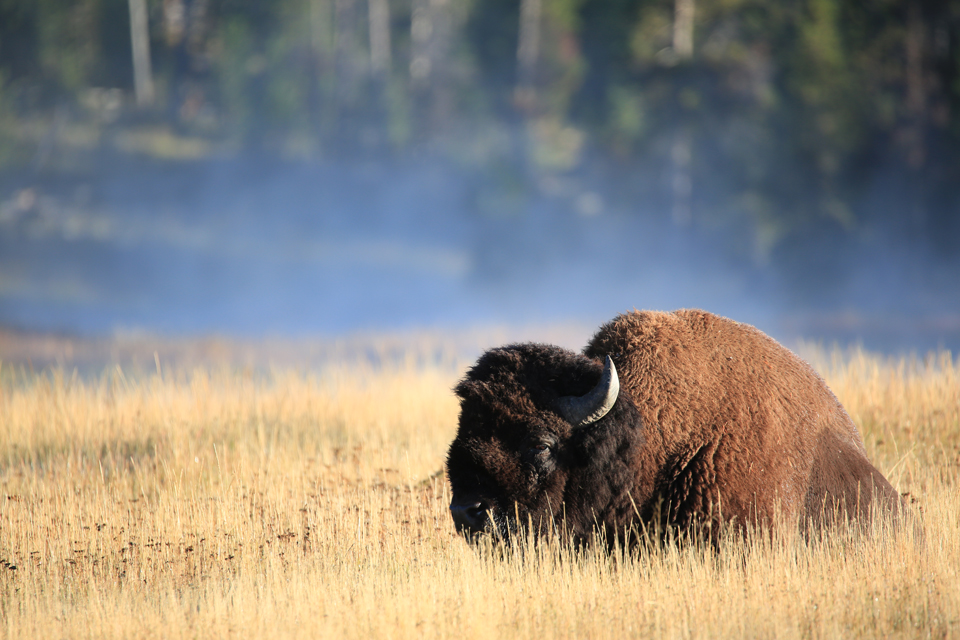
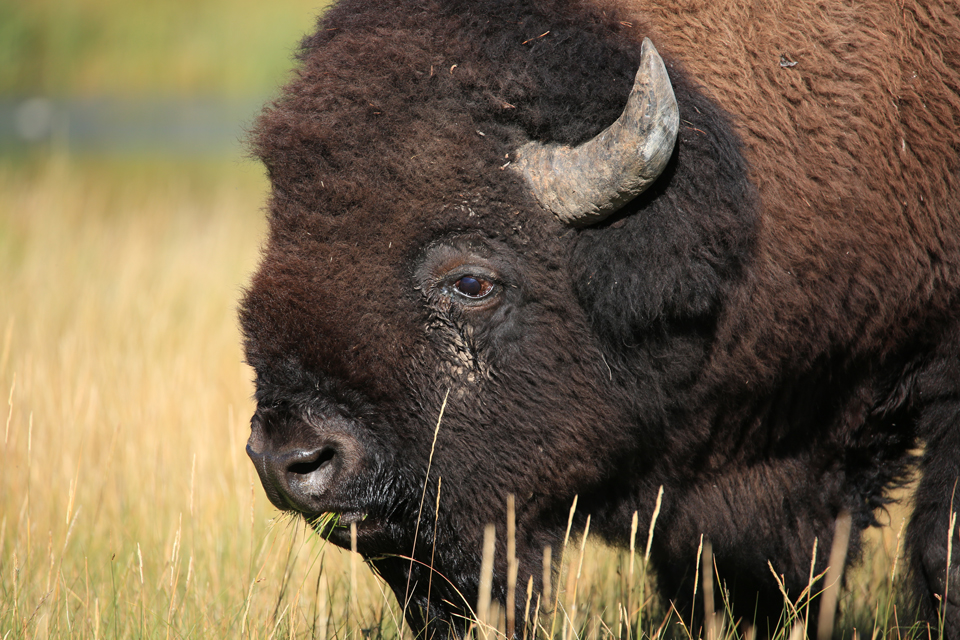
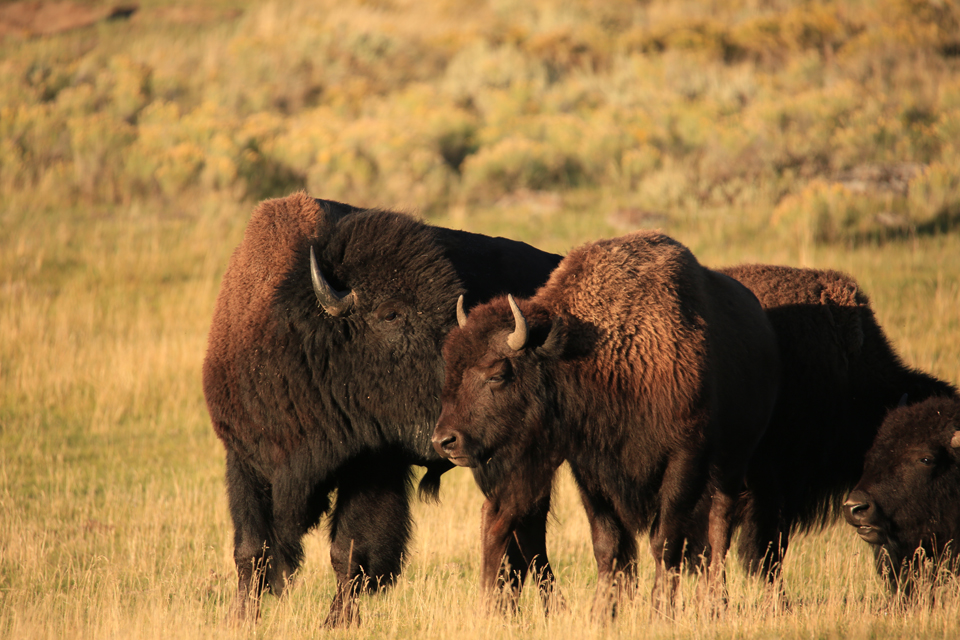
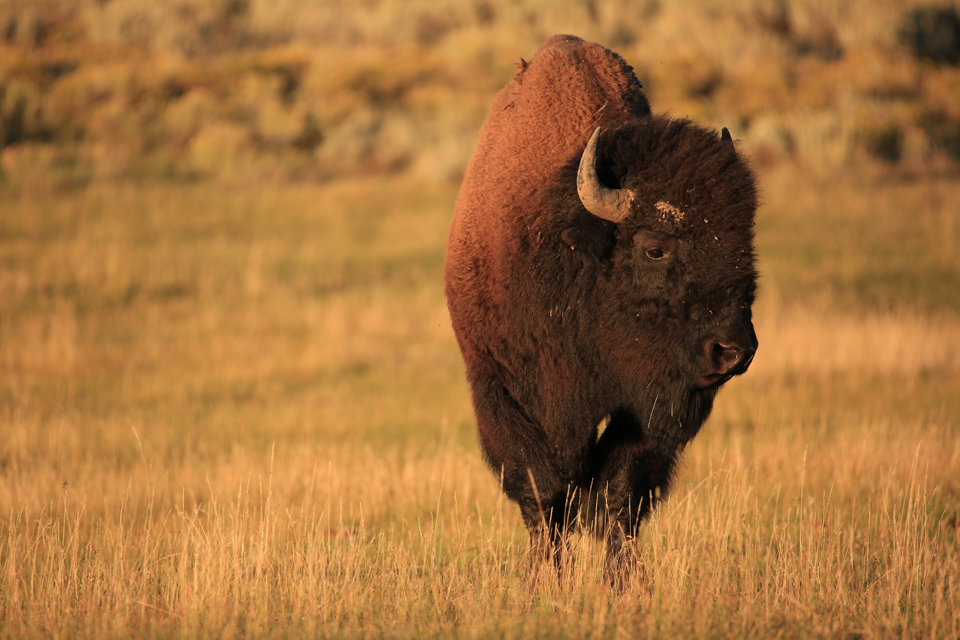
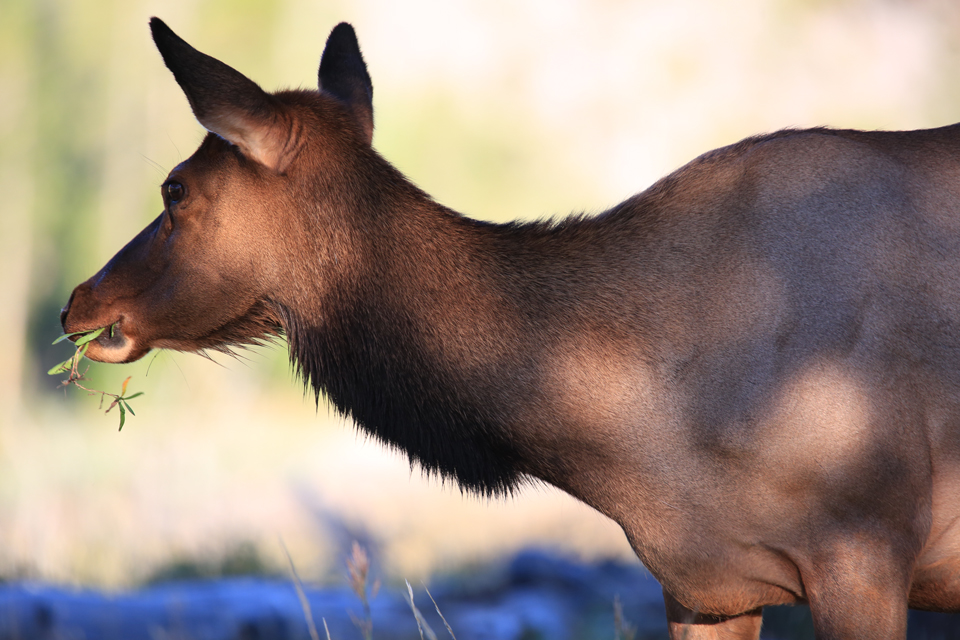
I learned so much from going out and shooting. It was a lot of fun. I have shot some birds at Mono Lake with the 150 to 600mm lens. I have shot buffalo, birds, moose, and elk in Yellowstone and hope to photograph more in the future. Having a long lens that allows this type of work is a game changer and makes a huge difference. It really makes this type of work possible. I hope you are inspired to get out and photograph wildlife.
Thanks for watching. Keep those cameras rollin’ and keep on click’n.
-Jay P Morgan

Filmtools
Filmmakers go-to destination for pre-production, production & post production equipment!
Shop Now