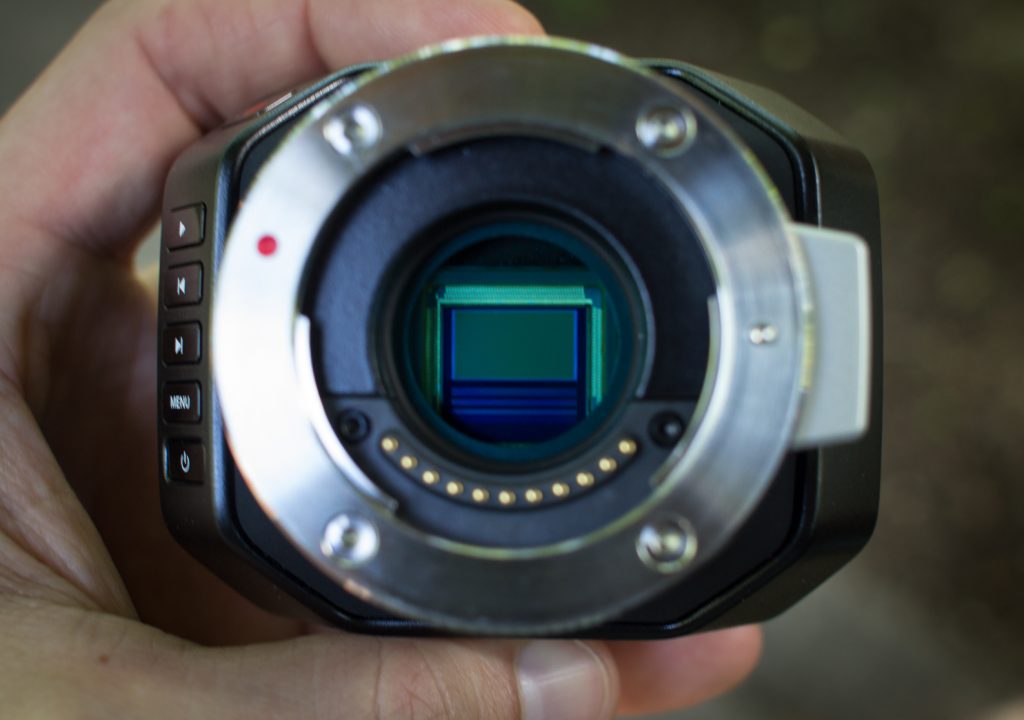
It’s small. It shoots raw. It’s the Blackmagic Micro Cinema. This is definitely one of the smallest cameras I’ve shot on to date except for shooting with the GoPro or DJI OSMO. What those other two cameras do well the Micro Cinema Camera can do as well plus way more, if you have the right equipment or rig. In the video below, you’ll find a quick test shoot of Nashville’s Musician’s Corner concerts. This is a lot less art and is more of down-right basic test to see what we all should expect out of the Micro Cinema Camera.
Micro Size Advantage
Anywhere is exactly where the Micro fits. By shaping the camera body a certain way, Blackmagic made certain this camera can fit into any corner. This single feature opens up the creative options when placing the camera for a shot. What the small size also means, to me, is the Micro Cinema Camera becomes the Point Of View camera for productions ranging from super low-budget to a Hollywood feature. Hey, if the Blackmagic Pocket Camera can be used on the film “Furious 7” then the Micro Cinema Camera can be used as well.
While the camera itself is small Blackmagic did not give it a small number of mounting points. I counted four mounting points. There are three mounting points on the underside of the camera and one on top. These four options should only help this camera become mounted to anything: car, bike, helmet, and anything else one can think of mounting it too.
POV Camera
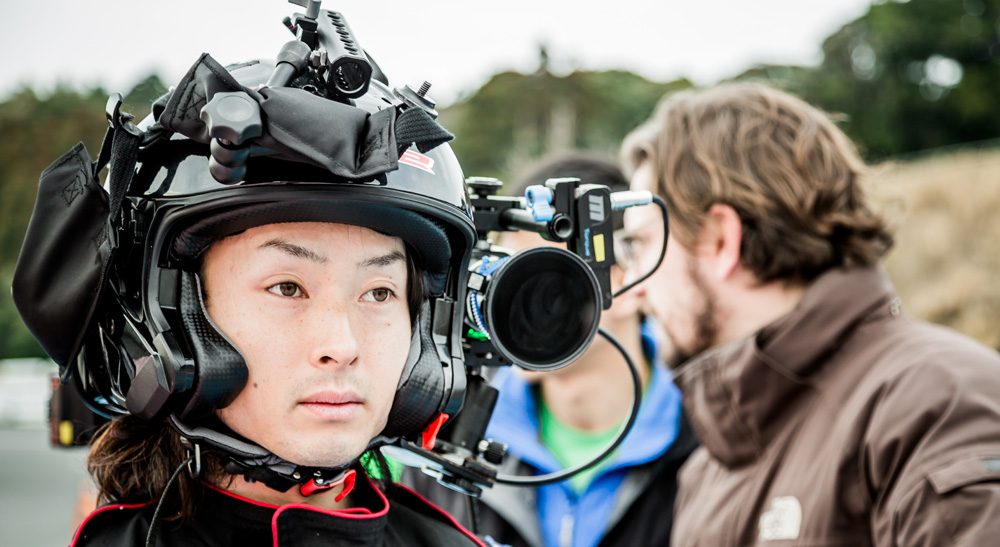 Recently, I wrote an article comparing Peugeot’s latest commercial against Guy Ritchie’s “Take It To The Next Level” spot he made for Nike. The Nike spot shot many years ago, made absolutely fantastic use of POVs to tell the story. This storytelling feat was made possible because of Silicon Imaging’s SI-2K Mini. This was a small enough camera an actor could wear it on his head, which made for a damn good POV shot.
In Peugeot’s commercial, the production used the Blackmagic’s Micro Cinema Camera. They too had an actor wear the camera on his head. This too, made for a damn good POV shot. The big difference, the SI-2K Mini cost close to $15K whereas the Blackmagic Micro Cinema Camera cost $995. Cost alone, the Micro becomes the smart choice, but this camera does not only have size going for it. There is way more to like about this little camera
Image
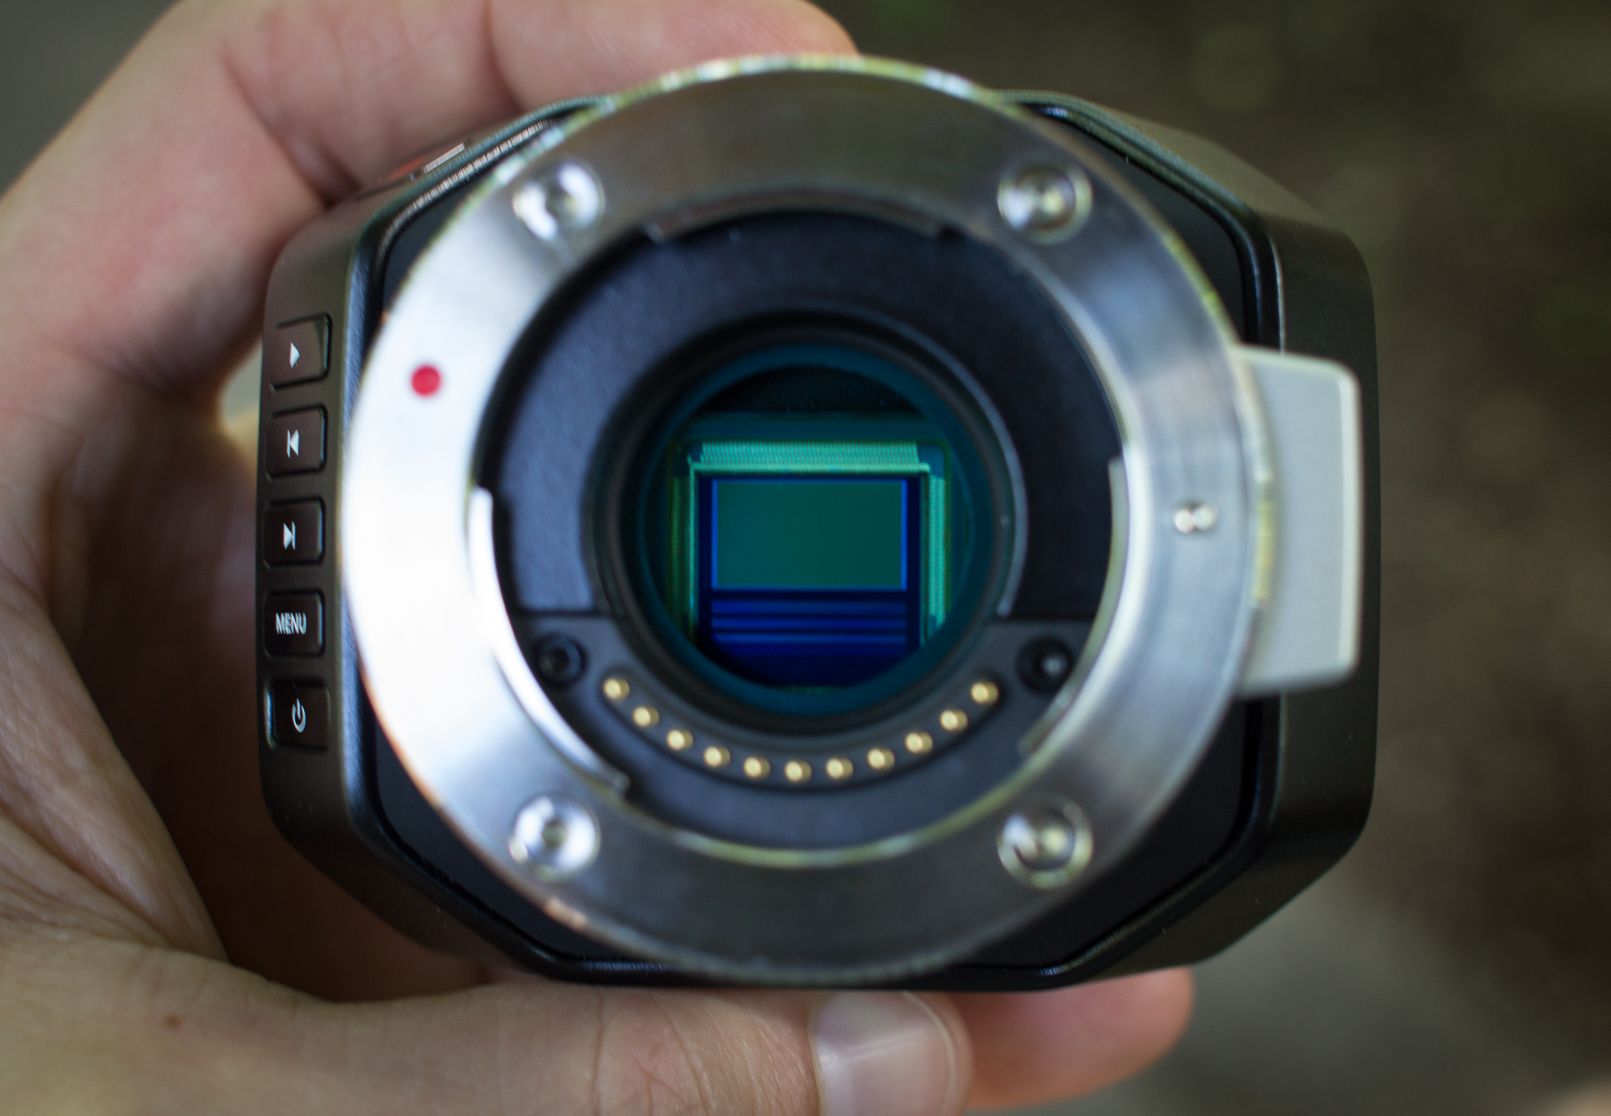 The quick, no scientific evidence or charts, camera takeaway I had is this simple fact: The Micro Cinema Camera’s image looks better than The Pocket Cinema Camera’s. The reason why? The Micro sports a version 2 of the same sensor found in the Pocket Cinema Camera. This version 2 sensor is the heart of the Micro and why it will succeed as a camera. For me, the biggest improvement from Version 1 to Version 2 sensors is the camera’s capability to shoot High Frame Rate. We’re talking 60fps. 60fps has become the defacto HFR to be found on many cameras. It’s enough slow-motion to give a shooter creative choices. but not too fast to require bigger and beefier processing power.
One thing both sensors share I am not a fan of finding is Infrared pollution. Both the Micro Cinema Camera, just like the Pocket Cinema Camera, has IR pollution and you will want to pick up some IR filters to compensate. Formatt Firecrest filters are a great neutral color IR Neutral Density with minimal color shift. I only found the IR pollution when I stacked a heavy Neutral Density filter with a 2-stop polarizer. To correct it, I dropped my ISO and used a small weight Neutral Density filter, but this is problem-solving and not shooting “in the moment.”
Raw Files
Raw is what Blackmagic does really well. The Micro Cinema Camera’s raw lives up to expectations. You will find the camera’s stated 13 stops of dynamic range rings true when you push and pull the footage in DaVinci Resolve. You’ll also find improved color than in the Pocket Cinema Camera. As for ISO settings, no surprise here, the Micro Cinema Camera has the usual four options found on some Blackmagic Cameras: 200, 400, 800, 1600. 800ISO is the sweet spot. 200ISO is damn near clinically clean. 1600ISO is free of fixed pattern noise and added grain. It’s like Blackmagic applied all the goodness out of the Pocket Cinema Camera’s sensor and made it better. If you’re going to shoot raw, then you better buy fast SD cards.


Dropped Frames
I, however, did not have cards as fast as needed. I had skipped frames when I shot raw at 60fps. This experience was not wholly unexpected. I knew my cards were fast enough to capture 24fps of raw footage, but not 60fps. Thankfully, Blackmagic had the wisdom to warn shooters if they are dropping frames when they are shooting. At the top of the screen, whatever screen you are using to monitor, an exclamation point will flash if your camera is dropping frames. I was monitoring my footage with a SmallHD DP4 and I missed the warning for a few minutes. In my case, a review video, missing a couple of shots was not a big deal. If you are shooting on a paid gig then you might want to find the fastest cards available. I would hate to hear about someone missing a shot because of dropped frames.
Lens Options
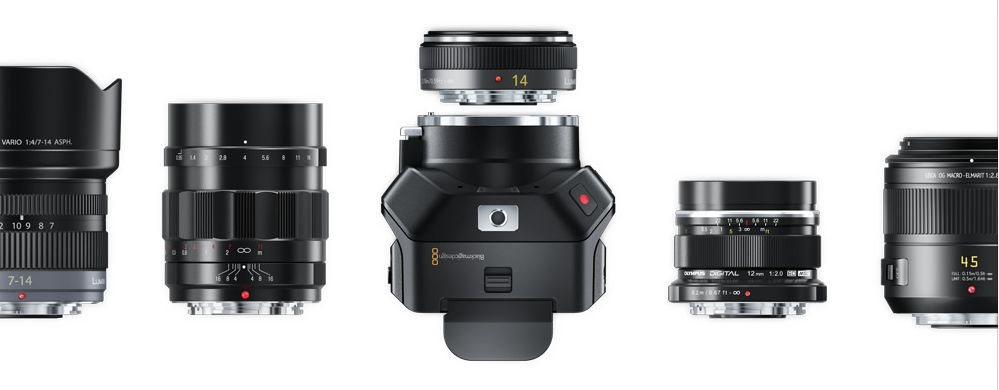
Now, I know Blackmagic talks about how the Micro Cinema Camera, and to the same extent the Pocket Camera, have Micro 4/3 lens mounts which allow for a wide-ranging number of interchangeable lenses. Just like the picture below. It’s a great feature, and, for me, I’m really interested in a few different groups of lenses to shoot on the Micro Cinema Camera. Super 16mm PL lenses can be found online for a reasonable price and can give you a great image. I think Canon L glass looks amazing on the Micro Cinema Camera if you are using a Metabones Speedbooster. Then you will end up with an “APS-C like” picture and the less depth of field that goes along with it compared to a super 16mm sized sensor. Then there is SLR Magic and Veydra, both offer great lenses which will work wonderfully with the Micro Cinema Camera. If you’re looking to capture a vintage look then maybe you should test old 16m Bolex Kern lenses. These lenses are c-mount but can definitely look interesting.
Shooting with a Metabones Speedbooster
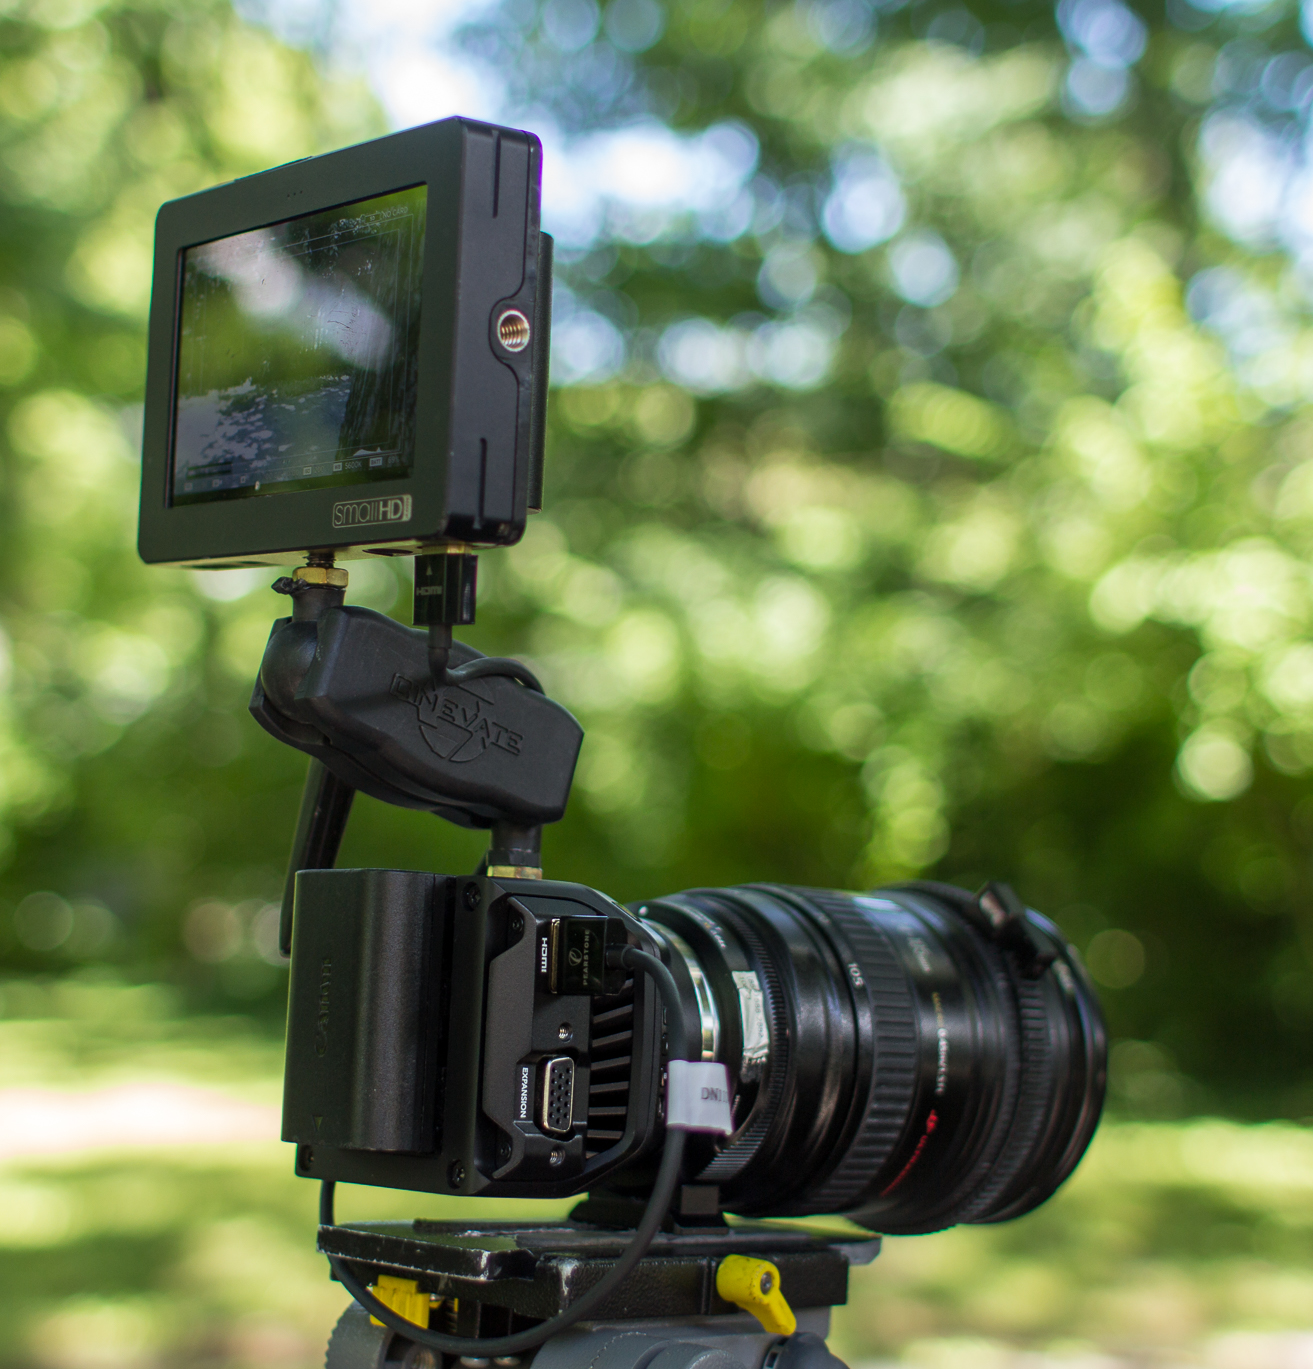 This where the small size of the Micro Cinema Camera was not appreciated. I was shooting Nashville’s amazingly cool “Musician’s Corner” and I had a whole shit ton of camera bounce to deal with throughout the day. First, I did not set myself for success. I was shooting on a Nikon 80-200 with a Metabones Speedbooster and the Speedbooster mount hung lower than the Micro Cinema Camera mount. I mistakenly mounted my tripod plate to the Speedbooster and not the camera Essentially, I place the lens and camera on a small seesaw. I suggest if you are going to use the Micro Cinema Camera in a more traditional way then pick up a solid baseplate solution. Wooden Camera has an inexpensive option I think could be damn near necessary.
Small Buttons
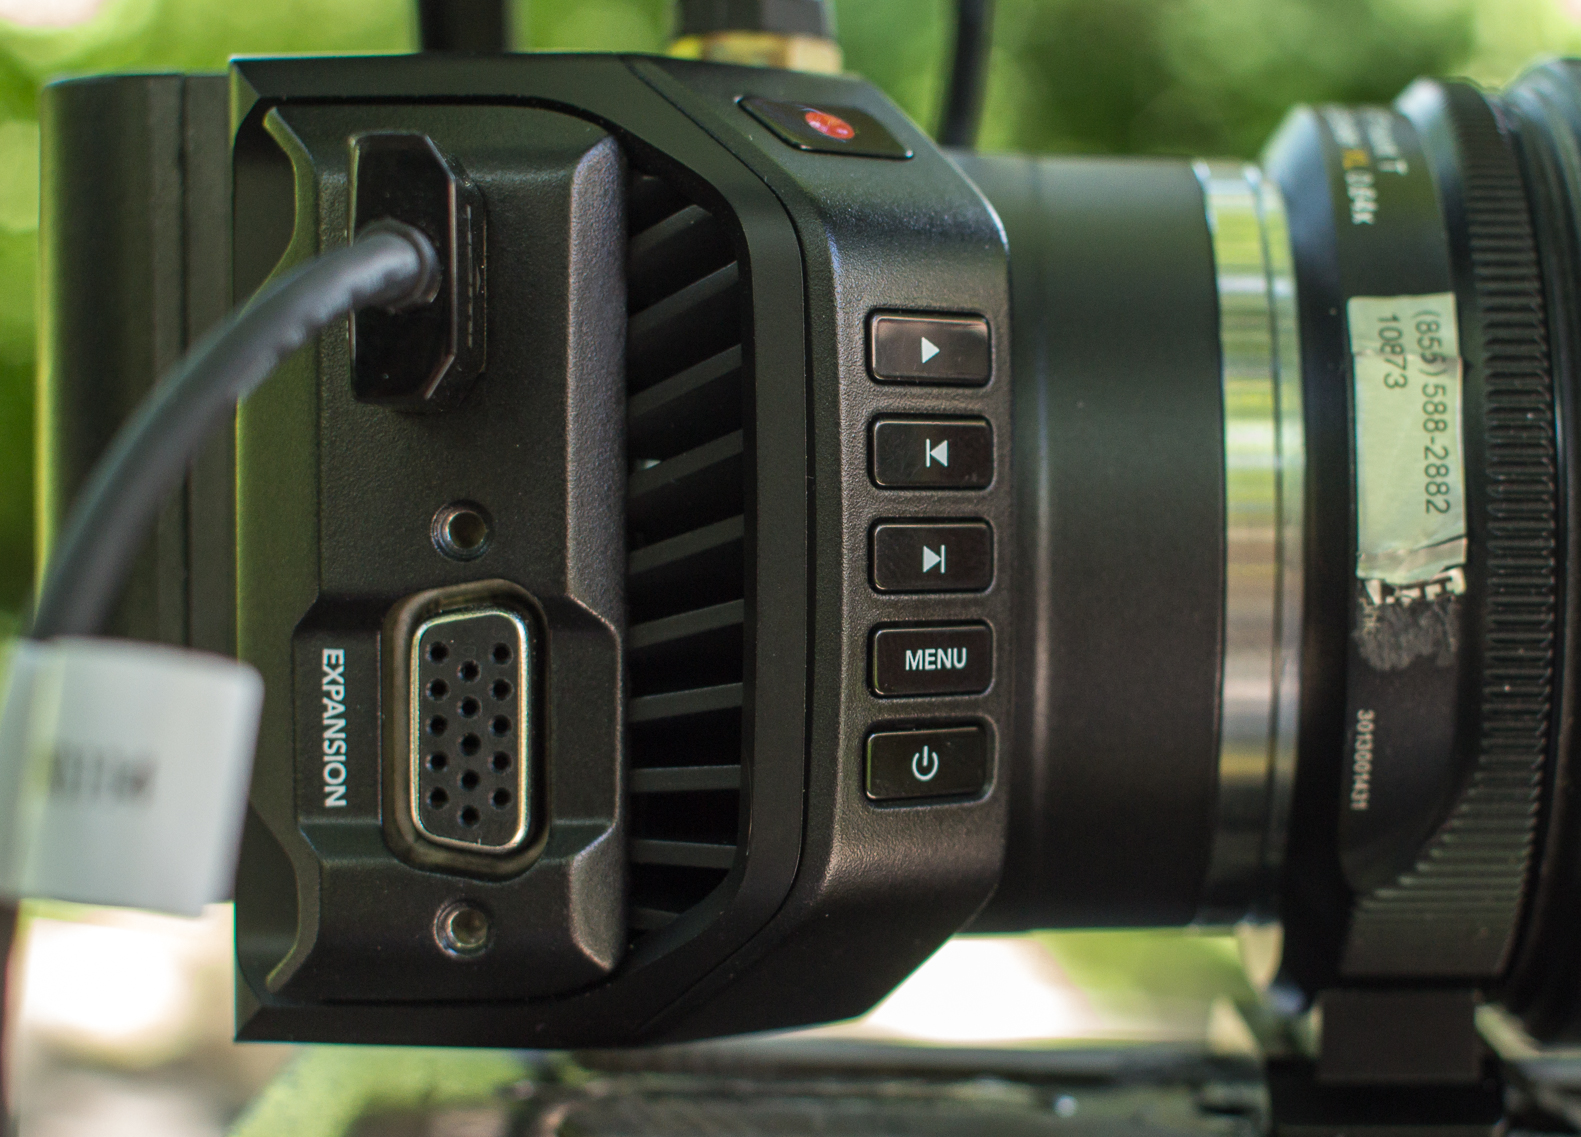 Small cameras mean small buttons and small buttons mean the likelihood of pressing the wrong one is greater. There is a learning curve to accessing the menu on the Micro Cinema Camera and it has little to do with the actual menu architecture and everything to do with those small buttons. I think nearly half of the time I was hitting the wrong button when attempting to change a setting. If renting this camera, give yourself time to play with the menu and finding the right settings before hand. Trust me, clients and bosses do not like watching a cameraman menu dive on a camera for too long.
“A” Camera or “B” Camera
One can make any camera their “A” Camera. It is all about finding the right accessories to rig the camera for easy shooting. In my opinion, the Micro Cinema Camera is better suited to be a “B” or “C” camera for many scenes. This camera mounts to anything too well to not mount it to… well, anything. If I were shooting a car scene with two actors I might have a few of these little cameras mounted in strategic places. If we were shooting a two, or three, camera broadcast interview set-up I might use a couple of these to give an editor a couple different looks like a high wide shot revealing the whole room, or on top of a camera giving me a nice two-shot. As you can see, if you have one, or more, of these cameras on hand you start thinking about where to add more angles to the shoot.
Battery Life
As it turns out, the battery life on the Micro Cinema Camera is way, and I mean WAY, better than on the Pocket Cinema Camera. I shot with the Micro quite a bit and the Canon LP-E6 batteries lasted around one and a half to two hours. This is a vast improvement over the 20 minutes or less for the batteries on the Pocket Cinema Camera.
Break Out Cable
This is the one feature which elevates the Micro Cinema Camera from a great “B” or “C” camera to an aerial asset. It is also the one feature I did not test because I do not have a drone to test the camera on. It’s a shame really because I’ve seen what a Pocket Cinema Camera can do when flown by a drone and I cannot wait to see what others shoot in the air with the Micro Cinema Camera. The breakout cable can give you access to all camera functions when shooting on a Micro 4/3 lens: iris, zoom, focus, iso, shutter, white balance, and focus peaking. When mapped correctly, these features should be at the fingertips of a camera operator and his/hers remote control. A few months ago, my buddy Matt Barker of Blackhawk Cinema mapped the Micro Studio Camera’s breakout cable to his camera remote. You can see in his video below, he as access to all the camera settings. This, hopefully, means you should never miss an aerial shot again
Yet, in the back of my mind is this one thought, is this breakout cable and shooting aerial footage on the Micro Cinema Camera too late to be adopted by many? It comes down to not having 4K for me. The Micro Cinema Camera is an HD only camera. Aerials look great in HD but look fantastic in 4K. I prefer to have my aerials in 4K. You may not, and that’s okay. There is nothing wrong with HD aerials.

Filmtools
Filmmakers go-to destination for pre-production, production & post production equipment!
Shop Now