Introduction
Part review, part tip-sheet, this five-word review (Tiny, Image, Reliable, Extras, Price) is going to take you through the best drone shots that you need to capture in a live shoot — but it’s also a review of the DJI Mini 3 Pro, which came out just a few months ago. Is it good enough for professional needs? And aren’t there more than five types of drone shots you can capture? All will be revealed!
Drone Shot 1: Fly forward over something
It’s easy, right? Fly your drone up above something interesting, point the camera down a bit so you’re looking at it, then fly forward. The classic “dolly in the sky” drone shot, revealing something on the ground or flying past it. Turns out, a lot of non-editors mess this up.
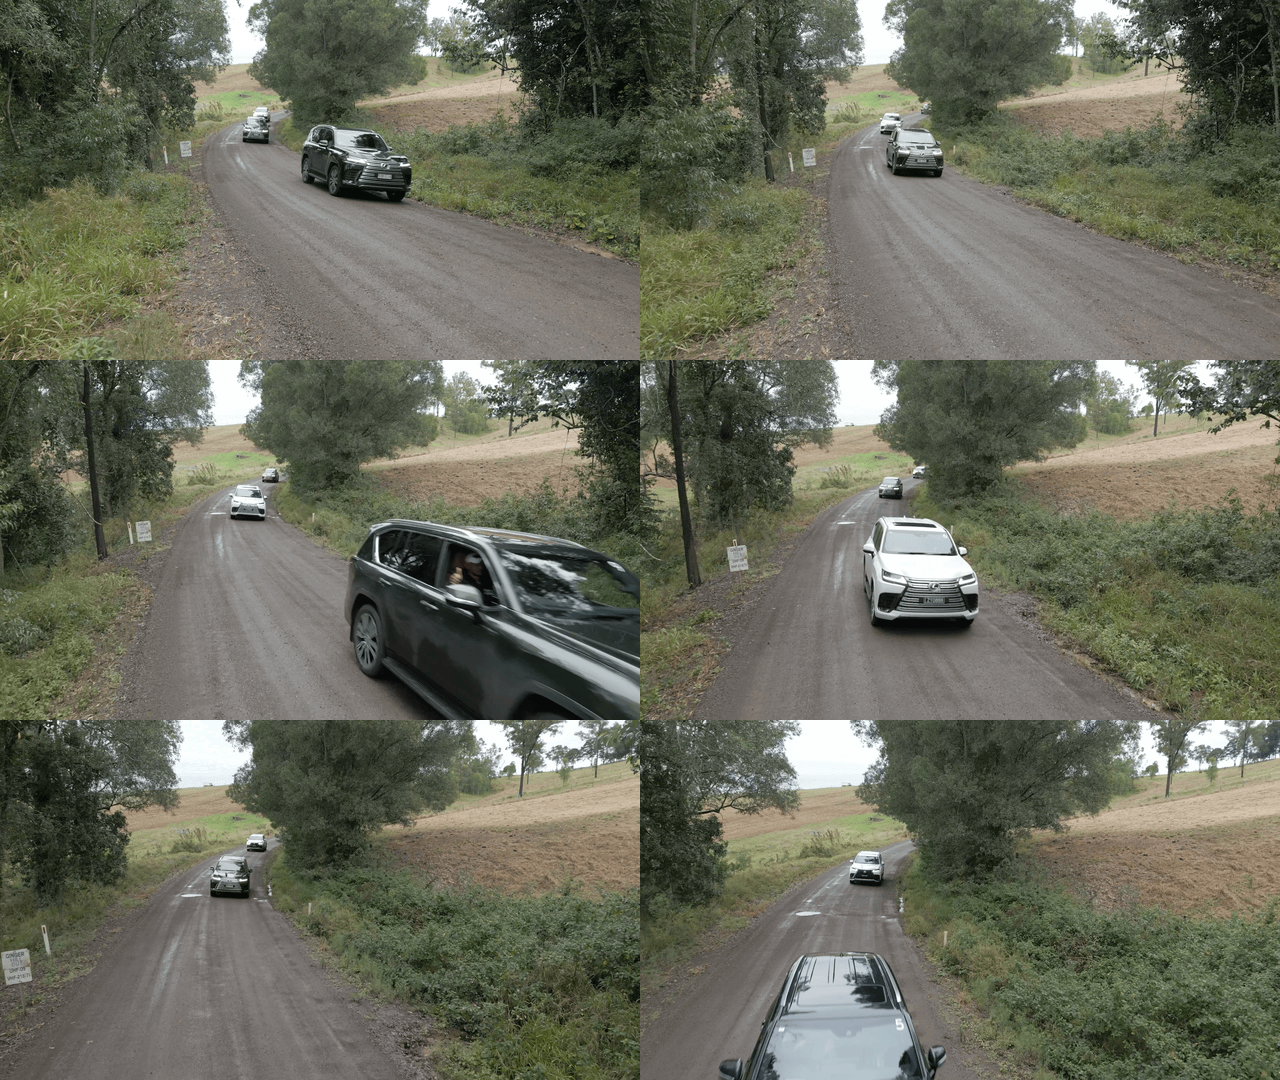
As an editor, the #1 thing that I despise most about drone footage is constant micromanagement of the drone’s heading. To use a moving shot, I need continuous movement, with a direction held steady. If a drone pilot adjusts the heading of the drone, even a little, they might as well have stopped recording — I can’t use that part of the shot. So please, if you’re flying a drone, face it the right way with the left stick, then let the left stick go completely. Just push forward on the right stick (not all the way) and hold it steady. If it goes bad, do it again.
Happily, the DJI Mini 3 Pro can certainly fly in a straight line, even though it’s…
Tiny
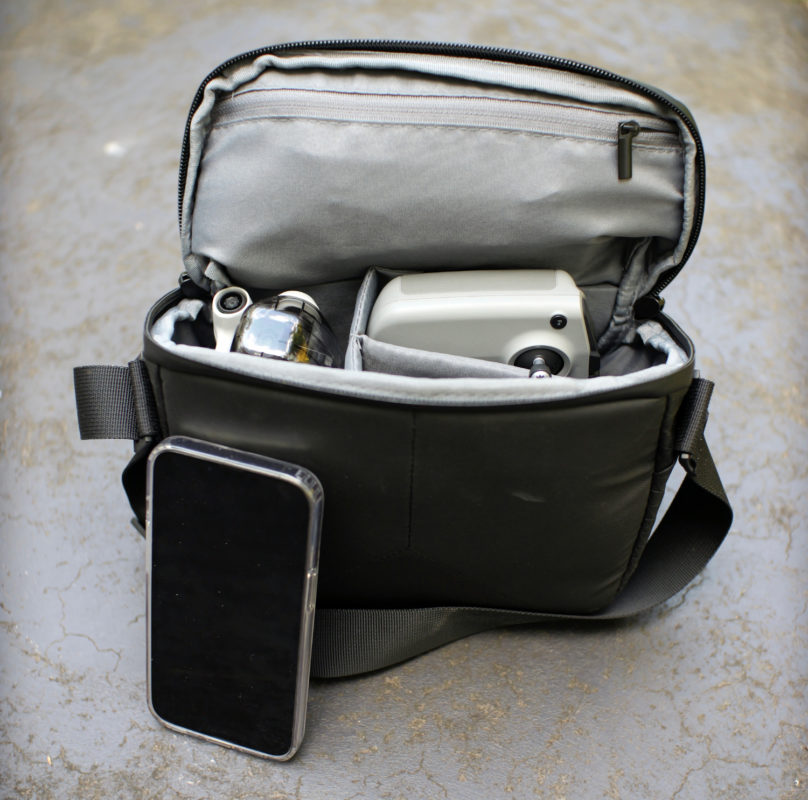
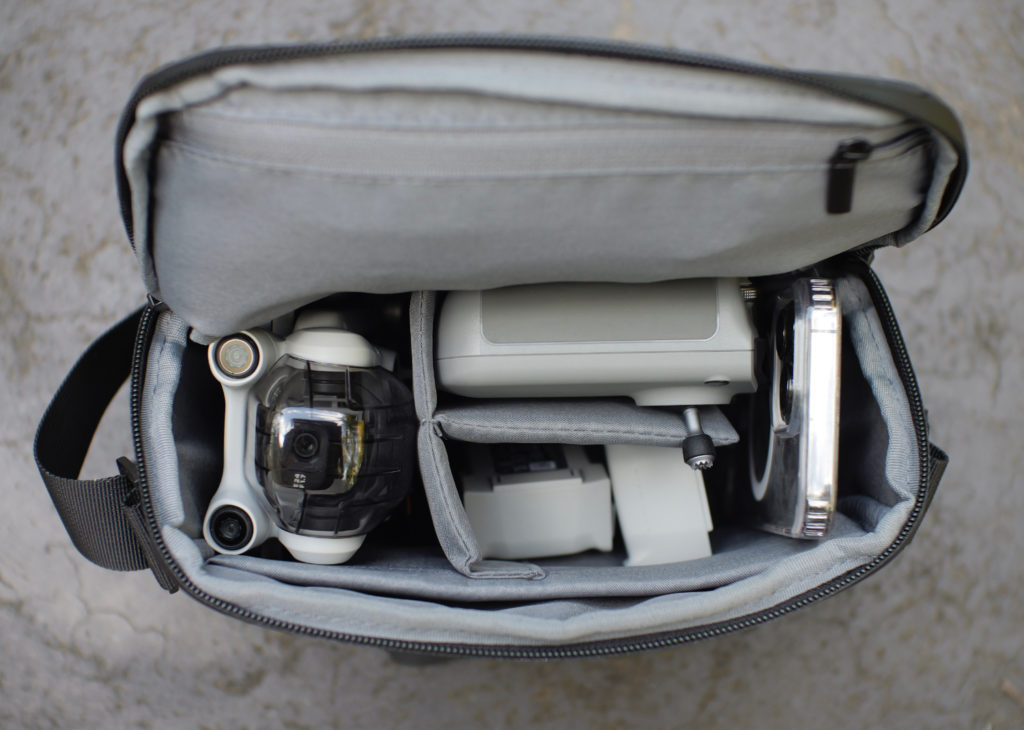
Probably the key selling point of the Mini 3 Pro is that it’s really, really small and light, and this is certainly part of the appeal for me. As a GH6 user, I really appreciate the small size of my kit, and the entire package here could easily fit in carry on luggage, including the controller and extra batteries. It’s certainly something you could take with you in a day pack on a hike, and a bit of kit you could bring along on any job without worrying about the space it takes up. Size matters.
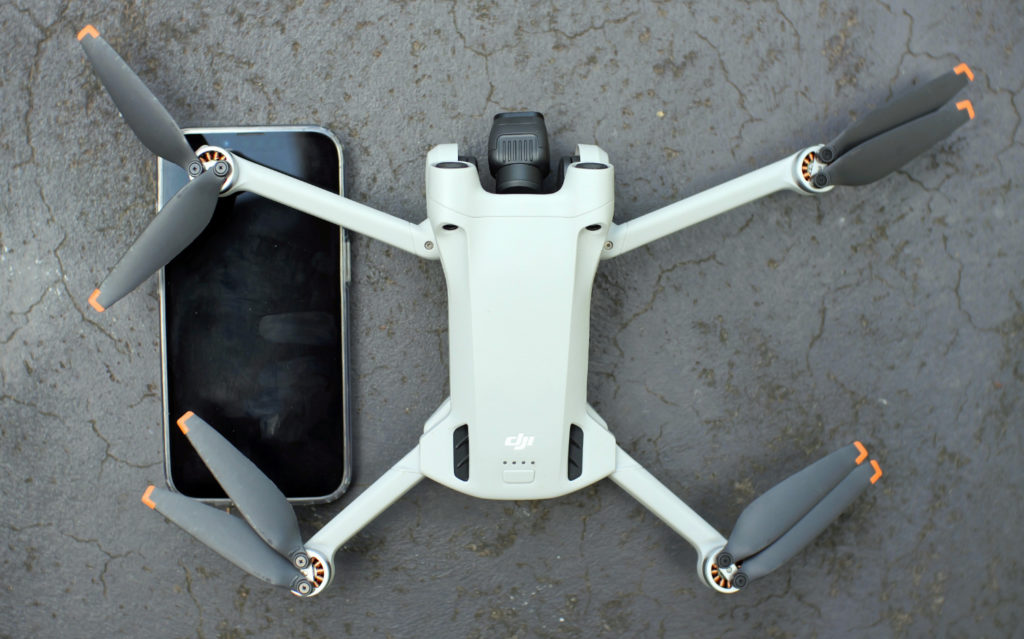
In some jurisdictions, being under 249g is also very important, and with the built-in battery, this one is. If this magic number isn’t important to you, Plus-size batteries will push you just over 249g, but will give you more flight time. That extra flight time is handy if you want to…
Drone Shot 2: Fly sideways in a straight line
It’s easy to use a smooth sideways tracking shot, and if you’ve used a gimbal, you’ll have probably captured one or more of these already at ground level.
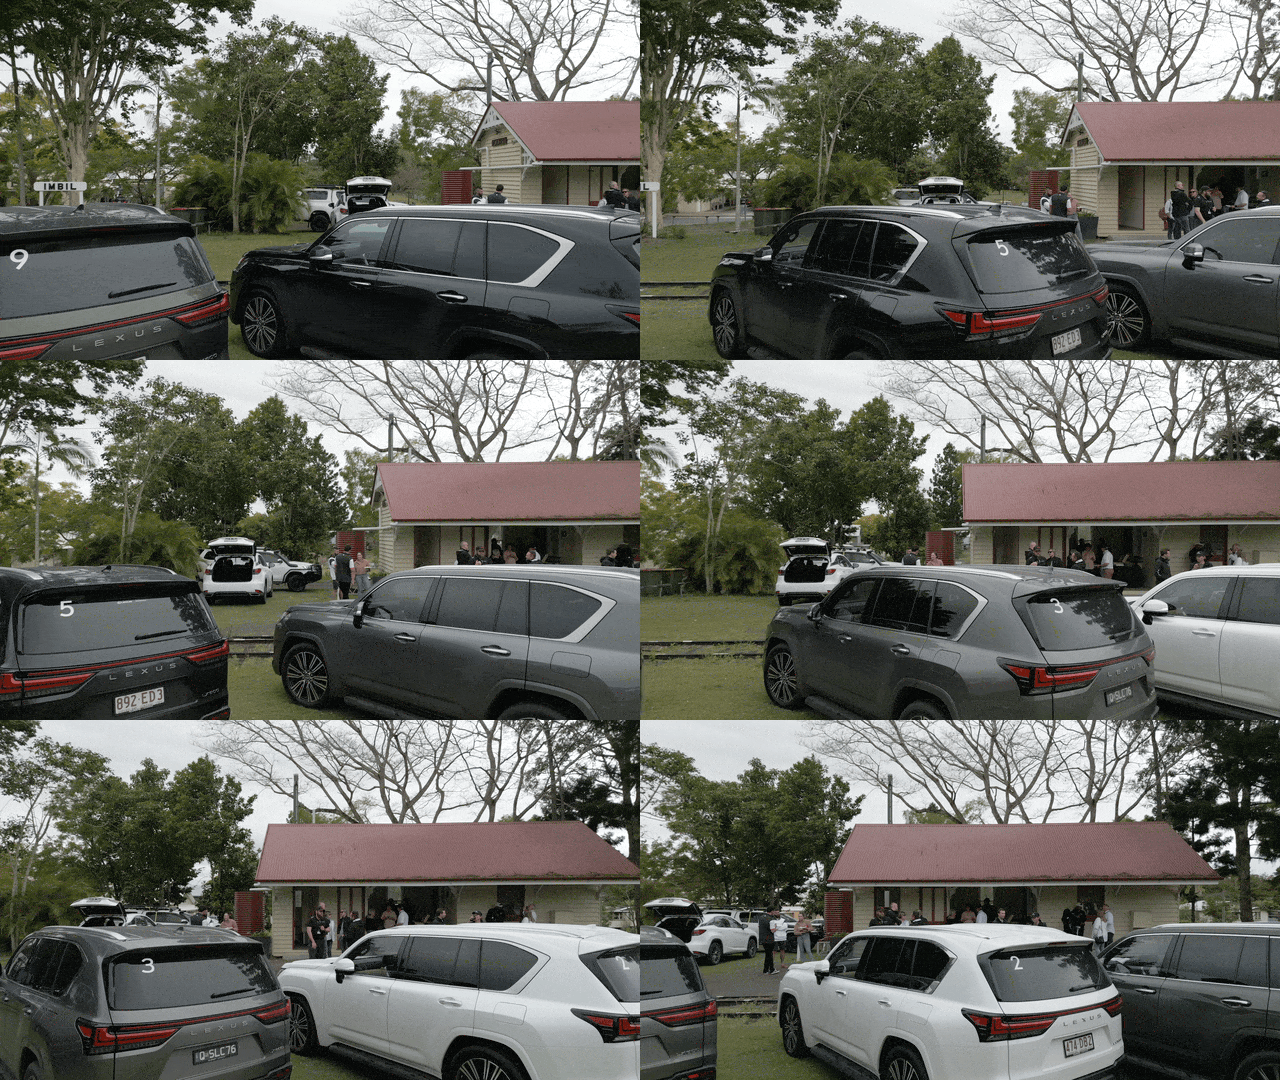
On a drone, it’s easy at any height — point the camera at the subject, then push the right stick sideways just a little, and hold it there. Slow movements are best, and it’ll look great because of the very nice…
Image
At 1/1.3”, the sensor isn’t huge, but it’s quite a bit larger than the Mini 2’s 1/2.3” sensor, and that does make a difference. For background, I’ve owned a DJI Spark previously, and while the Spark’s 1080p footage wasn’t enough for my tastes, it was good enough to use for some client jobs. Obviously everyone’s threshold for “good enough” is different, but the Mini 3 Pro’s 4K footage is very good, even if it doesn’t reach the heights of much heavier drones with larger sensors. The Mini 3 Pro’s footage is still HDR, 10-bit and has decent latitude, so there’s room to play with color and exposure in post, and you can capture 4K60, 1080p120 and 48MP stills, so you’ve got resolution to spare and slow motion if you need it. Do tap-to-focus manually though.
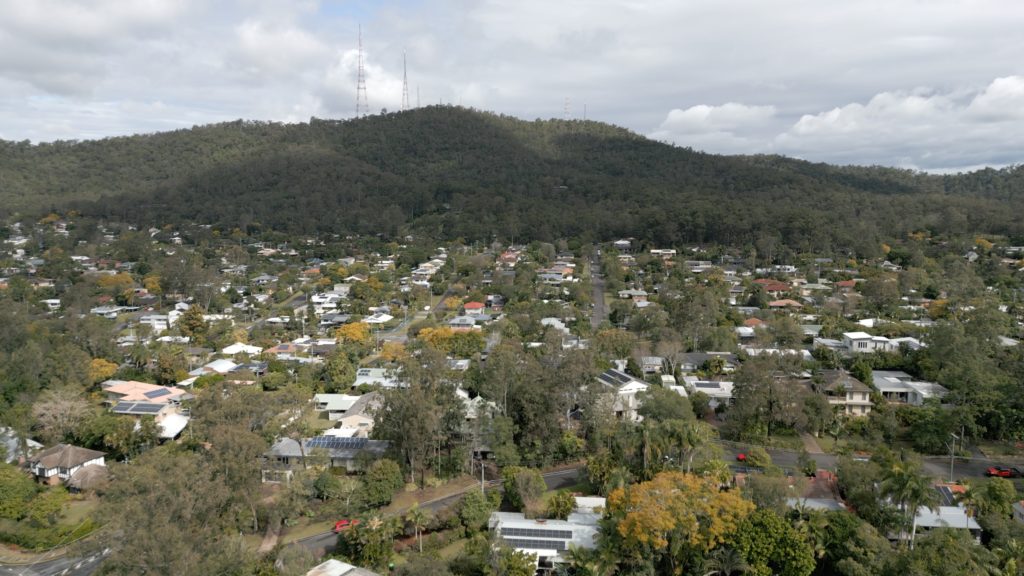
Output resolution, sensor size, oversampling and dynamic range all play a part in how a shot looks, and the Mini 3 Pro is, for many jobs, certainly good enough. Of course, your mileage may vary — if you need the look of a larger sensor, you’ll need a larger drone. It’s not feature level, but it’s pretty great, and can certainly…
Drone Shot 3: Fly up and down
Again, this is an easy shot to pull off. Point the camera at the subject, then fly straight up with a push forward on the left stick. When the subject goes out of shot, push down and capture the shot in reverse.
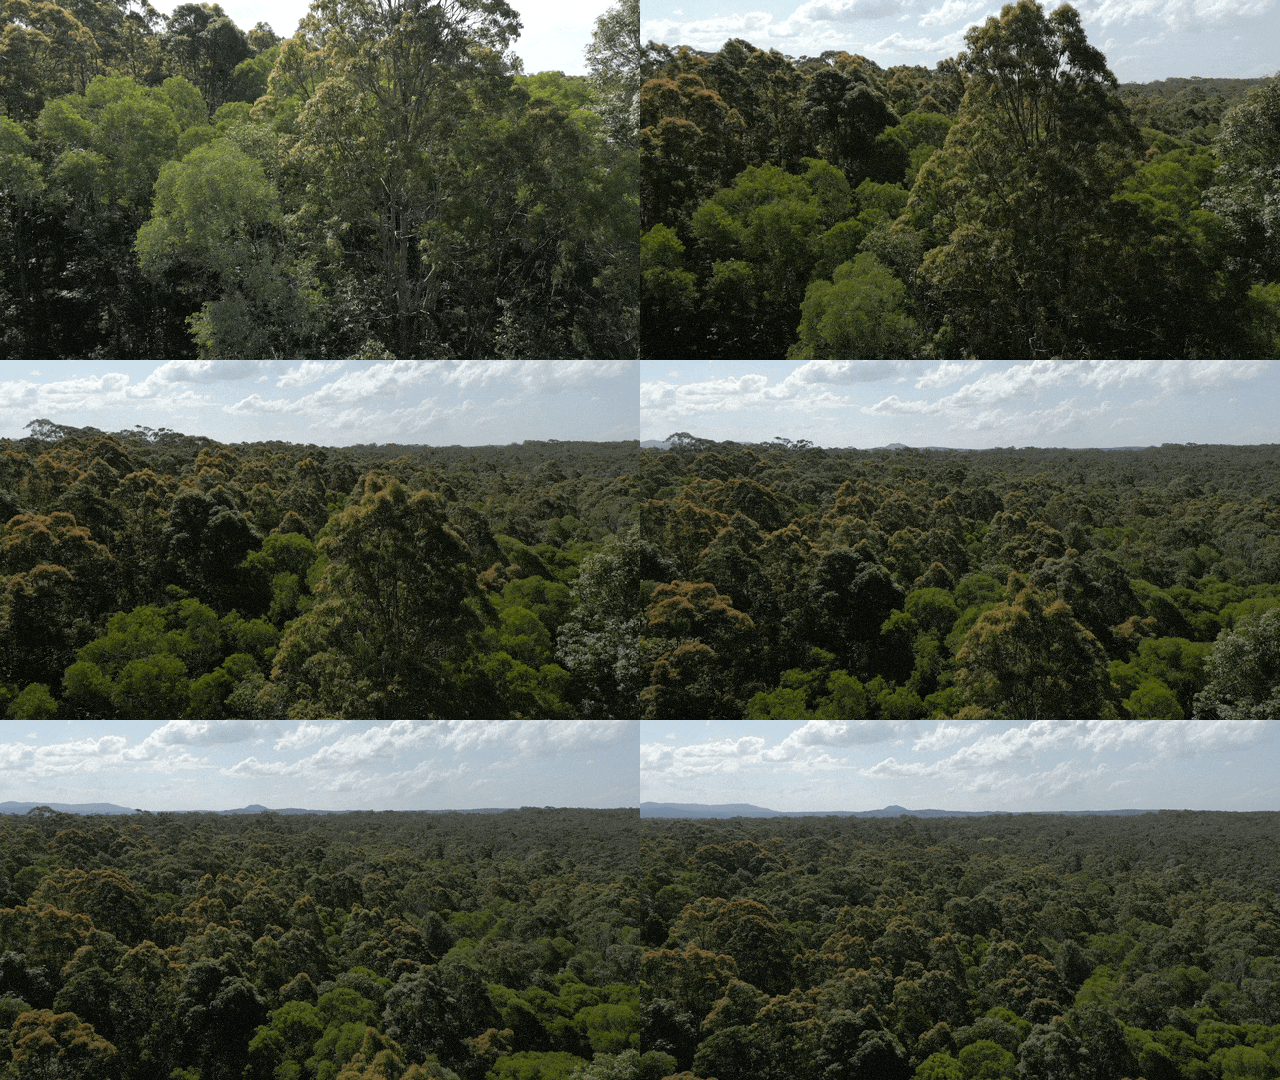
A fly down (revealing the subject) is best as an opening shot, and a fly up (revealing the sky above) is best as a closing shot where you can show a logo and contact details. Super simple, and if you want to make it fancier, try tilting the camera while you move up and down. It’ll work, because it’s…
Reliable
In my time with the Mini 3 Pro, I haven’t had any problems with connection, or with the drone going crazy, or with batteries dying before they were expected to. The larger “Plus” batteries are more useful if it’s a little windy, or if you’re a little nervous, but the flight time in the app is pretty reliable. Still, if you’re sending the drone a long way from your start point, remember to turn around before you hit 50%, because you don’t want to be caught short.
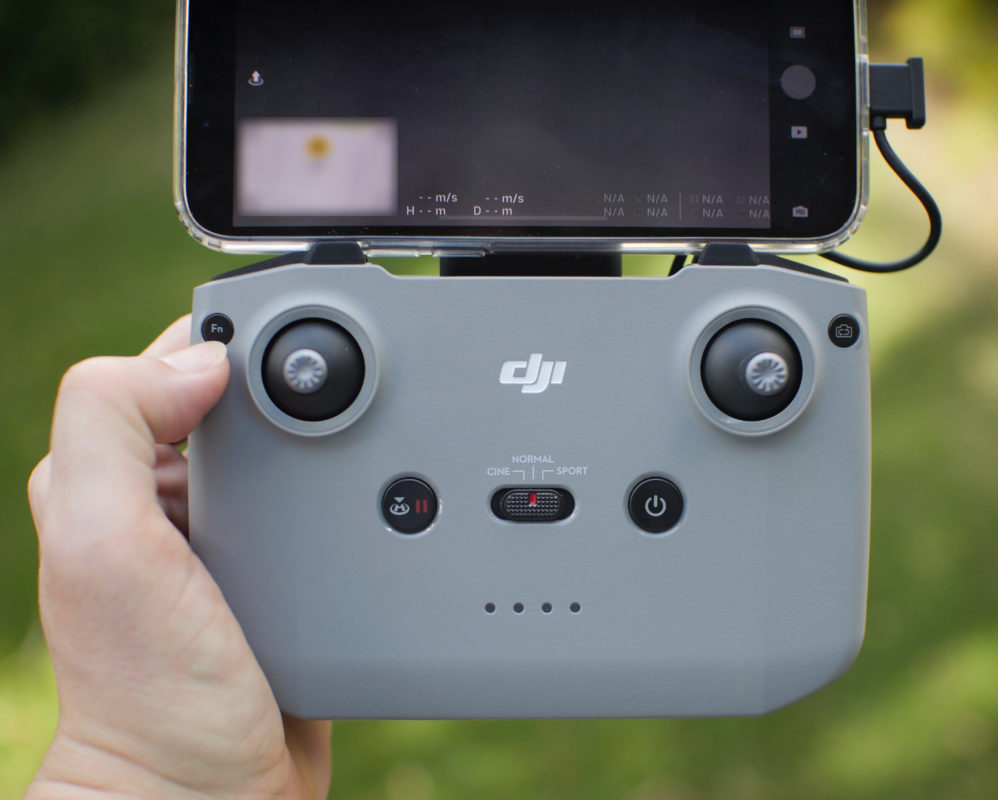
While a pricier controller with a screen is available, my controller still uses my phone as the screen. While setup is a little slower this way (I need to mount my iPhone, plug it in and launch the app) it’s been just fine. So far, the app hasn’t glitched, there have been no transmission hiccups, the controls have been responsive, and I’ve been able to get up in the air quickly when I’ve been just 30 seconds or so ahead of my subjects. Reliability gives you more time to get fancy shots, like…
Drone Shot 4: Orbit around
This is one of the trickier shots to pull off, but it’s worth it. With a subject in frame, you’ll want to move sideways as you turn in the opposite direction. Push the right stick left or right to move, and the left stick in the opposite direction to turn.
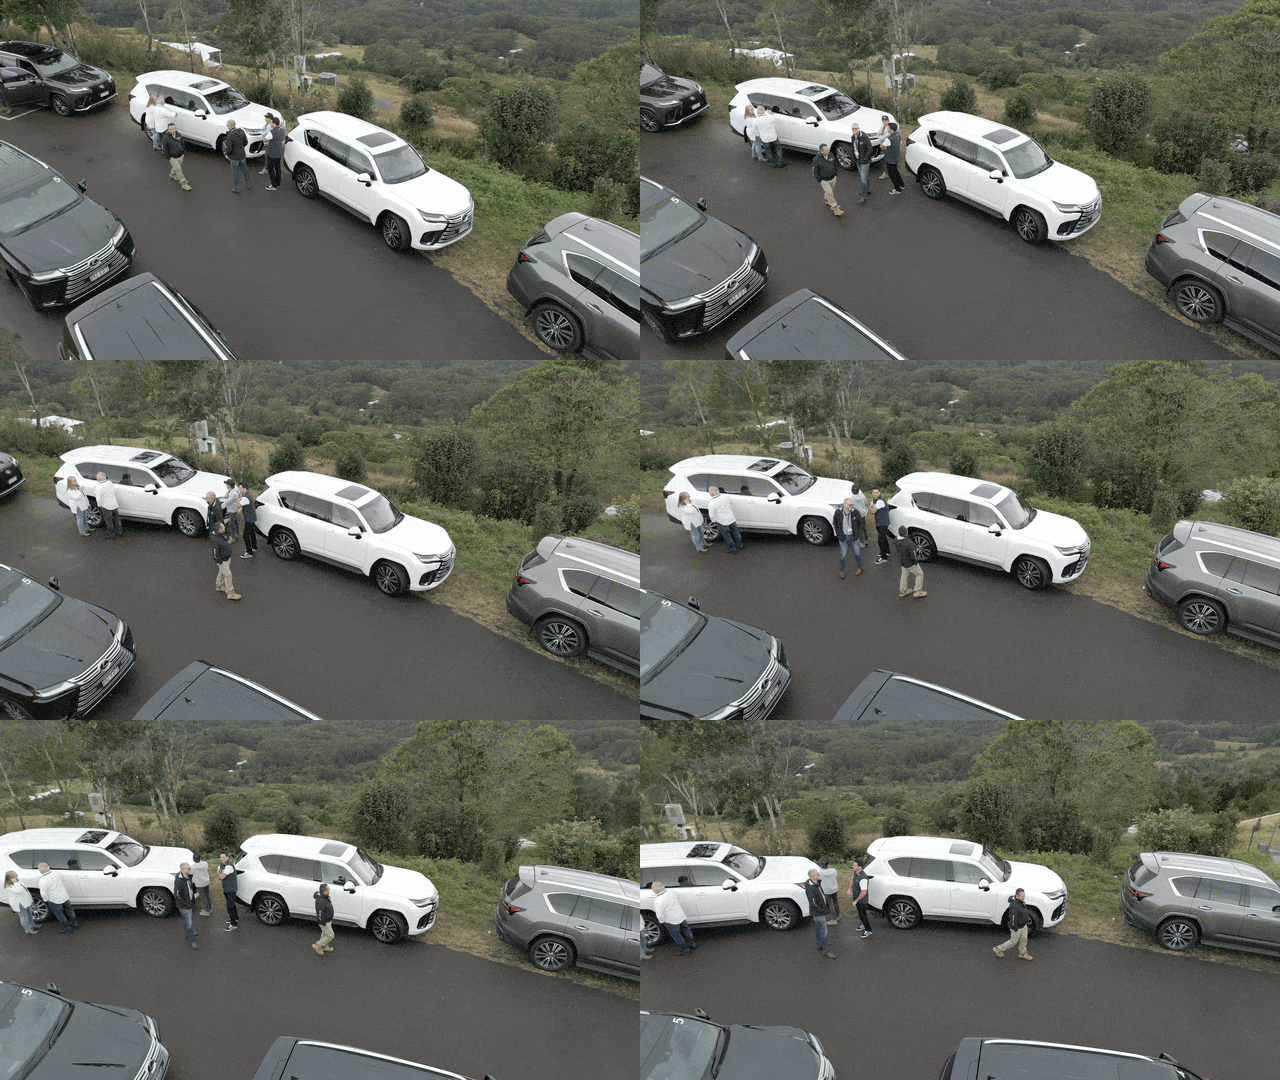
It’ll take a little practice to push just the right amount, so hit record and take a few passes in each direction. One of them will be good, and then you’ve got a killer shot for the edit. But what if you want more fancy shots?
Extras
The Mini 3 Pro app does include many exciting features, including subject tracking, portrait shooting, and 180° panoramas. You can use fully automated MasterShots to capture specific movements (like Fly in from Space) or you can use semi-automated techniques, where the drone keeps a tracked subject in frame while you fly around it. So why bother learning how to orbit manually? Because tracking isn’t 100% accurate, and it’ll sometimes fail.
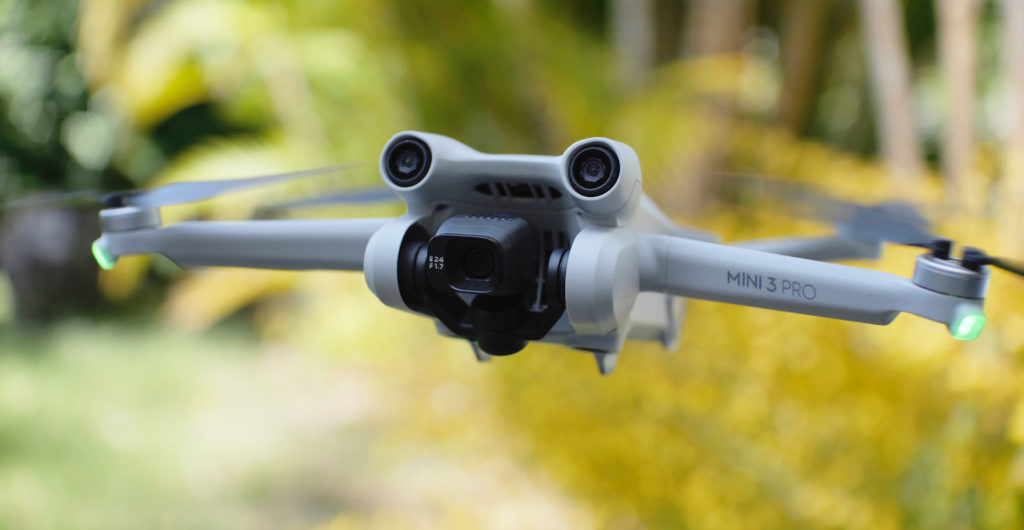
When trying to track one of several similar cars in a carpark, tracking became confused as to which car I wanted to follow, ruining the shot as the drone wildly swung between them. And when I tried to follow myself down a quiet street, the drone was happy to fly into a tree by the side of the road. Although it does have Tri-Directional obstacle sensors (ahead, back, down) they don’t cover every direction (up, sideways) as on larger Mavic drones. The bottom line is that while I can avoid trees and orbit a subject myself, I can’t trust that to be automated in the real world, on the clock.
Now, although you might not want to rely on the automated features all the time, simple subject tracking allows you to remain in control of where the drone’s flying, and let the software worry about where the camera is looking. If it’s working well, this means that Shot #1 above can turn into a very fancy tilt-while-flying over, Shot #2 can turn into an orbit, and so on. The smarts are certainly nice to have, but I’d always recommending capturing the basic shots before trying to perform the smarter ones, and, given that the drone can’t see all around itself, be very wary of smart modes which fly the drone for you.
Happily, you don’t need drone skills to pull off…
Drone Shot 5: Down with a twist
One of my favorite shots, and it’s easy. Fly the drone up, a fair way, over your subject. Point the camera straight down, record, and fly slowly down while you spin the drone. This is just a small downward diagonal movement on the left stick, and nothing on the right, but it’s a killer shot.
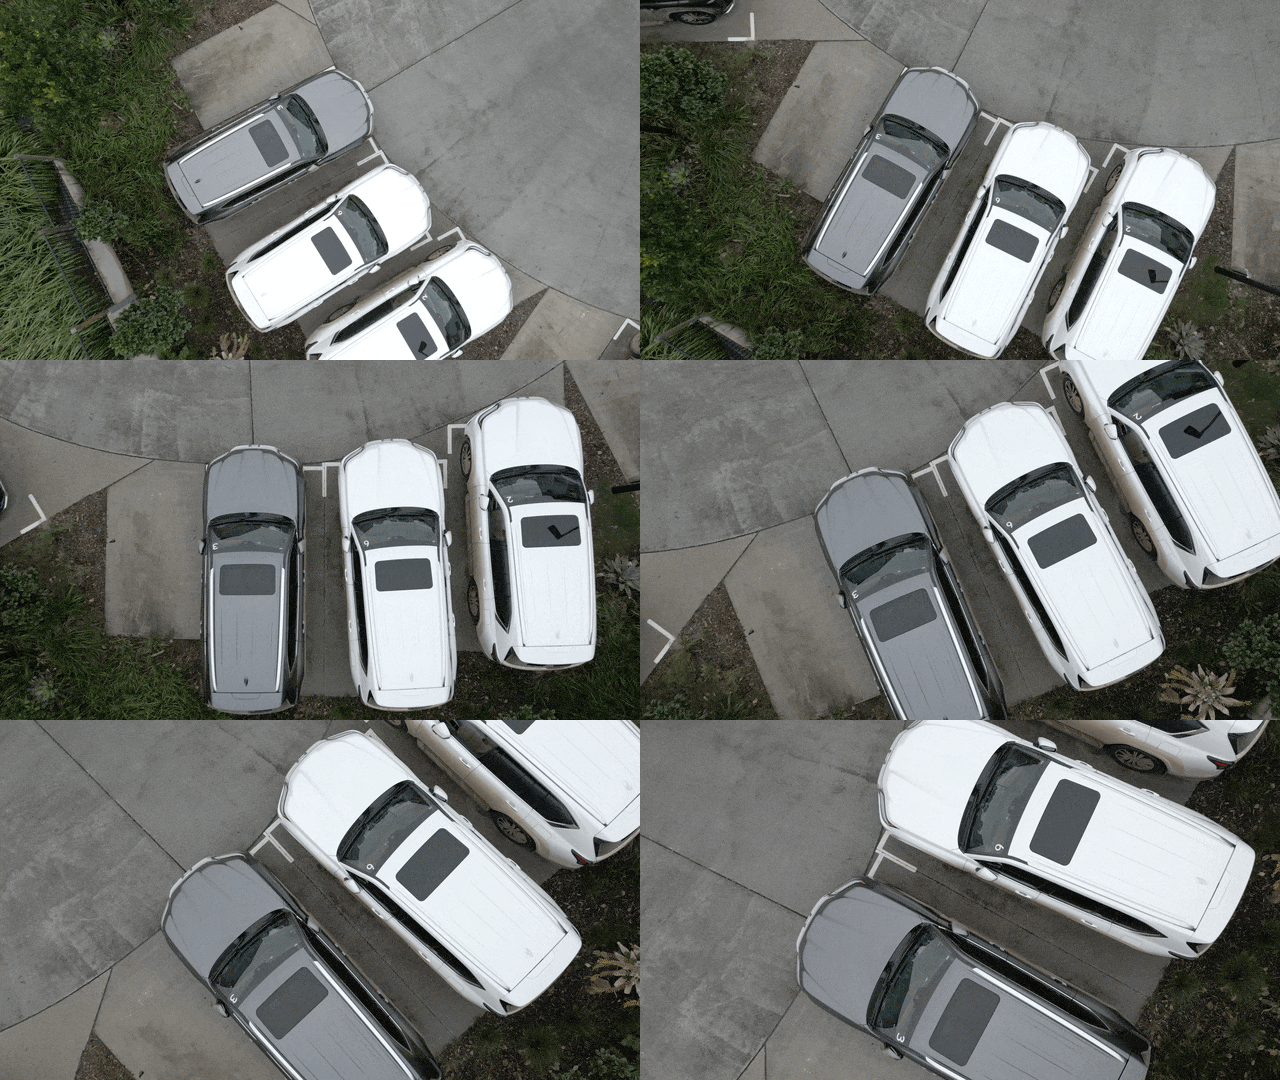
Try it moving up as well if you like. This works well over all kinds of subjects on water or land, and while it’s often the money shot, the drone itself isn’t that expensive.
Price
This varies, but at around $760, or US$1160 including the Fly More Plus bundle and a fancier controller, the DJI Mini 3 Pro isn’t as cheap as a smaller drone, but its footage is more usable in more situations than a cheaper drone would be. It’s not a casual purchase, but it’s the kind of drone you could purchase for a single job, make a profit, and not regret anything.
I barely used my Spark because the picture just wasn’t good enough (too much like a mobile phone) but I’ll definitely be using this one more. For working solo videographers, this is likely the smallest option you should consider, and it’s priced fairly.
Conclusion
As ever, the best camera is the one you have with you, and the size of this drone makes it much more likely that you’ll have it with you. If you’re working for the kind of client who’s asked you to “bring along a drone, just in case” then this is a great choice, because you don’t have to pay for an extra flight case. With a more demanding client, the tiny size could work against you, because many clients judge quality based on the size of the camera, and this one really is small. But that’s undeserved; the Mini 3 Pro image punches way above its weight.
Yes, the automatic features can be fun, and sometimes very useful, but in the heat of the moment, you’ll want to rely on the power of your own thumbs instead. Once again, if you need to pull off the fanciest shots, and you need to be able to rely on tracking in combination with 360° obstacle avoidance, you’ll need to step up to something larger and more expensive. It’s not that you can’t do those shots with the Mini 3 Pro, it’s just a little bit harder, and if you’re fighting the weather, you’ve just got to get as many clean shots as you can while the sun shines.
So — is it good? Yes. Should you buy one? Maybe. Take a look at some sample shots from all the video reviews on YouTube, see if they’re up to your standards. If they are (and they probably are) then try to grab one. It’s a terrific, tiny package that’ll open up new perspectives, and worth having in your kit.

Filmtools
Filmmakers go-to destination for pre-production, production & post production equipment!
Shop Now


