For nature photography following Meet Your Neighbours protocol, you need a white background. I've just built my own very portable studio, and I am so happy with it and the results achieved that I want to share the news with you. Read on.
Since 2011 I photograph some nature subjects using white backgrounds. I had done it before, but not using the techniques developed by Niall Benvie for the MYN – Meet Your Neighbours project, a worldwide cooperation of photographers to photograph… the natural world existing close to our homes.
When I started, I bought the acrylic plate suggested by MYN, a 40×60 cm monster that is not easy to carry about. That hindered me from doing much field work, as carrying the plate, ways to support it and all the other gear needed, was not easy. Being a “Less Gear More Fun” addict, I started to think of ways to photograph MYN style – let's call it that, it is easier – and also started to experiment with white diffusers. It works, and I even did a project with wild birds, “Birds of Prey Portrait Sessions” that won me a prize in an international competition, in 2012.
A tripod as the heart of the studio
Although usable for subjects as flowers, diffusers are not a good option if you want to work with a light table, essential for some subjects, like small animals, mainly insects and bugs. Again, the acrylic plate is needed. After seeing the table built by Clay Bolt, co-founder of Meet Your Neighbours, I decided to build my own, but made it with longer legs, so I do not have to be on my knees for long periods of time. It's comfortable to work with, but as it was built for the 40×60 cm plate, it is a lot to carry, although it is great for location work. Still, I was not happy, and needed a portable solution.
I've it now, based on a new tripod from Manfrotto. The new 190 series is the center for my field studio solution. I have one old 190 tripod, from the NAT series (those painted green), but the column does not shift to the horizontal position and it has not the EasyLink solution Manfrotto provided in this new 190. Even before getting the tripod, I started dreaming how I could make the different elements work together. Now, I've made it and tested it, so this is a very practical article about how you, too, can get this kind of portable studio.
Both a background and table
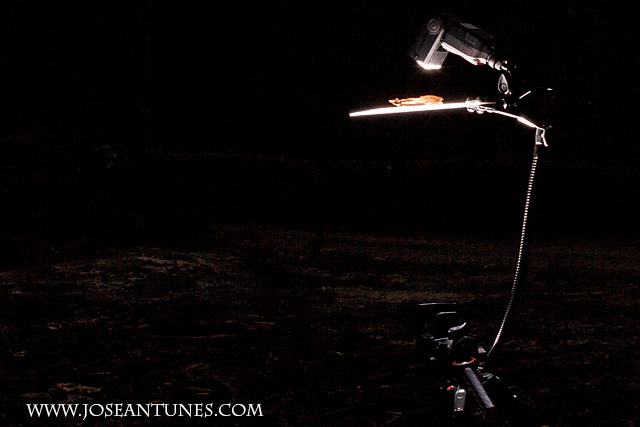
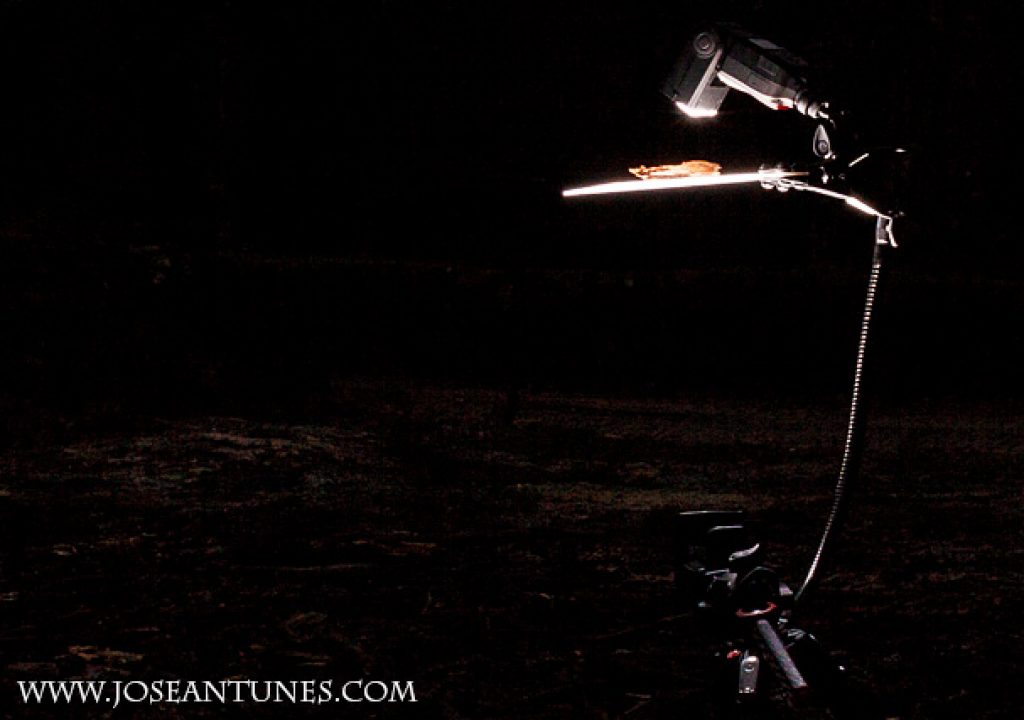
First let me explain what the Field Light Studio allows me to do. As the images suggest I can use it either as a background for my subjects or as a table for small objects, animals, whatever. The studio is a self-contained unit, once I set it up, and it is easy to carry from place to place, with just one hand. And I've also discovered that if I need to move from one area to the next, I do not need to disassemble it. I only need to fold the tripod legs and it fits on the backseat of my Cherokee.
I've just started exploring this setup, and it is a joy to assemble, move around and use. I know I will do more photographs with white backgrounds now, because I can carry the different elements on my MindShift Gear rotation 180 Pro, something I was not able to do before. I also want to use the studio to teach people how to photograph MYN-style (they may be interested into participating, after trying this). But the uses of the light studio go well beyond the scope of MYN, so I guess more people will discover uses for this setup: things like photographing leaves, seeds, small branches, pebbles, even sea shells, are ideas that come to mind and that I also want to explore.
The Gear You Need
So, having explained the concept, let's look at the materials needed. Or better, the gear I use in my Field Light Studio.
-
Tripod Manfrotto 190 – It is the core of the studio, as the center column moves horizontally and the EasyLink connection allows to add things like a Heavy Duty Arm. Check the information about the Manfrotto 190 tripod on their website. You can buy it in kit or just the legs and then get the head you prefer. I use the 054 Magnesium Ball Head with Q2 Quick Release, made especially for 190 tripods.
-
Heavy Duty Arm – It's a Manfrotto studio flexible arm, 52cm long that attaches to the EasyLink (you'll need an adapter) and, on the other end, connects to a JustinClamp.
-
Manfrotto 175F Justin Spring Clamp – This clamp is particularly interesting (I've a few) because it has a small ballhead with a Flash Shoe, meaning you not only can clamp things together, you can place a flash at the clamp position. In my case, if I am working with subjects that allow it, I place a flash on the clamp, above the table (the acrylic plate) and use it to light the subject from above. It does not always work, due to the short distance, but there is one advantage: because you're working so close, you can dial the power down to 1/128, what means you spare energy and have faster recycling times. That's good with subjects like bugs, that move around a lot…
-
Acrylic Plate Frosted White – This is the background for MYN photography. You can find all the specifications and more information at Meet Your Neighbours website. The suggestion is for a A2 plate, which I have, but I've opted for a A4 size plate for my portable studio, and it is fine for most subjects. I also have one A3, just in case I need something bigger, but still portable. The A4 size is great, because it fits in the front pocket of my MindShift Gear rotation 180 Pro. Remember to pack the plate in a bag, both to protect it and also to protect your backpack material.
-
Flashes – You need two flashes, one for the background, another one for front lighting. I use both a Canon Speedlite 580 EXII and a Phottix Mitros +. To connect them I use a radio system from Phottix, based on the Odin Flash Trigger. If I work with one flash on the camera, I use the Mitros+ as the master and the Speedlite 580 EXII, attached to a Odin receiver, as slave. The advantage of this configuration is that the Mitros+ has a complete Odin system inside it, so besides being a flash it is also a full commander to a lighting system, and I con control all flashes from the LCD on the Mitros+. If I need to position the Mitros+ away from the camera, I set the flash to receiver mode and use the Odin TCU (the control unit) to control both flashes. Easy…
- Lastolite EzyBoxSpeedlite softbox – With some subjects I may use a softbox, and then the Ezybox is a viable choice, although, depending on subject size, I may use other systems, as the Rogue reflectors from Expoimaging.
A Last Note
Before I forget, you also need a camera and a macro lens. Also, depending on what you're photographing, a lot of other stuff. But the essential kit, which will be common to most people, is outlined here. The last two images published, of a narcissus species yellow flower and a Hawthorn shieldbug (Acanthosoma haemorrhoidale), both good examples of the things you can do with the system.

