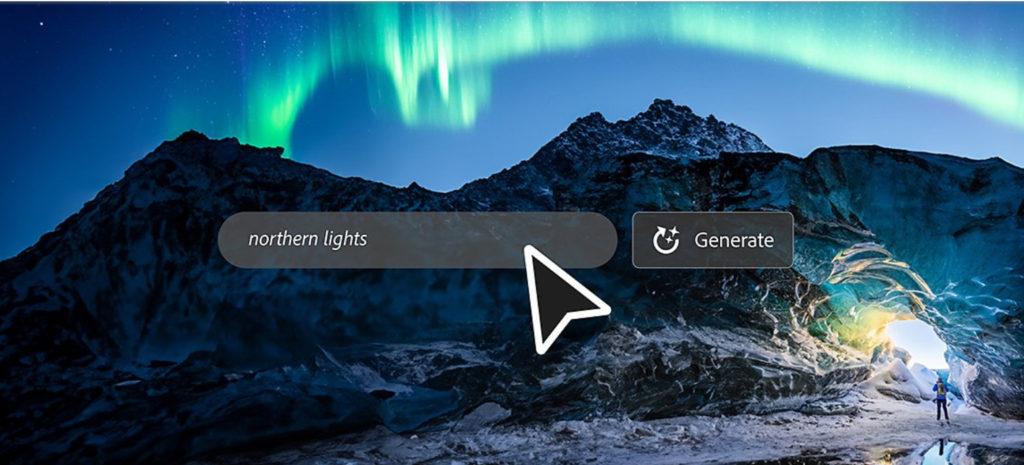
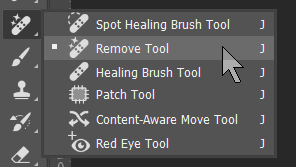
This is what we’ve been waiting for: real generative AI tools integrated inside of Photoshop. And it’s only just the beginning! With their latest Photoshop public beta (available to download with Creative Cloud), not only do we get the amazing Remove Tool, but Firefly Generative Fill, objects and inpainting bring a whole new level of creative results!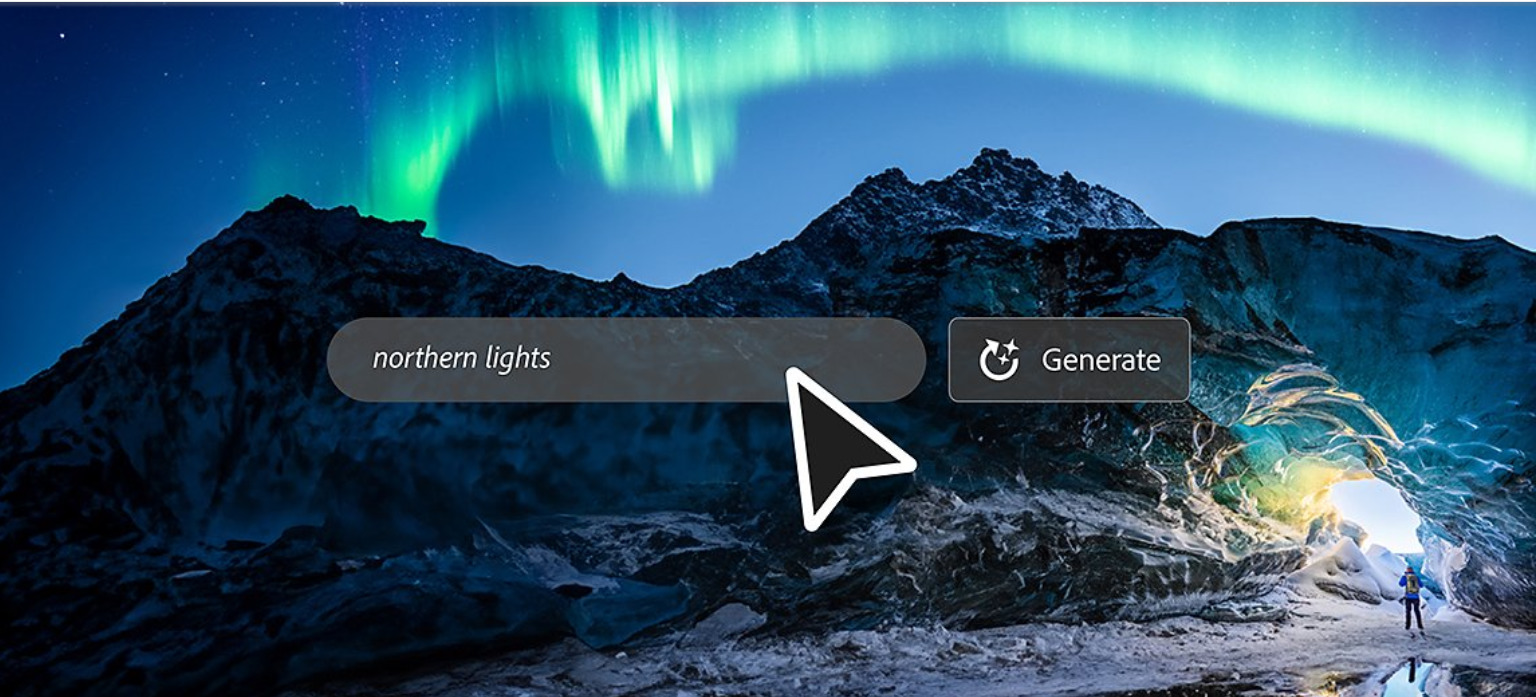
Accessible from your Creative Cloud app, download the latest Photoshop (beta) and start the fun of exploring new capabilities within your own images using the Adobe Firefly Generative Fill.
Here’s more info and be sure to watch the demo video: https://www.adobe.com/products/photoshop/generative-fill.html
One of the first things I changed in my prefs was to get the highest quality results (over faster speeds) because AI is still pretty loose on quality overall, so you want the best results you can get. It’s still pretty fast!
Hands-on Test Results
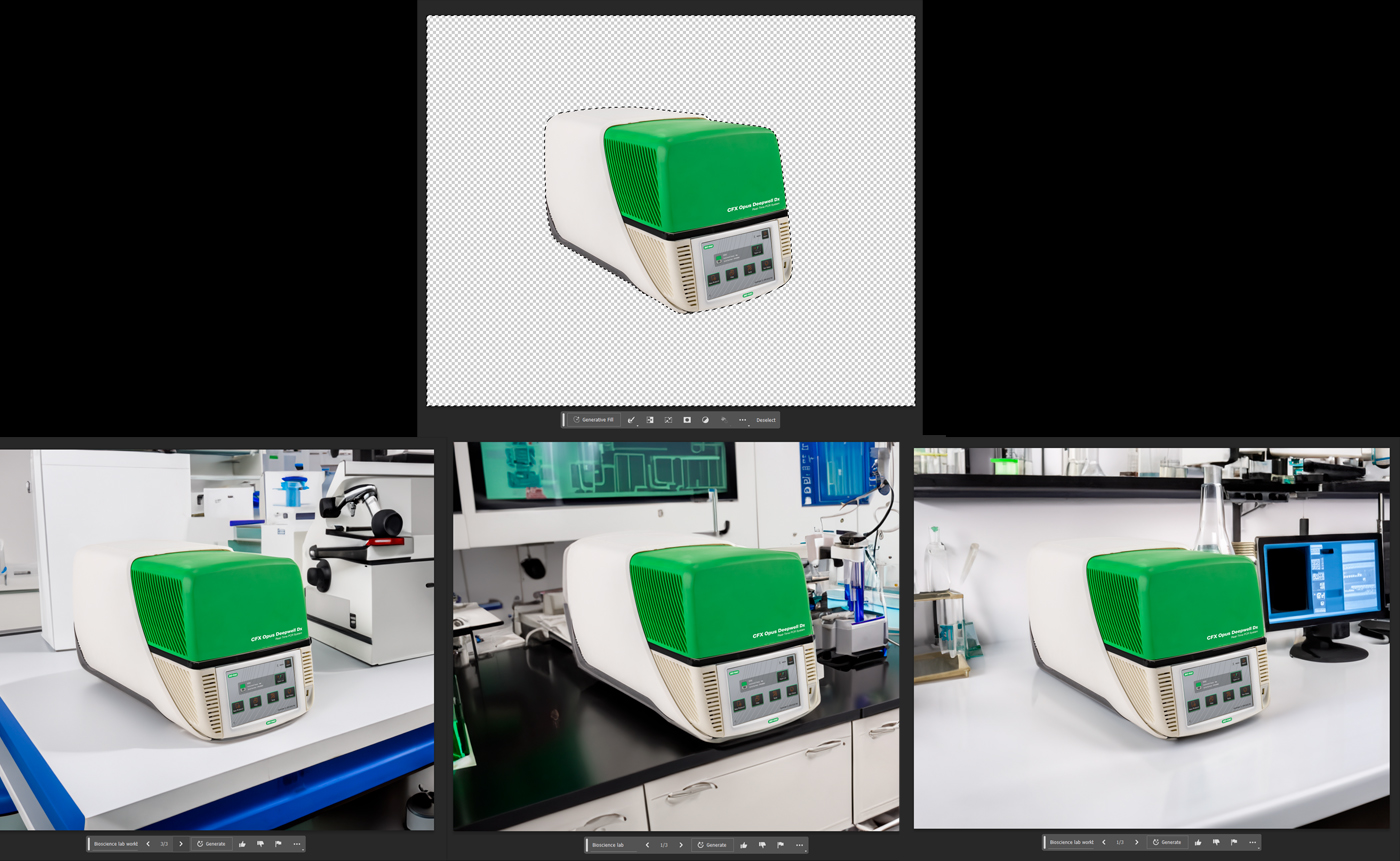
Immediately after downloading the latest beta, I grabbed images I already had on my local drive at work and started creating backgrounds. This thermal cycler is one of the many products the company I work for manufactures and is used in bioscience laboratories. I had a product shot with a transparent background that I selected (sans-shadow) and asked the Firefly Generative Fill to produce a “bioscience laboratory” and that’s it! It produced 3 different variations of lab background, including shadows, reflections and lighting.
While not perfect by any means, you can see where this is going. I’m really impressed with the integration of the machine in the settings, with believable shadows and reflective surfaces. A little additional Photoshop work and re-generating some objects, and it could pass.
Moving on to some other images from the farm, our dog Halona (Shepherd/Chow mix) was the subject to try some other tests on. I always seem to pick images that are far from ideal to test with – as one might in real life. I mean, all the demos you tend to see with smooth beach scenes to add/remove people and objects cleanly are so 2022!
This first image I created a rough selection around our dog on the back hill of our farm, and it’s a challenging angle at that. I really wasn’t sure how the results were going to work out, but I was impressed they were pretty close. Though not really photorealistic, I’m amazed at the technology so far and I know that further developments are going to be impressive. I chose to replace her with a Mountain Lion, a Wolf and a Black Bear.
Click on the image to get a better look at the results.
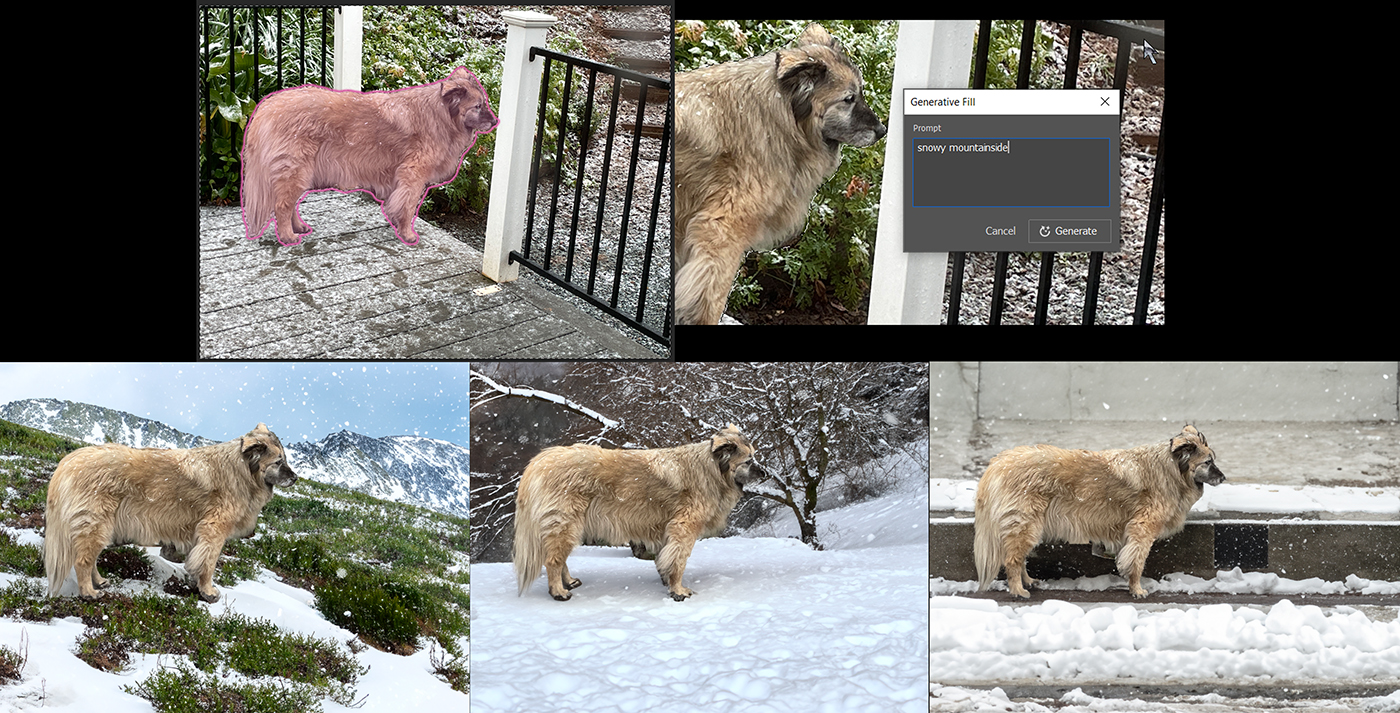
My next test image was to replace the environment from another image where she’s standing in a light snow. I wanted to see how well it dealt with a fuzzy image of a fuzzy dog and place her in different environments. I started with the object select tool (which worked better than I expected) and inverted my selection to generate fill various backgrounds – snowy mountainside, hillside and city sidewalk.
The edges re-drawn don’t always work, but with a little more Photoshop help, you could get closer.
(Click image to see details)
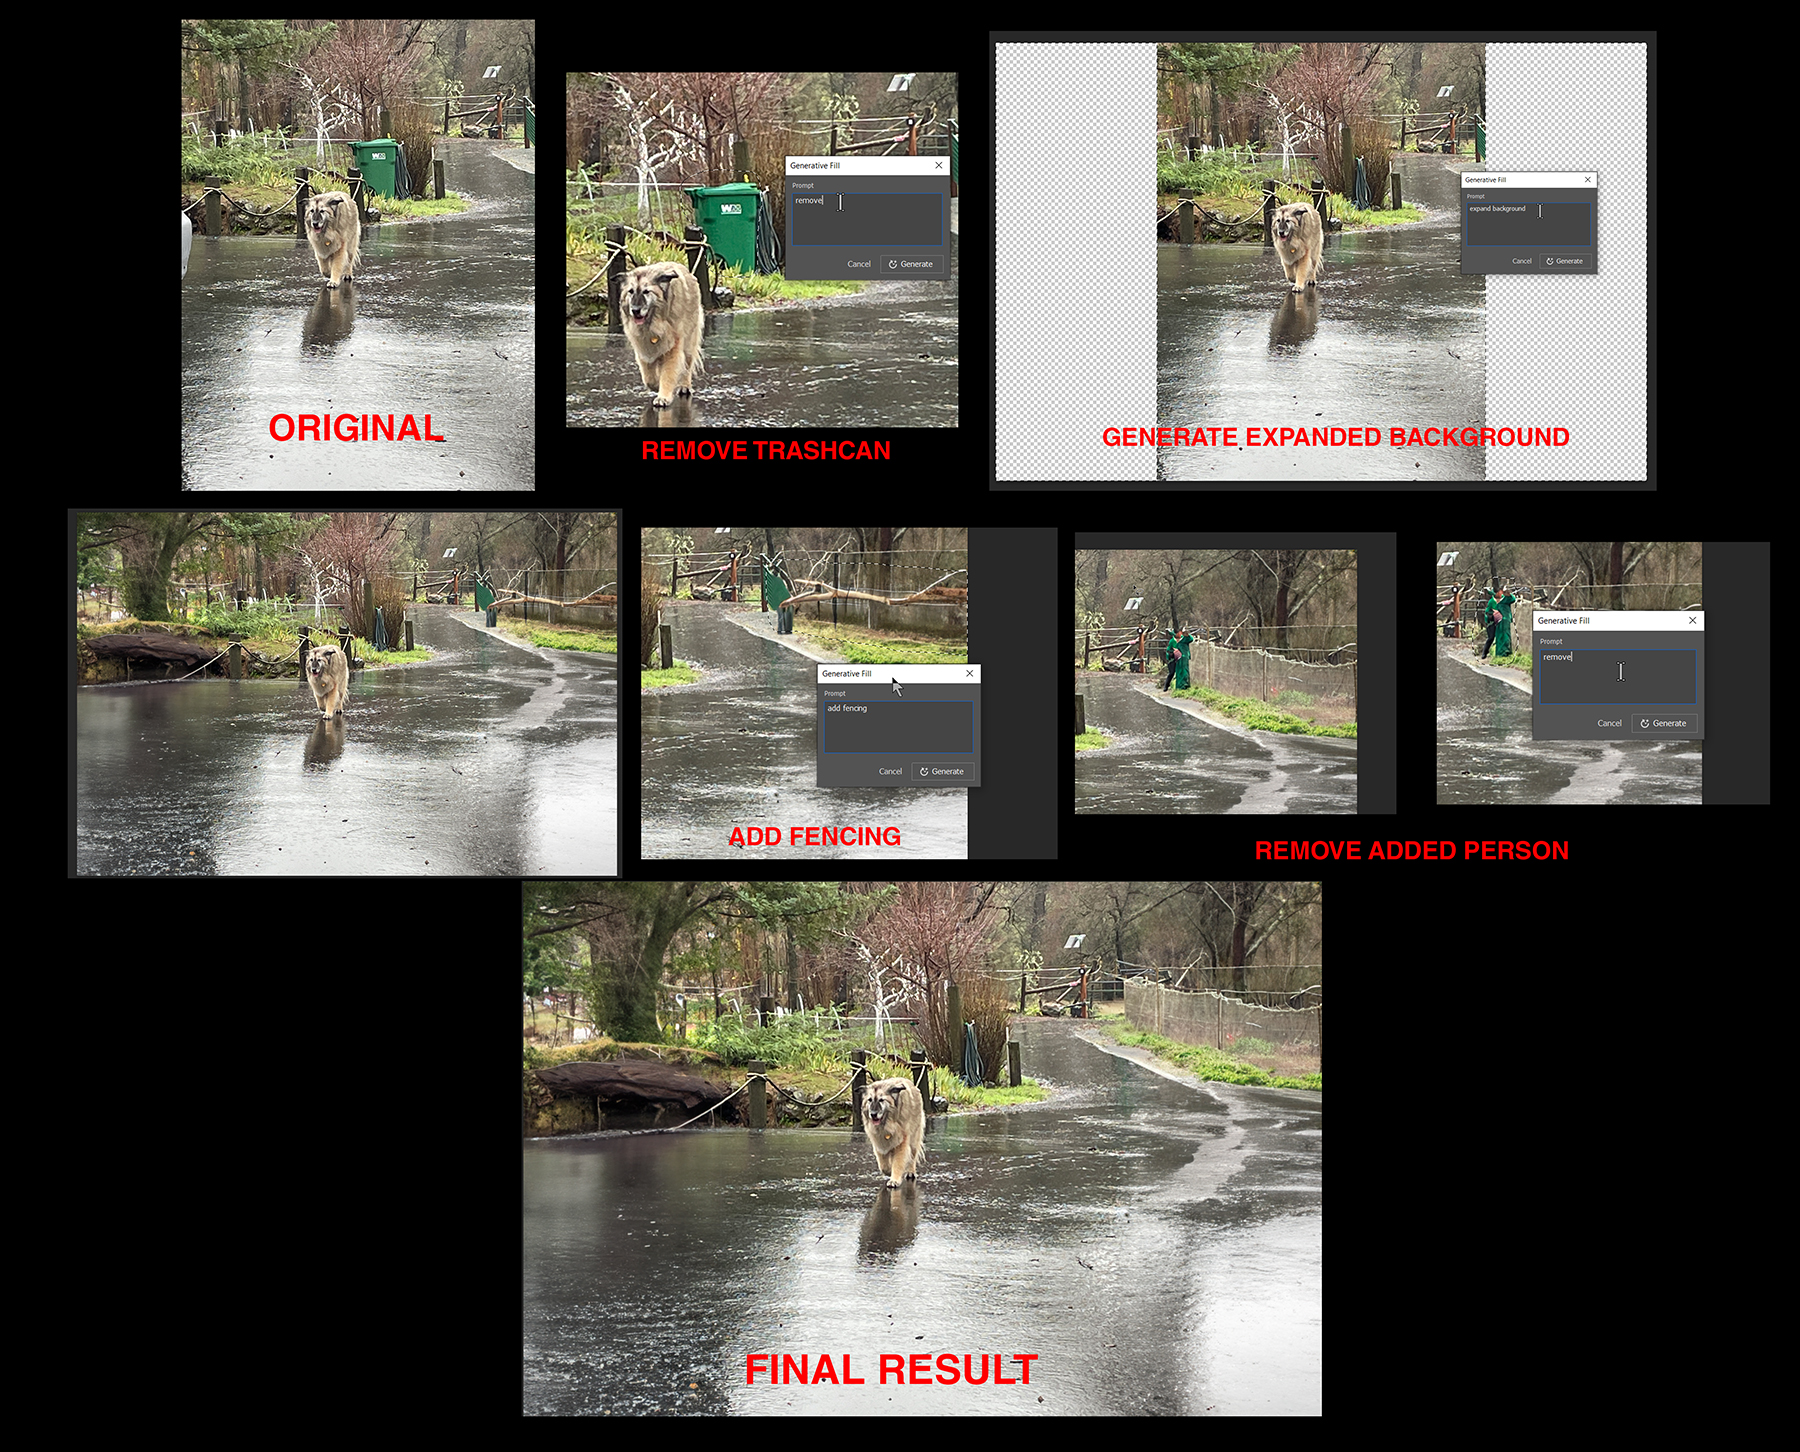
My last test was to combine a few options, like expanding a vertical photo’s sides, removing a few items and generating some more objects to complete the scene.
This is a shot of Halona walking up our driveway in the rain this spring, and I wanted to see what would happen if I expanded it. The results are passable if at a quick glance (as is more AI generated imagery) but again I threw a curveball by starting with a relatively complex environment for it to figure out.
I used the lasso tool to rough select the trash can and it did a remarkable job of that! Then I expanded the sides and selected the negative space around the original image and generated the expansion (NOTE: you don’t need to type anything in here – just hit generate and by default it will know to fill the space automatically).
The right side looked like a fallen tree, and in reality there’s horse fencing on that side of our driveway, so I asked it to generate some agricultural fencing. The result turned the edge of the green farm gate into a person, which I had to remove to get the final result at the bottom.
I was quite impressed at the results without any further Photoshop work.
(Click image to see details)
For detailed help with Generative Fill in Adobe Photoshop (beta) check out this page: https://helpx.adobe.com/photoshop/using/generative-fill.html
Photoshop’s New Remove Tool
I’m really excited about this new Remove Tool that is part of the healing brush palette.
It’s pretty straight-forward. Apply it as you might the Spot Healing Brush tool over an object you want removed, and Presto!
Check out this city scene where I removed the cars and people in less than a minute! It’s quite amazing!
(Click image to see details)
Adobe Firefly (Beta) online
Also – don’t forget to try the online version of Adobe Firefly beta (public beta now and accessible to everyone) https://firefly.adobe.com/
Watch the video about Generative Fill Inpainting using Adobe Firefly beta online here: https://firefly.adobe.com/upload/inpaint
I’ll cover more details in my next in-depth AI Tools Part 3 article coming soon!

Filmtools
Filmmakers go-to destination for pre-production, production & post production equipment!
Shop Now