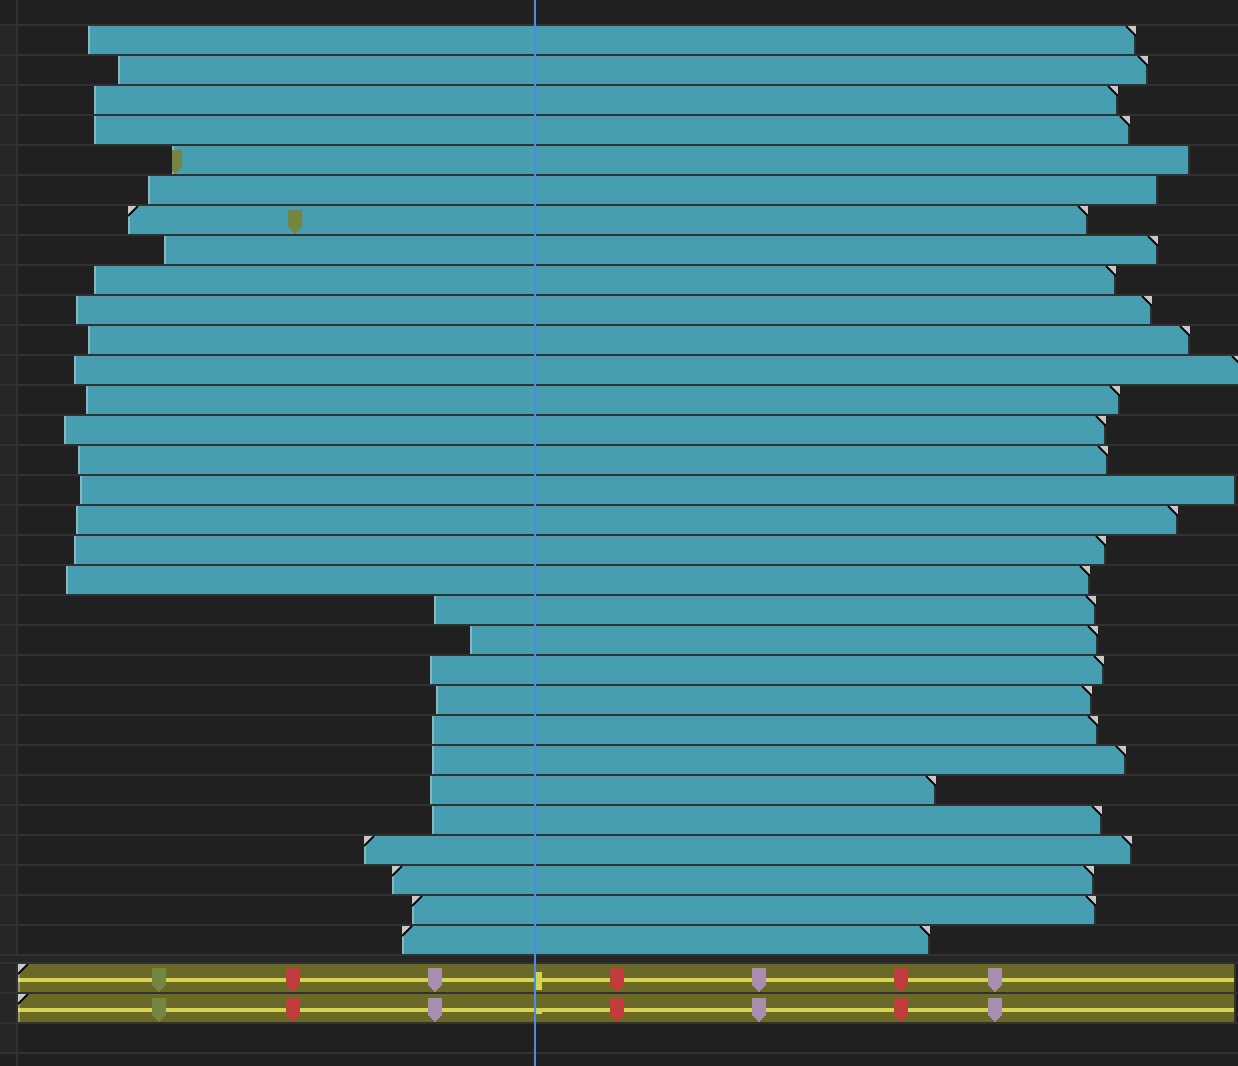
I’ve written about multi-camera editing in Adobe Premiere Pro a number of times over the years. The last time I wrote a big article on PPro multicam (back in CS6 days) there was a crucial feature that was missing in PPro’s multicam editing functionality: the ability to switch or step between camera angles with a single keyboard keystroke. That functionality was added a while back and it just so happens that came up in conversation twice over the last week so let’s get this technique on record (and I can just forward this blog post when someone asks about it).
First the WHY…
WHY do you need the ability to step through the different angles in a multicamera clip when you’ve got great multicam switching tools right inside Premiere? Here’s reason one:

If you’re editing a music video or even a multicam show with 9 + angles I just don’t think there’s any real way to effectively watch all those angles in a multicam split, in realtime, switch the angles to make a cut and really see what’s going on. If you’re a veteran multicam director maybe but most of us are not. And often your hardware can’t keep up and play all those angles in realtime so here’s the way to do it.

I guess you could edit the music video above by just “cutting away” what you don’t want but why in the world would you?
Then the WHAT…
I don’t know the proper name for this editing technique but I call it the Add Edit – Step Through technique. If you’ve got a better name lmk in the comments below.
Now the HOW…
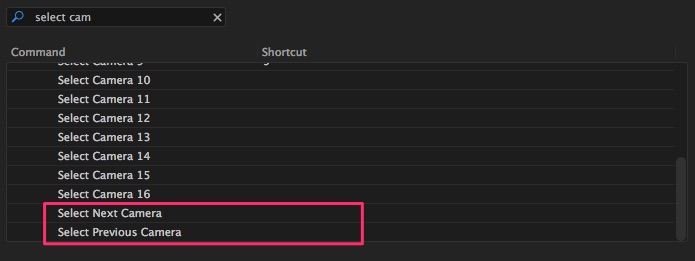
They key to the Add Edit – Step Through technique in Adobe Premiere Pro is mapping the Select Next Camera / Select Previous Camera keyboard shortcuts to something on your keyboard:

They come unmapped by default and have to be mapped to use them.
I’ve mapped mine to the * and / on the numeric keypad on an extended keyboard and the Shift+Command+arrows for when I’m working without the extended keyboard.
With that mapped it’s as simple as using those keyboard commands to STEP THROUGH a Multicam Source Sequence clip in the timeline.
What you see in the animated gif above is the multicam clip and image changing as I hit the the keyboard shortcut.
The way to effectively make this work for a multi-camera edit is to use the Add Edit shortcut to add an edit where you want to make a cut in your shot and then step through the angles till you see what you want. Yes you could also use the Razor Tool but why on earth would you want to have to grab the mouse and click when a keystroke could do it for you? Of course the keystroke Add Edit is dependent on your track targeting but if those are mapped to keyboard shortcuts as well it’s fast and easy. This could make a good webinar.
So to utilize this technique it’s Add Edit > Select Next/Previous Camera Angle > preview your edit > Done and move onto the next one.
Of course there’s CAVEATS…
Like most every technique in most every NLE it’s not perfect so here’s the gotchas to know here in PPro.
- You USUALLY seem to have to select the multicam clip you want to step through in the timeline before this technique will work. I put usually in italics as I’ve seen times when it doesn’t require the clip to be selected before it works but usually it does.
If you utilize the Select Clip at Playhead shortcut then you can add the edit and hit they keyboard shortcut to select the clip.
Premiere seems to work backwards IMHO where if you have a clip selected and then you add an edit PPro will automatically select the clip BEHIND the playhead and not the clip IN FRONT which is incorrect since the playhead is actually displaying the frame IN FRONT of the playhead line since that is the one it’s sitting on.
- If you’ve got several multicam clips stacked up just be aware of what you have selected and what you’re switching.
- If you have the Multi-Camera mode turned on PPro doesn’t require you to SELECT the multicam clip before switching with the keyboard shortcuts. But then you’ve got all these angles to playback in the multicam split viewer which kind of defeats the purpose of what we’re doing if you have a ton of angles and can overload your hardware.
- The solution is to change the multicam split from a split showing many the angles down to just ONE angle and ignore it. Go under the Program monitor wrench > Edit Cameras and change that to 1.
Hopefully you might find this technique useful when you’ve got way more multicam angles than you can realistically watch at once during traditional multicam editing. You can also use this if you’re cutting multicam on a slow system where playback bogs down when when multicam editing. This is also easily doable in both Avid Media Composer and Final Cut Pro X.
Like anything with editing there’s a lot of ways to do the same thing. If you have your own tips and techniques please share in the comments below.

