I’m always amazed that there isn’t more open dialogue between editors and sound mixers (or DPs for that matter). So much of the communication is done during a gig, when stress can run high & most people are afraid to ask too many questions.
But recently I saw a post on the Blue Collar Post Collective Facebook forum by Sound Editor Andrew Macht of Minneapolis based Macht Sound sharing his extremely detailed 22 page pdf document on how to turnover from Adobe Premiere Pro to Avid Pro Tools.
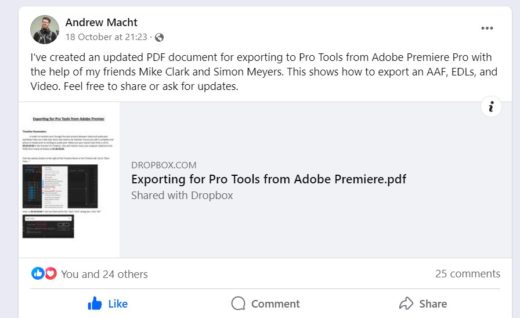
I should point out right at the start that most sound studios will have their own turnover document that you should request and follow to the letter as not everyone has exactly the same requirements. For example some will prefer the older OMF format over AAF, some might allow trimmed clips with handles while others will require full clips, etc.
Bottom line: don’t try to be clever, ask for the turnover document and follow it
Still, it’s amazing to have this kind of document available and it is typical of what mixers ask for. So I’m not going to go through a full turnover guide in this article, nor am I getting into the various metadata requirements for different post workflows beyond some basics. Aside from Andrew’s document I’ll also point you to this page from Michael Kammes for some more tips, as well as some links at the bottom.
Here I am investigating one particular part of the puzzle – exactly what gain and volume information gets through from Premiere to Pro Tools and how that affects the Audio post team – assuming they are on Pro Tools which most are. Andrew and I spent a couple of hours testing as many options as we could & reached some interesting conclusions.
Gain vs Volume – they both make something louder right?
What is the difference between gain and volume?
Without wanting to do a complete history of the analog days or go on about gain staging which is written about in depth, I see three key practical differences:
- In Premiere, Clip Gain can’t be keyframed, but volume can (though you can cut clips up as much as you want)
- Gain comes before effects, volume after
- Volume can be linked to the faders on a control board
Gain is a great way to get your levels into the right ballpark & most plugins work better when you’ve done that. Volume can then used to do the fine tuning and the automation (like dipping music under dialogue). And as Andrew explained to me, if he’s working as a pure Dialogue Editor, the Mixing Engineer that comes after him will want him to work with gain alone and leave volume for them to use.
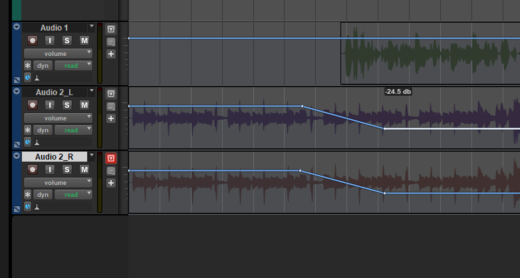
Andrew demo’d to me his faders moving automatically with the Pro Tools keyframes and vice versa, creating the keyframes by moving the faders – very cool!
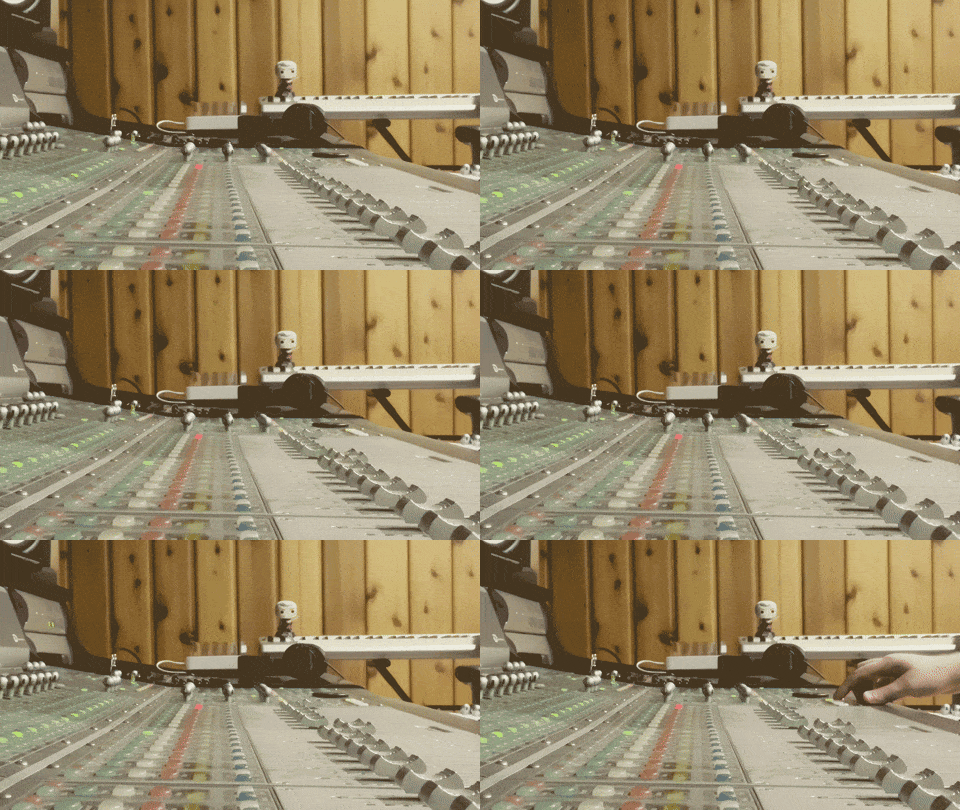
Audio in Premiere Pro
Clip gain and volume automation works basically the same inside Premiere and most DAWs & NLEs for that matter.
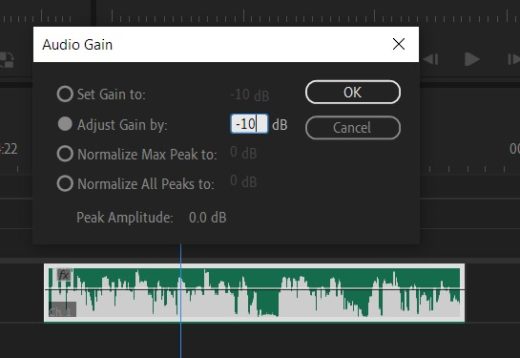

One big difference is that volume can be removed with the “remove attributes” command, whereas gain can only be removed by using the Audio Gain command and setting gain to zero.
But my main question is what translates to Pro Tools via the AAF or OMF? And if you’re not familiar, these two file formats are the main way editors send off their audio to be mixed.
OMF
OMF, or OMFI if you’re old school, is the older format but still used by many. It has some limitations – like being limited to 2GB if you chose to embed the audio – but perhaps has more compatibility.
It supports clip volume automation but cannot send Clip Gain from Premiere to Pro Tools. Setting Clip Gain comes through as volume.
But if you use both Clip Gain and volume on a clip, it gets added together, as long as there are no keyframes. Once there are keyframes, I found that they no longer came through correctly. So if delivering in OMF, I’d advise not combining gain and volume on the same clip.
AAF
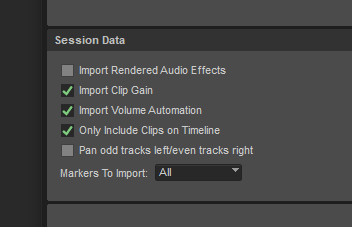
The newer AAF format can carry much more data across & doesn’t have that pesky file size limit. And it can send through both Clip Gain and Volume Automation separately.

But interestingly, Clip Gain does not always come through. This is the rule according to my tests:
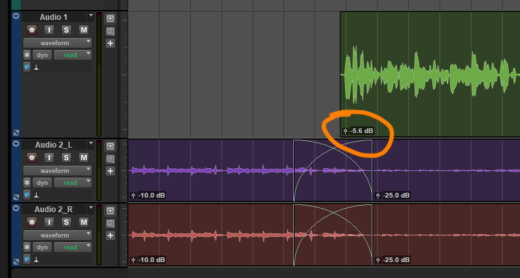
Clip gain can come through, but only if there are no volume keyframes present on the clip in Premiere. As soon as there’s even a single keyframe, then the clip gain acts as a volume offset – in other words it is added to the value of the keyframe.
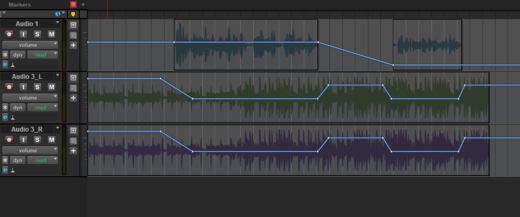
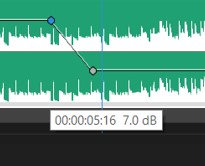
So for example, in this music track I have the first keyframe at +7dB and the gain is set on the clip at -10dB. The resulting keyframe that comes through on the AAF is -3db.
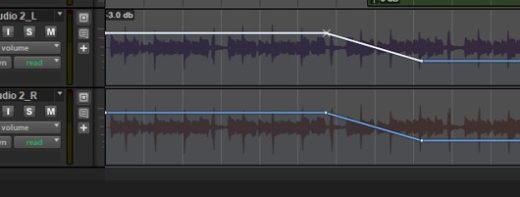
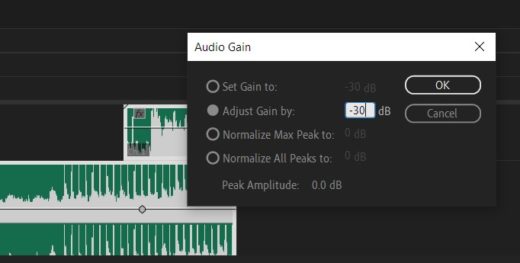
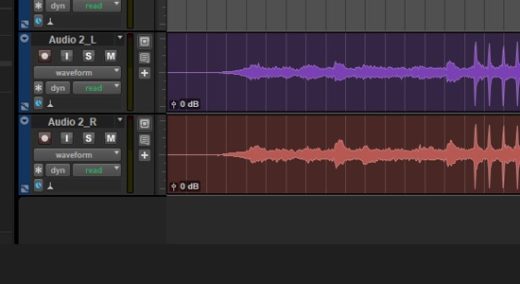
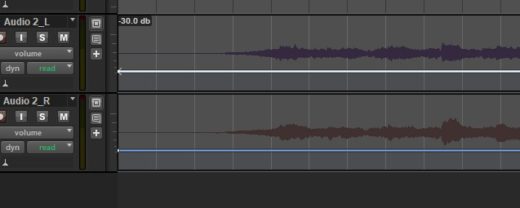
And a single keyframe is enough to trigger this, for example here, I have applied -30dB gain to both clips, but the music clip (on track 2) has a single keyframe added which hasn’t even been moved.
Avoid Premiere’s Track Volume Automation
It’s a bit hidden by default, but in Premiere you can also add volume keyframes to the track as opposed to the clip.

This doesn’t come through in either OMF or AAF, so should be avoided by any editor who is sending their mix off to someone else.
Dips or Cuts?
Something you do see debated a fair bit, is whether it’s better for editors to dip their music with cuts and dissolves or by use of volume keyframes. I haven’t seen a consensus on this and Andrew said for him either is fine. If you have a strong feeling on it, let me know!
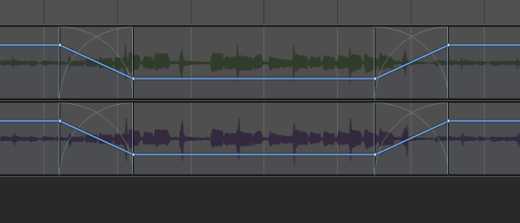
Both OMF and AAF will bring through crossfades, so in theory both ways are fine.

Except that when combined with volume (AAF) or either gain or volume (OMF), the volume comes through keyframed and if you change the crossfade, it doesn’t change the volume automation – they are not linked. So that doesn’t feel ideal to me.
Metadata
I said I wouldn’t get into metadata as it’s such a big subject, but let me cover a few key points here. Metadata is very important to the audio team. It’s important that it’s entered correctly by the production sound mixer on the shoot & it’s important it gets correctly translated through to the turnover files the editor sends through. As Andrew showed me, with metadata intact, it speeds up your workflow immensely, for example switching quickly between microphones from the same take.
AAF and OMF are different here. AAF preserves track/channel names (those that are entered on set, not the track names of your edit), where OMF preserves filenames.
EDL
I’ll also mention EDLs because they are often requested too. They are very useful, both for tracking any changes (if the locked cut becomes unlocked), but also for feeding into some really great bits of software that the sound dept can use like EdiLoad or Conformalizer/Matchbox.
Conclusion
The bottom line for editors is to trust the audio department and do what they ask! We’re on the same team and there is often needless strife when editors think they know better.
Audio editors are different and some will start from scratch with mixing decisions, others will tweak the editor’s temp mix, others will keep it as a reference. Either way it’s useful for gain and volume decisions to come through where possible & hopefully this deep dive is useful for you to decide what you want to do.
Personally, I will continue to use Clip Gain to bring levels to the right ballpark and then use volume automation to dip music or do any fine tuning. But if think differently, do let me know.
Other useful links
https://helpx.adobe.com/africa/premiere-pro/using/export-aaf-files.html
https://helpx.adobe.com/africa/premiere-pro/using/exporting-omf-files-pro-tools.html
https://2pop.calarts.edu/technicalsupport/premiere-to-pro-tools/

Filmtools
Filmmakers go-to destination for pre-production, production & post production equipment!
Shop Now