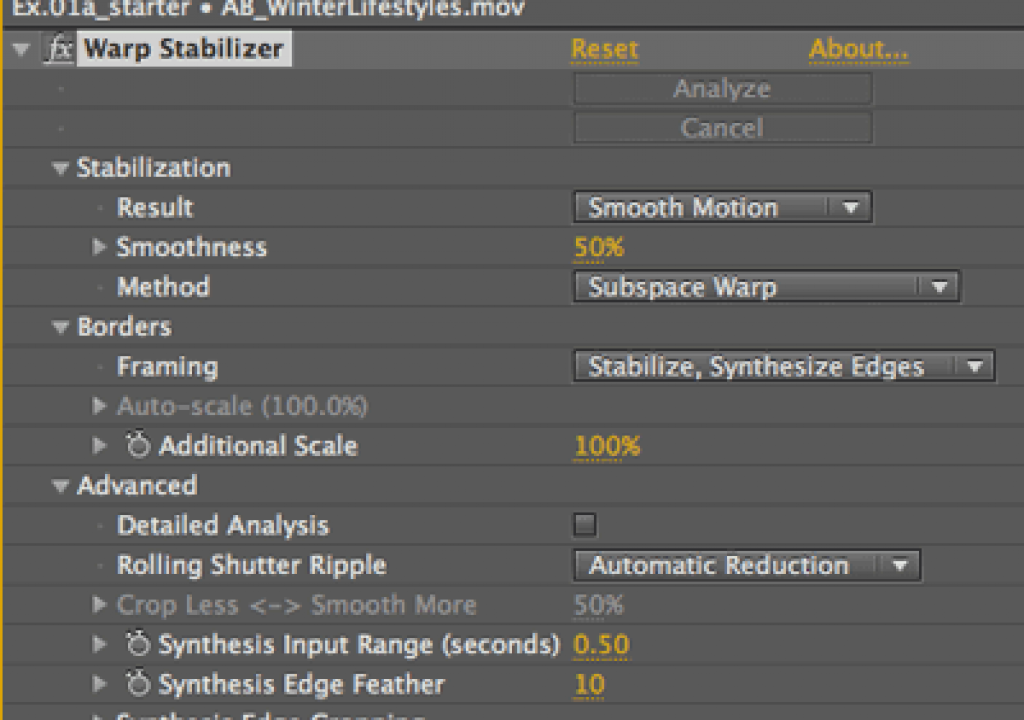
As noted earlier this week, Adobe TV posted a video – attached to the top of this post – that previews a new technology called the Warp Stabilizer. I’ve had a chance to work with a pre-release version of the Warp Stabilizer, and Adobe kindly gave me permission to pass along some of my experiences.
The Warp Stabilizer is an effect that is applied to a layer in an After Effects composition. Upon doing so, it immediately starts analyzing the underlying clip, internally assigning a “cloud” of tracking points as seen in the attached video that distinguish between foreground and background motion. This one-time analysis takes several seconds depending on the size and length of the clip; happily, it processes in the background so you can continue to get other work done on other layers or in other compositions. This is followed by a much quicker Stabilize pass (which is repeated if you make certain changes to the stabilization parameters).
If you do nothing else at this point, the result is a smoothed-out camera movement, automatically scaled up and re-centered to fill the original frame. A single slider allows you to dial in the amount of stiffness or looseness in the resulting camera move (scaling and centering will be automatically adjusted accordingly); a simple popup allows you to switch between smoothed motion and a completely locked-off camera where the identified foreground does not move. This gives the Warp Stabilizer a high “instant gratification” factor for those in hurry, or who just want to quickly raise the production value of less-than-professional footage they’ve been handed.
If you’ve watched the video above, you also no doubt noted that Warp Stabilizer also includes rolling shutter reduction, reducing issues that arise with some cameras (such as HDSLRs) where the image sensor is scanned over a period of time rather than all at once, causing “jellocam” effects if the camera or action moves too much during a single frame.
The Warp Stabilizer works amazingly well on a wide variety of clips. That said, I have been able to trip up the Warp Stabilizer with clips where it’s the background rather than foreground which needs to be stabilized (such as tracking dots on a stage with actors moving about in front) or where there are focus issues with the original clip; you can work around this by masking out the offending action, stabilizing what’s left, and then turning off the masks or mattes to reveal the entire original clip – I’ll be elaborating on this workflow in the near future. The other potential downside is that the warp stabilization process is not currently reversible – a requirement for some visual effects work. If you need this, the old Stabilizer is still around; now it’s just considered a Track Type when you choose to Track Motion.
For those who like to know more about how a technology works under the hood, in the Comments below Karl Soule of Adobe has provided links to a video and paper that the Warp Stabilizer grew out of. Also, the Warp Stabilizer is one of the subjects I will be covering Tuesday morning April 12 at NAB’s Post|Production World as part of my advanced rotoscoping and tracking session (along with the After Effects Roto Brush, Imagineer’s mocha plus mocha shape, and The Foundry’s CameraTracker). I will be joined by David Simons of Adobe’s Advanced Product Development team, who worked on both the Warp Stabilizer and Roto Brush. Stay tuned…
The content contained in our books, videos, blogs, and articles for other sites are all copyright Crish Design, except where otherwise attributed.

