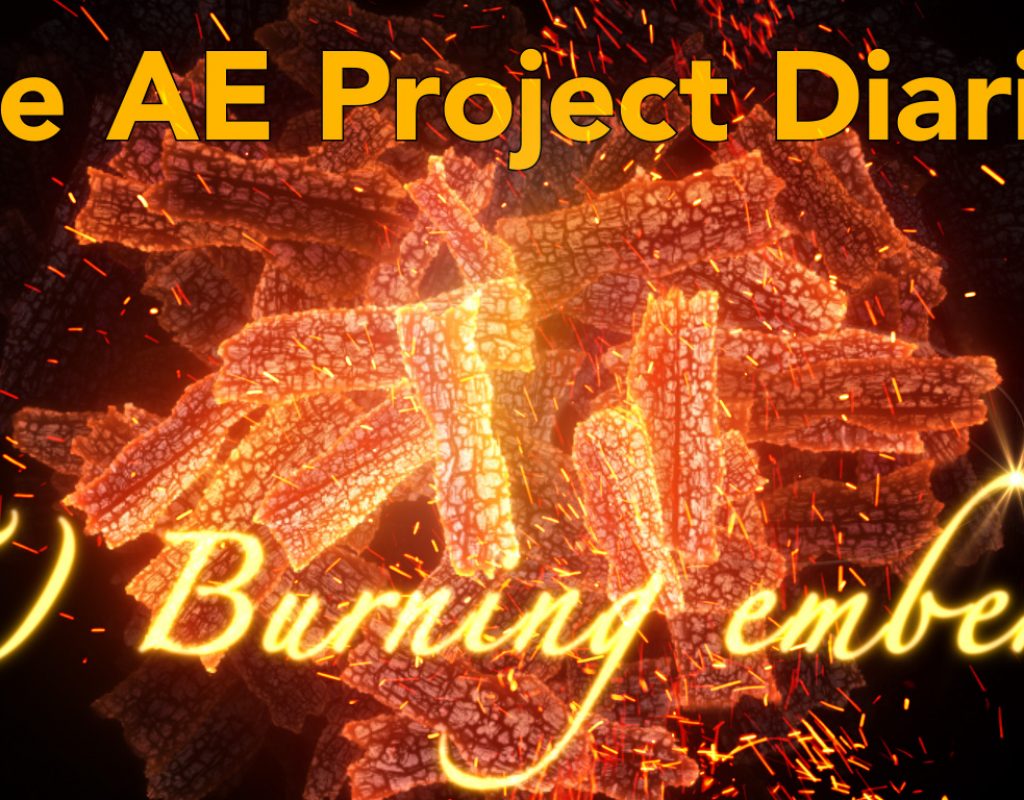
In this project diary we look at the process I went through to create an animation of burning embers in After Effects, using Trapcode Form. Because the animation was a projected backdrop for a theatrical performance, it needed to be created as a seamless loop with a separate reveal on and off.
In this case, I was trying to work quickly as I wasn’t sure that the final output would be used. The tutorial takes you through the thought process behind each step and explains why I’m doing what I’m doing.
The project I step through in the video is a reduced version of the real thing. I was originally working at a much larger resolution – 4096 x 4096 – and this was a bit too slow to work with for a tutorial, so I made a scaled-down version for the purposes of this demonstration.
There was one point I didn’t explain very well while recording, so I’ll clarify it here. In the original 4K animation, I wanted the ember particles to be arranged in a ring. However Trapcode Form doesn’t have a simple way of arranging particles in a 2D ring, so I used an OBJ file. When I went to record the tutorial, I discovered I didn’t have the same ring OBJ on my home computer, so I used one of the OBJs that comes with Form instead.
Another point I didn’t mention in the tutorial but is worth nothing, is that because this was destined for a theatrical performance it didn’t need any embellishments such as smoke, sparks or embers. The actual performance included real fire on the stage too, so there was plenty of real smoke and atmosphere. If this was an element for a visual FX composite in a film, for example, then these sorts of details could be added to the final animation but for this situation they weren’t needed.
If you’ve enjoyed this then check my channel for the other Project Diaries.

