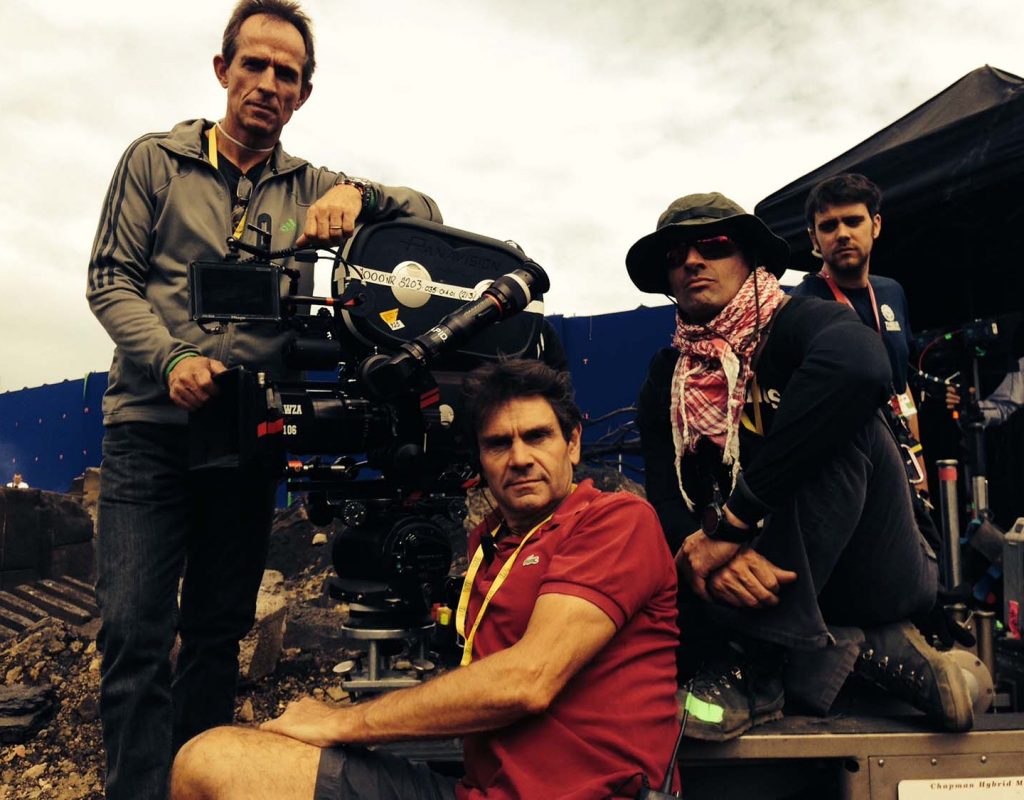
The Arri Alexa is a hugely popular digital camera, but it records footage in a proprietary Arri colourspace called Log C. While there are many ways of working with Log C footage in After Effects, none of them are immediately obvious – and if you’re new to log colourspaces then it can be a bit of a shock to import a footage file and see it looking flat and washed out.
The bigger issue is if you have to deliver a Log C file out of After Effects, because again there is no obvious way to do a round trip. While this may not be a common situation, if it’s something you’re asked to do it’s something you need to do correctly.
Looking at the best way of working with Log C footage opens up a whole can of worms to do with colourspace and colour management, and so this video presentation has expanded out into two comprehensive parts.
In part 1, I introduce the problems that different colourspaces pose. Colour can be such a confusing subject that it’s important to define exactly what we’re talking about. This gives us a solid base to understand what Log C footage is, why it’s useful, and what we need to do to work with it. This isn’t exactly simple, so part 1 is an overview of colourspaces, colour management, 32bit float images, and logarithmic file formats. It’s all of the background information you should have to work with colour professionally.
In part 2, I specifically look at the Arri Log C colourspace, and compare different methods of working with it in After Effects. While I have my preferred workflow, it’s worth noting some other approaches. And at the very end, I do a quick demonstration to show that the actual process only takes a few seconds.
However I also understand that not everyone wants to sit through 40 minutes of video and listen to someone waffle on about colourspaces just to be shown a few mouse clicks. So I’ve also put together a very short cutdown that demonstrates what I think is the best technique. The expurgated version cuts out all of the explanation and comparisons and demonstrates the most elegant workflow in about 3 minutes.
As I mention in the video, I haven’t found the right combination of settings to use with a LUT from Arri. If you know how to do this then please let me know in the comments below!
The LUT generator on the Arri website can be found here.
There are many resources out there on colour management, and if you’re after some that are more precise and in-depth, then start here:
Adobe article on colour management in After Effects.
Arri website page on Log C and rec709 colourspaces.
Information on the Kodak Cineon format.

Filmtools
Filmmakers go-to destination for pre-production, production & post production equipment!
Shop Now


