A couple of weeks ago, we started talking about creating vignettes to subtly focus the viewer’s attention where you want in a video frame. This post covers “chapter 2” of that course, which discussed extended techniques such as using color, and applying the treatment to multiple layers at once.
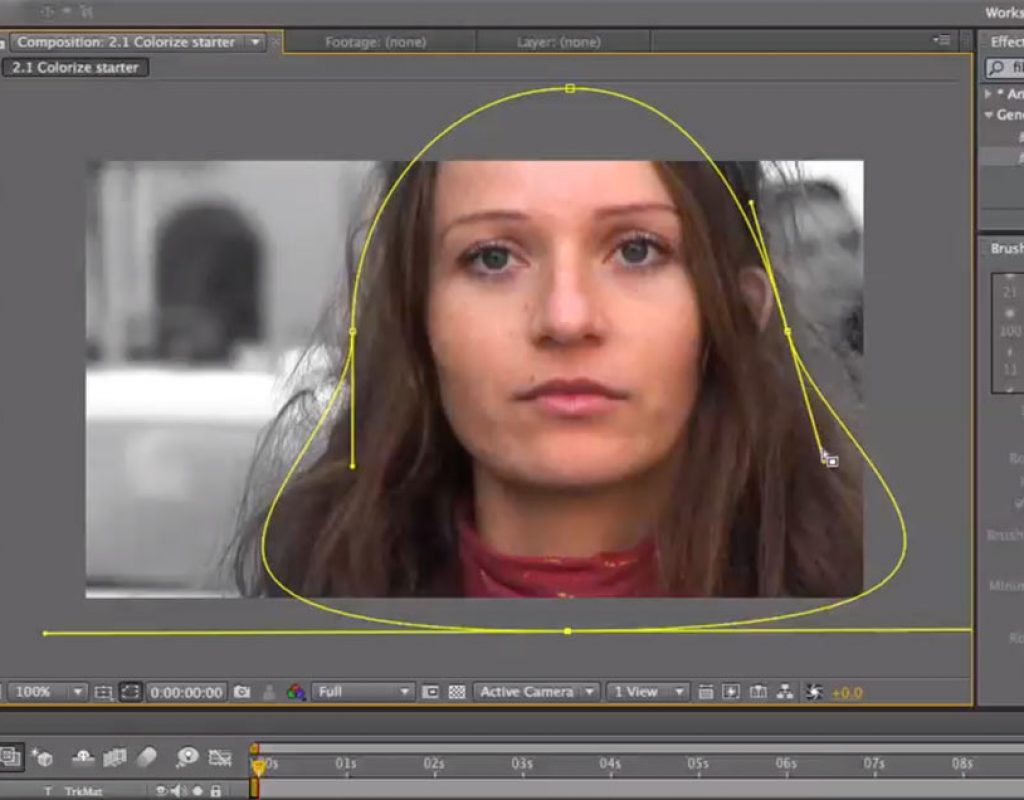
2.1 Colorization & Blending Modes
Traditionally, vignettes darken the corners of footage using the color black. However, you don’t need to be bound by tradition; you can manipulate color to add an extra “pop” to the effect, including keeping the area of focus in full color and making the less important areas monochromatic.
https://youtu.be/WYtqEhh8IC0
2.2 Adjustment Layers
Adjustment Layers apply a set of effects to the composite of all the layers underneath it, honoring any transparency you add to the adjustment layer. We explore that approach in the movie below.
https://youtu.be/c5Q9W-vKWxY
2.3 Blending Layers Using Masks
Beyond just darkening the less important areas of a frame, you can replace them altogether with a different piece of footage. That’s demonstrated in the movie below.
https://youtu.be/NVufGPYpo6w
2.4 Blending Layers Using Paint
As you saw in the earlier post, After Effects’ Paint engine provides an alternate, more organic approach to masking. Here’s how to use Paint to combine two layers.
https://youtu.be/YlTwhiXEBPs
The next post in this series will cover a specialized, corrective approach to vignettes, for when your subject just won’t stay still. In the meantime, spend the next two weeks practicing the techniques outlined above, to add more tools to your creative bag of tricks.
These movies previously appeared on Lynda.com/LinkedIn Learning. They’ve retired this course from their library, so we’re making the movies from it available publicly for free. You can either scan our page on ProVideo Coalition to see the other free movies, or check out the Crish Design channel on YouTube.


