Plug-in effects are obviously a large part of Adobe After Effects, which most new releases introducing one or more new or upgraded effects. After Effects saw a number of new plug-ins, including the deep – but since-discontinued – 3D-oriented effects Repousse and Freeform. We’re going to focus on the simpler effects that are still around and still very useful, talking about creative color correction effects in this installment, and those more oriented toward effects and post production in the next post.
Vibrance
This one effects gives you both Vibrance and Saturation sliders to adjust the color density of your footage. Vibrance is a kinder, gentler version of Saturation; we reach for the Vibrance slider first when trying to either enhance or “wash out” the colors in footage. Vibrance gives the appearance of scaling the saturation of the color channels rather than adding to or subtracting from their values, meaning it is far less likely to clip those channels. The result is something far more natural than garish.
Black & White
When trying to create a black & white or “grayscale” version of footage, many users reach for the Saturation effect end reduce it to zero. But there is a more nuanced approach: Determine how much of the contrast in each of the original color channels you want contributing to the final look, and balance them off against each other. The Black & White effect also gives you access to the in-between “process” colors of Yellow, Cyan, and Magenta for even more control. And as a bonus, it can add an overall color tint to the result.
For more on creating gray scale images, by the way, here’s an earlier movie we created comparing several different techniques:
Selective Color
This is like the color version of the Black & White effect, in that it allows you to access the individual components of each of your final colors. For example, you can subtract cyan from your blacks, changing them to a reddish color. It’s not initially intuitive, but it’s a powerful to tweak and tint the colors in your footage.
Histogram in Levels
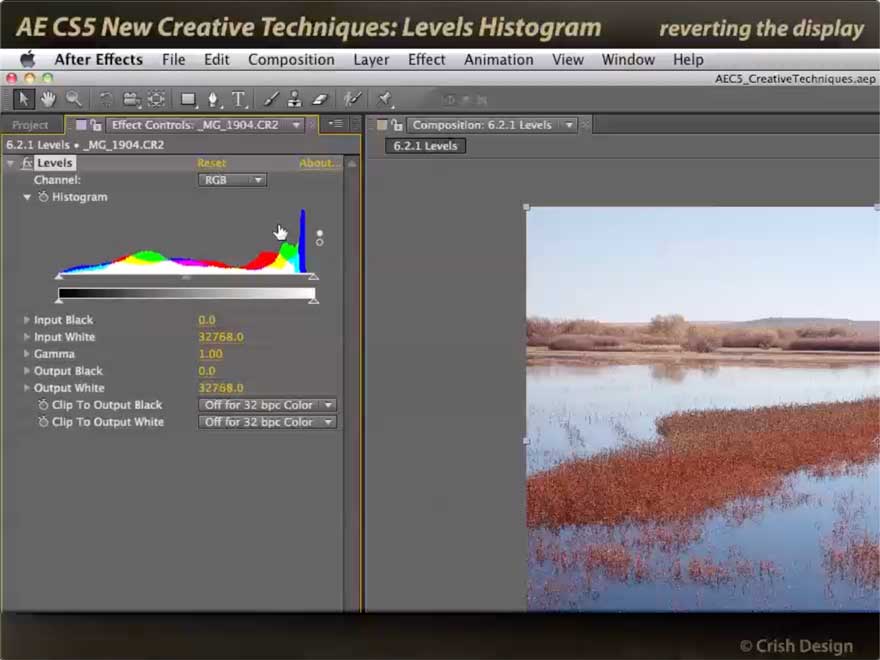
Finally in this set, we show how to take advantage of the improved Histogram display in the workhorse Levels effect. Compared to the original display that just showed the overall light/dark values in an image, this really allows you to see if, say, highlights have more a green tint than you might expect or desire. Combine with other color correction effects such as the ones above, it gives you confirmation on how you are altering an image.
These movies previously appeared on Lynda.com/LinkedIn Learning. They’ve retired this course from their library, so we’re making the movies from it available publicly for free. You can either scan our page on ProVideo Coalition to see the other free movies we’ve posted over the last couple of years, or check out the Crish Design channel on YouTube.

Filmtools
Filmmakers go-to destination for pre-production, production & post production equipment!
Shop Now


