We’re back, and continuing with sharing movies we created for earlier versions of After Effects that are no longer being published by Lynda or LinkedInLearning. We found that many of those movies were still relevant to the current version, so we want to share them to help round out your knowledge of Adobe After Effects.
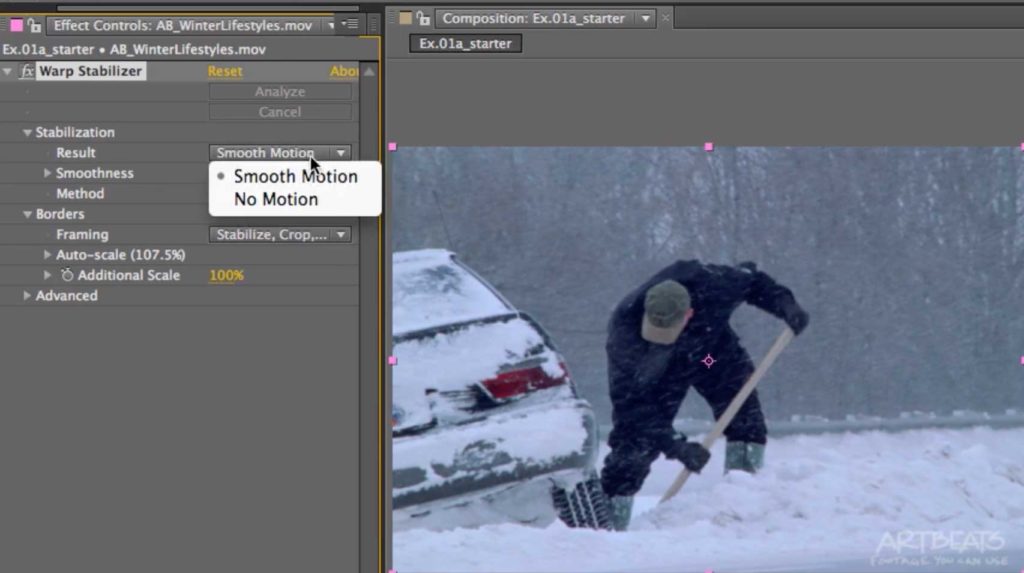
Take, for example, the Warp Stabilizer: Originally introduced in the Creative Suite 6 version, this then-new way of stabilizing footage has seen only small updates since then, and has been added to Adobe Premiere Pro as well. The movies below are designed to get you up and running quickly with it, cover the main parameters, and what to do when it doesn’t work using the default settings.
Instant Gratification
How to quickly apply Warp Stabilizer using the default settings, and doing a before/after comparison:
Parameters
Next we dive into Warp Stabilizer’s individual parameters (as of its initial release) – what they do, and when to use them:
Advanced Settings
Dealing with special cases, including attempting to extend the source footage beyond its original dimensions:
Outsmarting
There are times when the automatic, default settings of Warp Stabilizer do not work, usually because it’s getting confused by some feature in the source footage. Here’s how to identify and work around many of those issues:
These movies were previously appeared on Lynda.com/LinkedIn Learning. They’ve retired this course from their library, so we’re making the movies from it available publicly for free. You can either scan our page on ProVideo Coalition to see the other free movies we’ve posted over the last couple of years, or check out the Crish Design channel on YouTube.

Filmtools
Filmmakers go-to destination for pre-production, production & post production equipment!
Shop Now


