It’s not uncommon to working on a layer in a composition – including editing its duration, adding effects, or even keyframing an animation – and then decide you might like to see a different source in its place. This may happen for several reasons: The temp footage got color corrected; you’ve been working with a test 3D animation and later the animator delivered the final; you wanted to try alternate takes of the shot (especially common when you have several stock footage sources based on the same theme), or the client simply changed their mind (never!).
It’s not uncommon to working on a layer in a composition – including editing its duration, adding effects, or even keyframing an animation – and then decide you might like to see a different source in its place. This may happen for several reasons: The temp footage got color corrected; you’ve been working with a test 3D animation and later the animator delivered the final; you wanted to try alternate takes of the shot (especially common when you have several stock footage sources based on the same theme), or the client simply changed their mind (never!).
If you want to replace every instance of that particular source clip throughout a project, you can select that footage item in the Project panel, either right-click on it or use the File menu, and choose Replace Footage > File. Be aware that the new footage source will take on the same Interpret Footage settings as the original, including frame rate and alpha channel type.
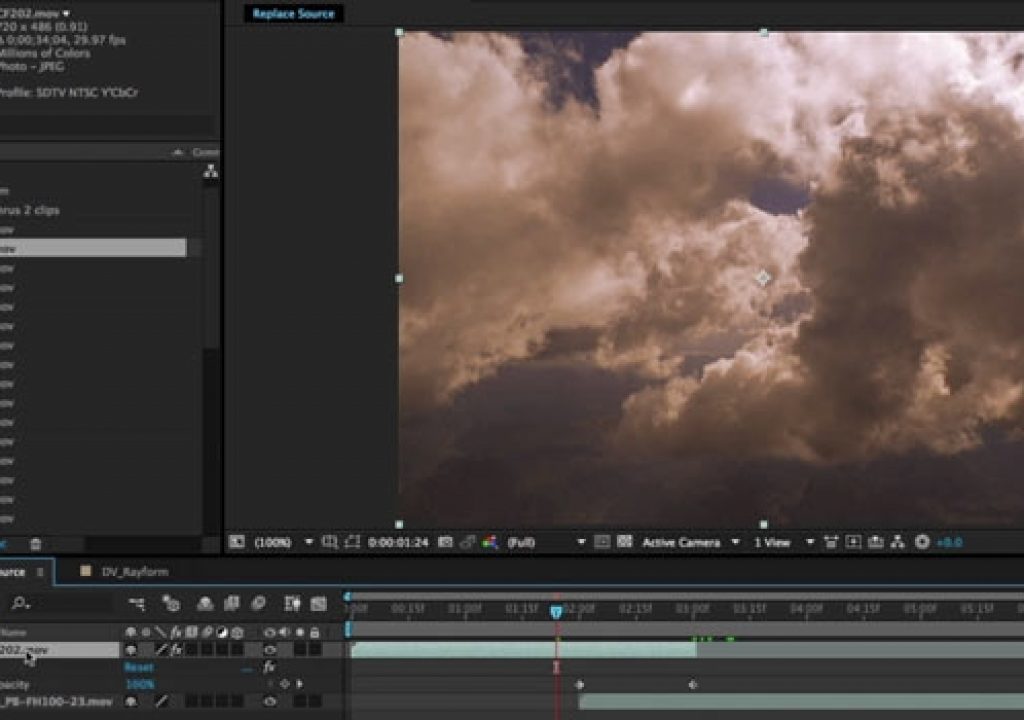
More common is to import all of the potential sources into the project, and then try them one at a time inside a specific composition. To make the swap this way, first select the target layer to be replaced in the Timeline or Composition panels, then select the new source in the Project panel. Hold the Option key on Mac (Alt on Windows) and drag this new source into the Comp or Timeline. The shortcut is to hold Command+Option on Mac (Ctrl+Alt on Windows), and then press the / key. This is demonstrated in this brief movie:
Many users already know this shortcut, but it’s a good one to remember. For power users, the full movie of this tip in the After Effects Hidden Gems course on lynda.com also demonstrates replacing a layered Photoshop or Illustrator file used as a single “flattened” layer with a composition containing its component layers. It’s free for all to view during the week of June 22 2015; after that it is only visible to their subscribers. If you’re not already a subscriber, you can get a 10-day free trial before your credit card is billed by using the link http://www.lynda.com/go/ChrisAndTrish. We’ll be adding a new gem each week; all of the previous gems will remain online for subscribers.

