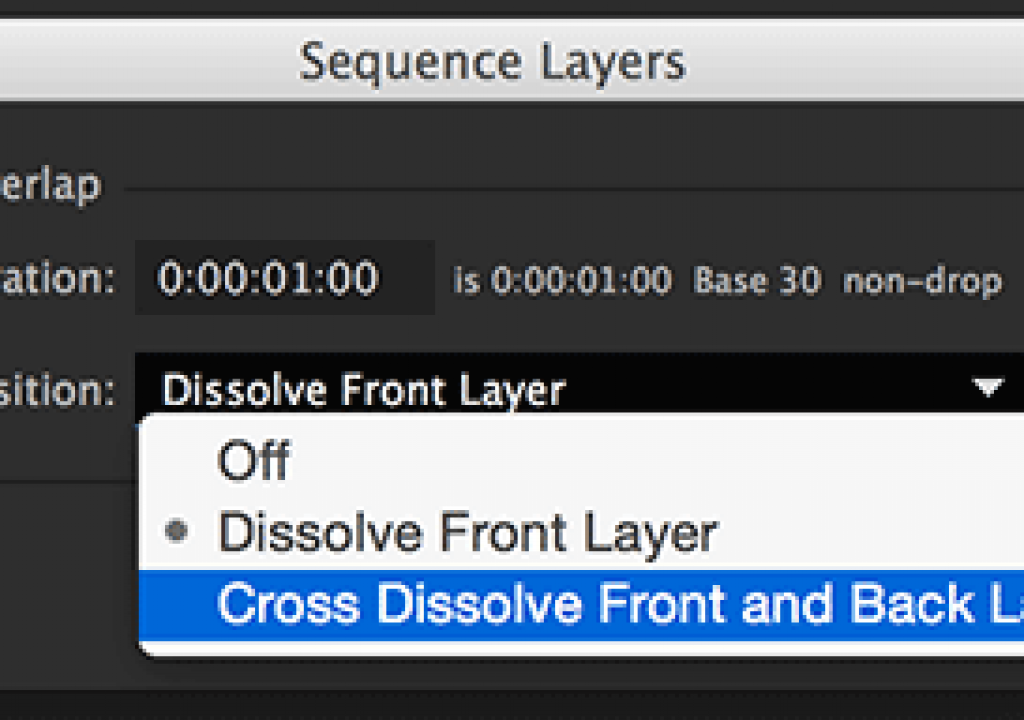
After Effects is not a video editing program – but it does have a few good editing tricks up its sleeve. One is Sequence Layers, which can take a group of layers – in the order you select them – and quickly arrange them end to end, with or without crossfades:
After Effects is not a video editing program – but it does have a few good editing tricks up its sleeve. One is Sequence Layers, which can take a group of layers – in the order you select them – and quickly arrange them end to end, with or without crossfades:
The trick is in mastering the meaning of the different Transition settings. First, the Overlap option must be enabled. If Duration is set to a positive amount of time, the layers will be overlapped by the set Duration as they are sequenced in time. The options are:
- Dissolve Front Layer: Depending on the layer stacking order, the layer above is either faded in or faded out over the layer below. The layer underneath is kept at 100% Opacity during this transition. This way, the layer on top fades in to replace the layer underneath, or fades out to reveal the layer underneath. This is the preferred choice for layers that cover the entire visible frame, or that otherwise have alpha channels which align perfectly. In this case, you don’t want the layer underneath fading at the same time, as that would result in a partially-transparent layer being revealed. The result would be an “opacity dip” during the middle of the transition from both layers being at 50% Opacity, which would reveal 50% of 50% (in other words, 25%) of whatever layer is behind them – such as a black background.
- Cross Dissolve Front and Back Layers: This is the preferred choice for layer that don’t have matching alpha channels, such as a sequence of text or logos. In this case, one layer fades up while the other layer fades out. There will be an opacity dip in the middle of the fade, but this is the lesser evil compared to having the layer underneath pop on or pop off at the edge of the overlap.
(Bonus tip: Set the Duration to a negative time to create gaps rather than overlaps between layers.)
The full demonstration is free for all to view during the week of June 29 2015 in our After Effects Hidden Gems course on lynda.com; after that it is only visible to their subscribers. If you’re not already a subscriber, you can get a 10-day free trial before your credit card is billed by using the link http://www.lynda.com/go/ChrisAndTrish. We’ll be adding a new gem each week; all of the previous gems will remain online for subscribers.

