Using After Effects is often the art of combining multiple layers and elements to create a pleasing final composite or animation. However, you don’t always want every element to appear in that final render. If you didn’t remember to switch them off before the final render, they could ruin the result, requiring a re-render. Fortunately, there’s the Guide Layer switch, which tells After Effects to only use that layer when previewing the composition it appears in, but otherwise not to use it in compositions downstream or in the final render. Here’s a couple of examples where that comes in handy:
Using After Effects is often the art of combining multiple layers and elements to create a pleasing final composite or animation. However, you don’t always want every element to appear in that final render. If you didn’t remember to switch them off before the final render, they could ruin the result, requiring a re-render. Fortunately, there’s the Guide Layer switch, which tells After Effects to only use that layer when previewing the composition it appears in, but otherwise not to use it in compositions downstream or in the final render. Here’s a couple of examples where that comes in handy:
Aside from the Action and Title Safe areas you may be familiar with when creating broadcast video, film work often required use of a 12-Field Chart. Markings on this chart was used as a reference for placement of credits and the such. Unlike safe areas, After Effects does not have a 12-field overlay built in, so we had to add that graphic ourselves. Below is a typical “Academy Aperture” chart that also showed various aspect ratio cutouts:

A even more common use of Guide Layers concerns audio. We prefer to animate to a soundtrack – even if it’s just a rough voiceover. However, it’s not unusual for our projects to encompass multiple compositions, with a copy of the soundtrack appearing in more than one of them. If all of these were left alone, they would be added together in the final rendering, often resulting in a loud, distorted mess. Therefore, we enable the Guide Layer switch for all the soundtrack layers except for the final master in the final the final composition of the chain to ensure that the other copies are not included in the final render.
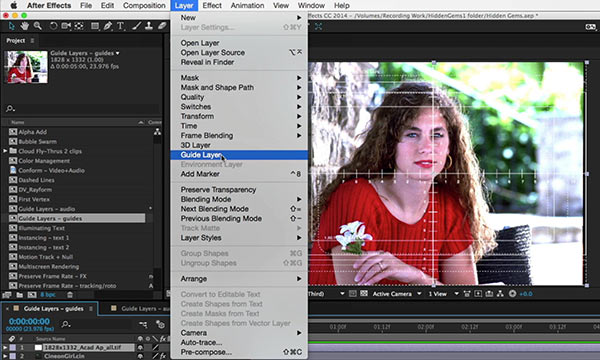
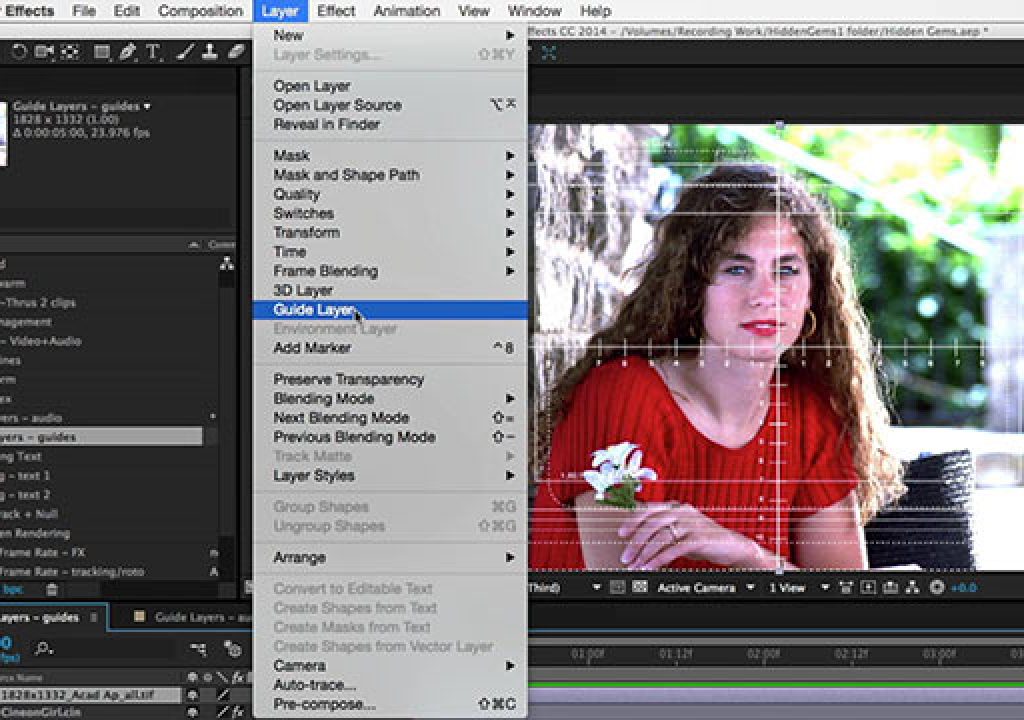
The solution to both is to select the potentially offending layer, and use the menu item Layer > Guide Layer. This toggles on the Guide Layer switch, indicated by the addition of a special icon in the Timeline panel. Choose the same menu item to disable the Guide Layer switch. Here is a quick overview:
The full movie that demonstrates these examples is inside our After Effects Hidden Gems Weekly course on lynda.com. It is available free to all for the week starting May 11 2015; after that it is only visible to their subscribers. If you’re not already a subscriber, you can get a 10-day free trial before your credit card is billed by using the link http://www.lynda.com/go/ChrisAndTrish. We’ll be adding a new gem each week; all of the previous gems will remain online for subscribers.

Filmtools
Filmmakers go-to destination for pre-production, production & post production equipment!
Shop Now


