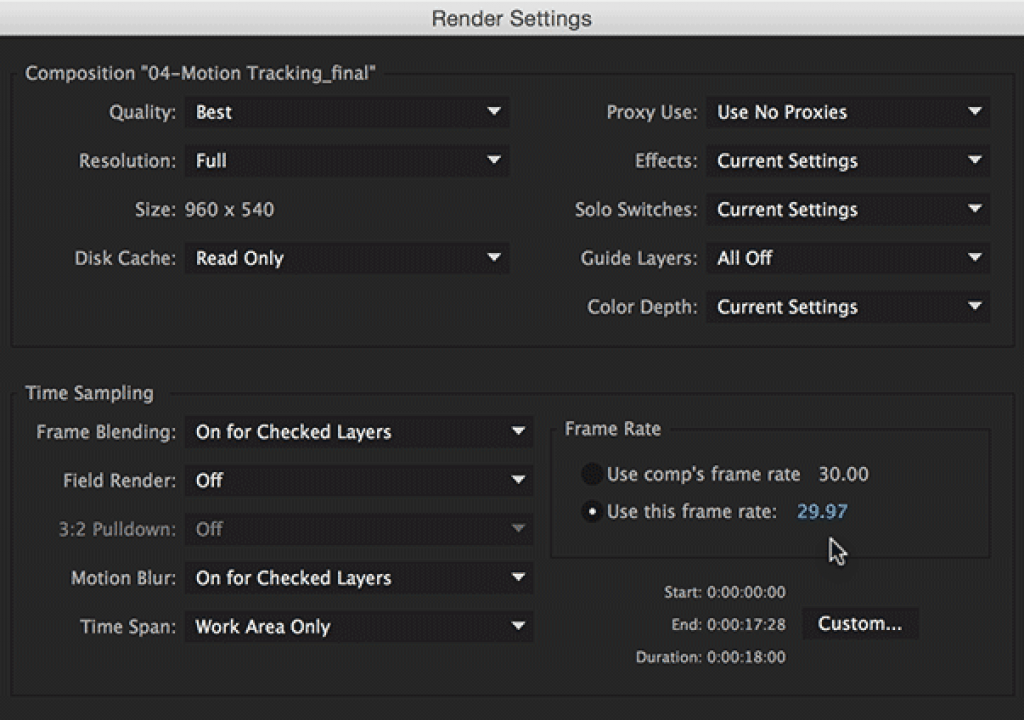
After Effects is a very logical program if you know it works underneath the hood, and a baffling mystery if you don’t. One example of this is the subject of frame rates: Normally, the last comp in a chain determines what frame rate will be used by all the precomps, and this can be overridden again the Render Settings. But what if you really, really need to lock down a precomp’s frame rate, because you’re creating stop motion, have a mask tracked to every frame of footage, etc.? The secret lies in the Preserve Frame Rate switch.
After Effects is a very logical program if you know it works underneath the hood, and a baffling mystery if you don’t. One example of this is the subject of frame rates: Normally, the last comp in a chain determines what frame rate will be used by all the precomps, and this can be overridden again the Render Settings. But what if you really, really need to lock down a precomp’s frame rate, because you’re creating stop motion, have a mask tracked to every frame of footage, etc.? The secret lies in the Preserve Frame Rate switch.
One of the foundations of After Effects is that “everything’s live.” That means that, by default, nothing is locked down or pre-rendered, meaning you can change a parameter in a precomp and have it immediately ripple through a chain of compositions and appear in the final render.
The opposite is also true, to a degree: There are a number of settings usually made on a pre-comp basis that can be overridden downstream, including in the Render Settings:
One of those settings is Frame Rate. Normally, the last step in a render chain sets the frame rate for the entire rendering chain. If you have one comp at 24 fps, and it is nested into a comp at 29.97 fps, when you preview that 29.97 fps comp, the pre-comp will be calculated at 29.97 as well – not 24. If you then add this final comp to the Render Queue, and change the Render Settings to field render (which effectively doubles the frame rate), the entire chain will be calculated at 59.94 fps.
This is normally a good thing – for example, who wants to remember to double the frame rate of all their comps before field rendering? However, there are occasions when you want a pre-comps frame rate to be honored. Tracking and masking are two big examples; a different frame rate can cause slippage in a track or roto mask that previously worked. And if you purposely set a low frame rate in a precomp to create a certain look, you certainly want that honored when it goes time to render.
The secret to locking down a precomp’s frame rate is buried in Composition > Composition Settings, under the Advanced Tab: the Preserve Frame Rate switch. Here’s a quick example of setting it up:
Chris gives a few examples of this at work in this week’s free movie in our course After Effects Hidden Gems Weekly on Lynda.com. All of the Hidden Gems movies may be viewed at any time by Lynda.com subscribers. If you’re not already a subscriber, you can get a 10-day free trial before your credit card is billed by using the link http://www.lynda.com/go/ChrisAndTrish.

