It’s that time of year when Adobe presents its latest software additions, with video first in line. For those curious, here’s a rundown of what you can find in the spring update of After Effects 2018.
Master Properties and Essential Graphics
The addition of the Essential Graphics panel, along with .mogrt file export, made some After Effects users happy. Others reacted less positively, since Premiere Pro benefitted more than After Effects from this feature. The panel only supported one-dimensional properties (not even Position and Scale). After Effects itself couldn’t make use of a .mogrt file.
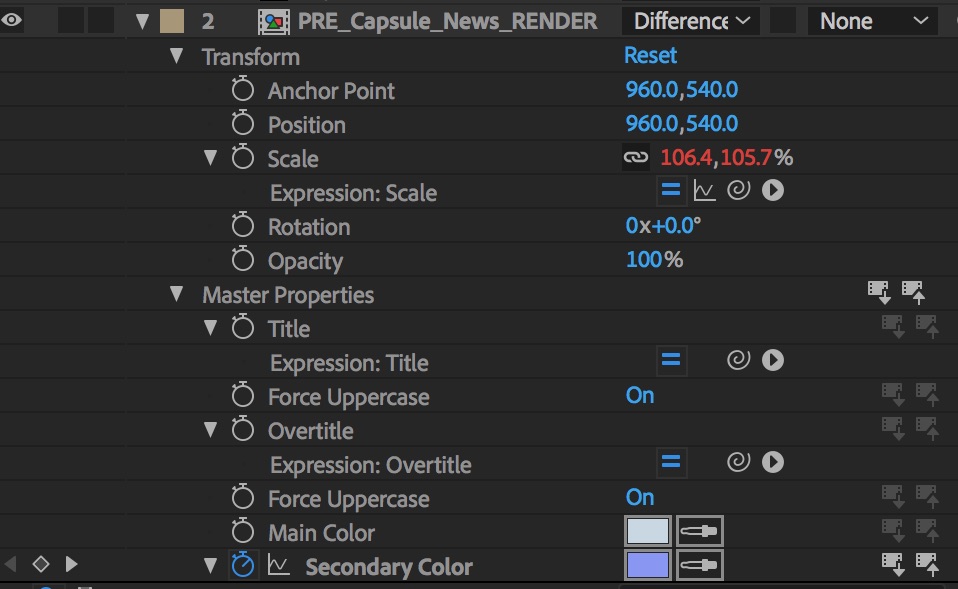
Both limitations no longer exist. Although 3D properties are still off limits, all of the 2D transforms are now fully operational in the panel. You can open and save a .mogrt as an After Effects project. However, that’s just the tip of the iceberg here; the panel has now spawned a new feature in After Effects called Master Properties. Its purpose is to reduce the need to pre-comp, which it does in a novel way.
Perhaps the most-requested feature in After Effects is for nested comps to be “twirlable.” Instead of having to dig into a separate tab to adjust and re-animate properties in a nested comp (or sub-comp) you would have direct access to all of those layers and there settings in one place, as with the Layers panel in Photoshop.

What the new feature set actually does is allow twirl-down access to any properties that are added to Essential Graphics in the sub-comp. Even the keyframes are visible and adjustable without ever having to open up the nested composition.
Animation and iteration with Master Properties
And animation and keyframes is where it gets interesting. If you edit these properties, you then have the option to keep them unique in that one layer, to overwrite them in the nested comp, or to overwrite them with anything that you edit in that nested composition.
This means that you can have multiple iterations of a single nested comp without making duplicates. Any changes you make can change all, some or none of those iterations.
So why not just drag all the properties from the nested comp into Master Properties? For better or worse, there are many reasons not to do this. The main reason is that properties become orphaned from the context in which they belong. You might have a property called “Scale” that doesn’t, in fact, adjust the scale of the layer but that of a shape layer, or a particle in an effect, or what have you. You can use custom labeling to overcome this, but an ordinary nested composition with a few layers and effects might have hundreds of properties.
It will be interesting to see how workflows are transformed by Master Properties. They are most applicable in cases where the alternative would be to create multiple versions of a single nested comp. Think of situations where you’re creating a theme and variations using settings and animation timing, and you’ve found a case where you may be putting Master Properties into play.
Advanced Puppet Tool
It’s a fair criticism to note that some of the core tools in After Effects make a splashy debut and this 1.0 version is never substantially iterated. The Puppet tool hasn’t changed since it was introduced over a decade ago, but now it has spawned an entirely new version that uses the same familiar controls.
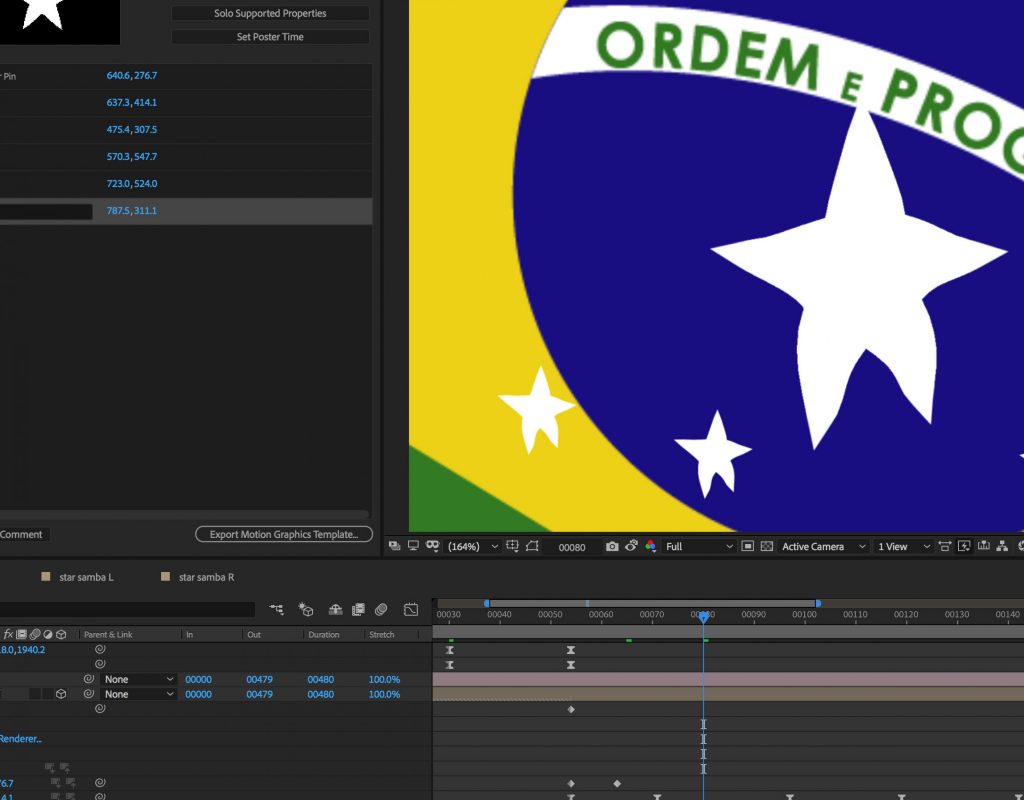
The new set of features collectively make up the Advanced Puppet Tool. This is a mode unique from the “Legacy” version which remains available (via a menu control in the effect). Although the basic functionality remains the same, the new version does a few things better than the old one ever could.
Adding more pins adds more detail, and you also have an overall control for the amount of refinement in the mesh. You can also create a cloth-like ripple effect by adjusting the Mesh Rotation Refinement setting near or at zero. This forces the layer to deform via clean straight lines instead of rotating and crumpling. It’s not exactly a great way to create, say, a flag animation, but it’s certainly useful for precision.
My guess is that cases where you’ll want to create a new puppet animation using the Legacy tool don’t much exist. It looks better and gives much better control over the look of layer deformations.
Pickwhip it, display it
One thing you’ll notice right away in the TImeline is a whole column of pickwhip icons. This new feature is as simple as it could be, and caters to those who avoid using expressions in any fashion. It allows you to link the property on which the pickwhip resides to any other property in one click and drag. There is no need to even set an expression for one to appear.
Even if you’ve never used expressions in After Effects before, you know the pickwhip from the controls in the Parent column of the Timeline. Twirl down and you’ll see a pickwhip by every property that can be controlled with an expression.
One great thing for everyone about this new addition is that it attempts to resolve mismatches. Say you link a one-dimensional property like Rotation to one with two dimensions, like Scale. The pickwhip will populate both X and Y, which you would otherwise have to set up yourself.
Drag and drop visual values
Another time-saver is just as simple. Drag a property to the Composition window and After Effects creates a text layer that displays the value of that property, frame-by-frame. You can see the value of any property in real-time as you work.
The text layer appears directly above the layer that created it. By default it’s a Guide Layer so that it doesn’t show up in your final output. Like the pickwhip, this simplifies something you could always do with multiple steps down to one step.
Head-mounted VR display previews
A small but huge new feature is support for head-mounted displays for virtual reality. Once you set up Video Preview Preferences for use with your headset, you can choose to preview real-time in monoscopic or stereoscopic view.
This means that instead of pretending you’re looking through a headset by converting a comp to a viewer, you can simply view it immersively, turning your head around to inspect the full 360 view. It’s a huge timesaver if you’re doing this work.
And as you inspect in spherical view, you’ll notice a huge improvement to the Plane to Sphere effect. Compared with the previous iteration, this effect is now much better able to handle fine detail.
More new features
There are a bunch of workflow improvements included here. For the full rundown of these, along with the additions detailed above, check out After Effects 2018 New Features at LinkedIn Learning (or Lynda.com). As I write this the course hasn’t been updated yet, but if you don’t see the new features yet, check back later today. If you need access, click Try Premium for free in the upper right corner of your LinkedIn homepage.
How about you, what do you make of these new additions? What’s most missing from After Effects in 2018? What’s next?


