This time in the world of After Effects, version 16 has been released, with tracking and expressions and features tentatively discussed. And there’s been talk of transitions, volumetric lights, interfaces, lower thirds, and more.
![]()
Adobe has an overview of all the announcements at the Adobe Max conference in Adobe Unleashes Wave of Imaging Innovation: Photoshop CC for the iPad, Project Aero, Project Gemini, Dimension CC 2.0 and a major update to Photoshop CC. But we can mention a few of the recent highlights now.

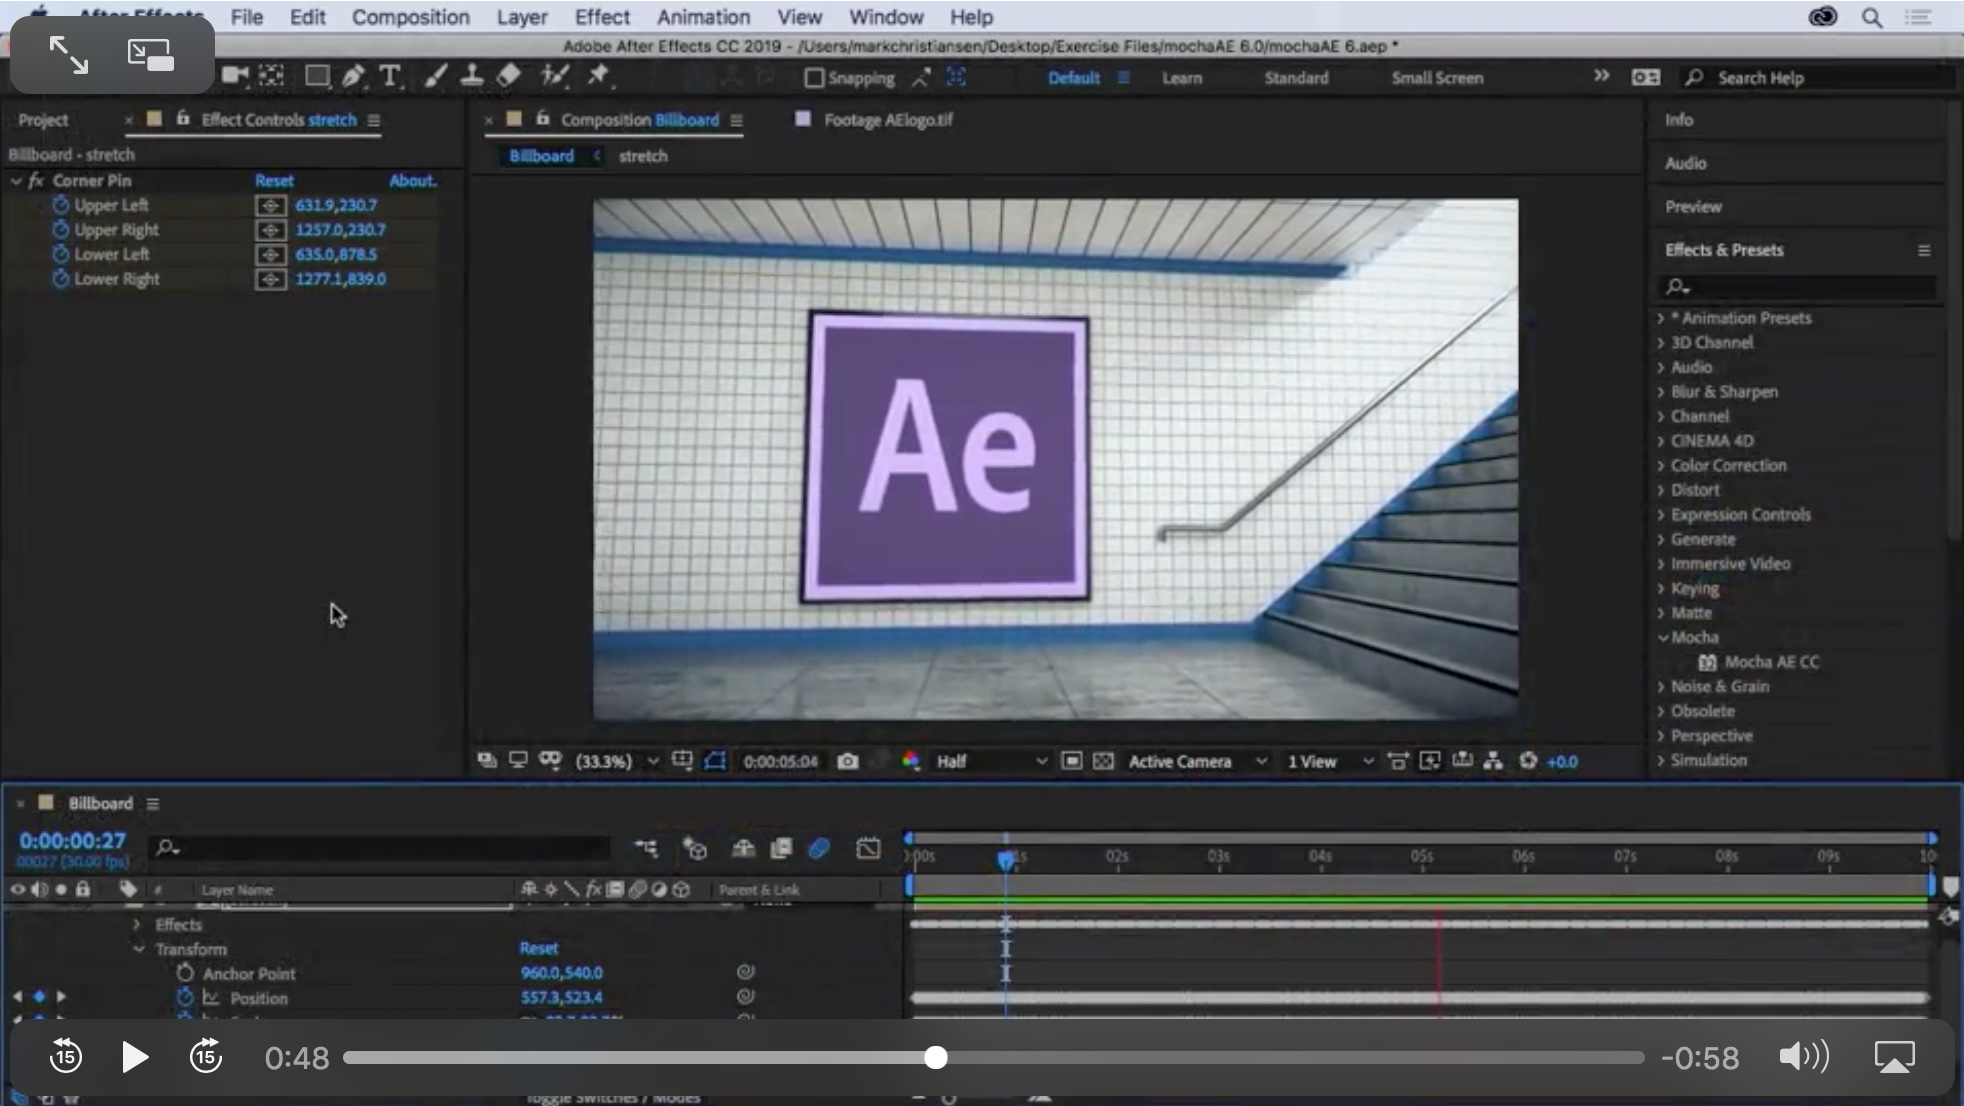
AE veteran and trainer Mark Christiansen has a new video set to let you Explore the new features of After Effects 2019 in 33 minutes or less. And for the next 2 weeks, this LinkedIn Learning course is free! You don’t have to register, just click on the next movie when you’re ready (while you can).
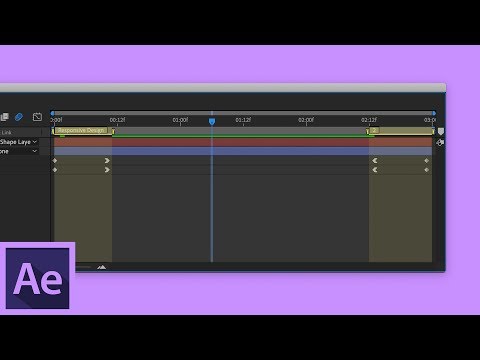
Boone Loves Video posted a preview video and followed up with explainers of the New Puppet Tools in Adobe After Effects 2019 and RESPONSIVE DESIGN in Adobe After Effects. The Responsive Design – Time feature is clumsily named — it’s about protected regions in a pre-comp for easy retiming.Boone will explain this clearly.
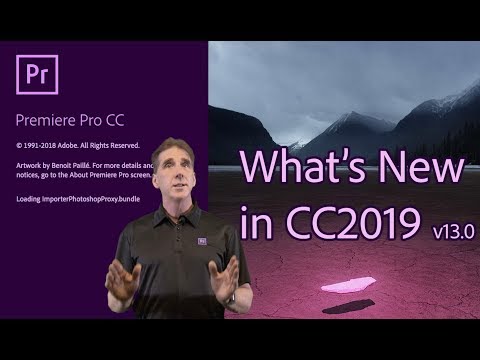
To catch up on Premiere Pro 2019, see What’s New in Premiere Pro CC2019 (v13.0) from Adobe’s Dave Helmly. Also, Cut To The Point points out that upgrading Premiere Pro or After Effects can cause trouble if you don’t know what’s involved in How to Upgrade Premiere Pro The Right Way and How CC 2019 Could Be Better.
The After Effects team is as obscure as ever… product manager Victoria Nece noted a list of fixed issues in version 16.0, and said that “Today’s release of After Effects was codenamed “Double Expresso” because there are two expressions engines. It also contains a secret octopus. … Check the secret project! :-)”
Victoria added that she likes a small feature in this AE release — “you can finally set guides numerically!”
One of my favorite small features in this @AdobeAE release: you can finally set guides numerically! pic.twitter.com/jJoBQGxEzH
— Victoria (@FakeGreenDress) October 16, 2018
Grumbling is sometimes justified but often too contagious. At least I found out there’s a newer community-driven hub for animation stuffs, mixed.parts, which does have a variety of opinion.
There were a number of interesting comment on the new After Effects release. On the After Effects Mail List, Greg Balint noted:
The new Mocha AE effect plugin is nice so far.. Although a bit different to work with than previously. Be careful not to bring forward your AE windows when you have Mocha windows open.. they’re hard to get from the background it seems.. and AE will be completely unresponsive, thinking you’re working in Mocha, even if AE is the one in the foreground.
Basically you launch mocha, do your track and just hit save… then in AE.. you twirl down the “matte” or “Tracking Data” in the effects controls.. for tracking data.. you click “Create Track Data” and it’ll open a little window to choose which layer from Mocha to export tracking data from.. the issue here is.. you can click the name.. and it looks highlighted and selected.. and you hit ok.. and it just seems like it doesn’t work. nothing happens at all..
What you have to do is choose the tiny box to the left of the layer name there.. and a little gear will pop in there, showing it’s selected.. and then everything else will work properly..
Should probably have that as a standard check box, or just allow the selection of the name to also “select” the layer to get tracking data from.. anyway.. took me a good 20 minutes to figure out that was what was going on.. hope this helps someone else out later on.
Ross Shain responded:
Greg… thanks for posting this. Yes – I wanted to mention here that Mocha AE has gotten a long overdue update in the new AE release. Here is a video tutorial by Florian Füger, New Features in Adobe After Effects CC 2019.
MOCHA AE – new features:
* Mocha AE is now a plug-in and will open ANY video file format that AE supports.
* Planar Tracking is now GPU accelerated.
* New Interface supports High DPI/Retina monitors.
* New Mocha Essentials Workspace (easier to learn for simple track & roto)
* New geometric spline shapes.
* New Plug-in side with improved track and mask data formats (note: the create track and create mask data buttons now replaces copy/paste workflow).Now that Mocha is a plug-in the workflow is very improved and the Mocha project is simply saved inside your AE project. When you launch the Mocha AE interface, the window is “modal”, so you can not do anything in the AE timeline. While this might be seen as a drawback, this is a limitation to being an integrated plug-in – most testers are loving the new improvements and would not want to go back. Another huge benefit of this workflow is that you can use 1/2 resolutions on large 4k (or higher) projects and open the lower res into Mocha for very fast tracking without having to render out proxies.
After many years of being bundled inside of AE (since CS4!) we really tried to make this new version much easier to learn. For power users, Mocha classic workspace is still there and you can switch back and forth with the default shortcuts ALT1/ALT2.
If anyone would like to give feedback or feature suggestions, you are welcome to join us in the Mocha AE or Mocha Pro forums at BorisFX.com.
But wait, there’s more.
On Twitter, Mathias Möhl added that Mamoworld is looking for some beta testers for the upcoming V6 of MochaImport+. It should add full compatibility with the Mocha plug-in version of CC2019, with some new features.
Steve Kirby shared on Twitter, “Now that AE will let you copy and paste master property keyframes, it opens up some really nice workflows for character animation.”
VinhSon Nguyen of CreativeDojo says that the “new font in the expression editor of the latest After Effects update makes it SO much easier to read, write, and manage. Now give me line numbers and syntax highlighting!”
Stan Jones on the After Effects Mail List noted that Dan Ebberts had a comment on an After Effect CC2019 expression issue in the Adobe Forums:
“The new JavaScript expression engine is more strict about if/else syntax. You can either change your syntax to something the new engine accepts, or switch your project back to the legacy engine, at File > Project Settings > Expressions > Legacy ExtendScript.”
Lloyd Alvarez noted you “can still use eval() in the new engine as it is valid javascript… the old engine allowed non-valid syntax in some cases; these are the things that no longer work in the new version.” Victoria Nece suspects “it’s not eval() you’re seeing issues with, but what you’re trying to evaluate — the new engine does not support jsxbin files.” For more info see AE Help > Scripts.
David Torno recommended looking closer at the Help page for Expressions; the JavaScript engine that can render up to 5x faster than the Legacy ExtendScript engine.
Again on the After Effects Mail List, Greg Balint queried:
So I went over to the Adobe Uservoice website and voted on some feature requests and ideas a while back. One post that consistently gets comments and votes and is currently the top feature request on there is for full program multiple-thread support. A lot of people want to see the app use all of their hardware as it used to do back in 2014 days.
I feel like this has been such a hot button issue for users and Adobe has remained relatively silent on it. I wish we could get some form of official response from Adobe After Effects team on this.
Then, Jim Curtis recommended a workaround, which leverages built-in abilities, if not actual hyper threading.
This doesn’t help for RAM-Previews, but if you’re tired of waiting for Adobe to goose multi-threaded rendering, I heartily suggest you look into RenderGarden. I wish I hadn’t waited so long to buy it. On my system it speeds up my renders by 3X to 4X compared to the Ae renderer, and maxes out my cores as it should be.
Stephen van Vuuren had a different perspective: “I found RenderGarden to provide minimal to no benefit on big projects vs 2014. It really only seem to help on short and simple stuff. The kind of projects that scream for MP are the 8 to 12 GB per core, all cores slamming at 100%. I’ve not seen RenderGarden get anywhere close to that.”
Earlier, Boone Loves Video posted the useful Popular Lower Third Designs and How to Recreate Them in Adobe After Effects, with these six basic techniques in After Effects with a link to the project files. And Sonduck Films added After Effects: Create Any Lower Third.
Also, Dope Motions recently posted a simple but effective transition tutorial, After Effects Tutorial – Dynamic Transitions, while Sonduck Films shared 4 Great Motion Graphics Techniques in After Effects: exploding graphics, repeated objects, line animations, and duplicated objects.
After Effects product manager Victoria Nece has a little Colorama trick for a torus and the new AE depth tools.
Fun with the new AE depth tools!
Layer stack:
1 [Adjustment Layer] Colorama
2 [Precomp: native AE 3D text + camera] 3D Channel Extract, Lighten
3 [Cineware torus] set to depth pass pic.twitter.com/nz3L7wkRmg— Victoria (@FakeGreenDress) October 16, 2018
There’s a massive but aging AEP roundup still on PVC that might still be useful, UI: User interfaces in the movies and beyond.
The related angle is a recent interview by Kirill Grouchnikov of Pushing Pixels, The art and craft of screen graphics – interview with Daniel Højlund. It continues an ongoing series of interviews on fantasy user interfaces. They discuss the evolution of motion design in the last ten years, work process, the balance between ideas and tools, and the pace of working on big sci-fi film productions. Throughout, there’s sharing info on work on American Assassin, The Martian, Blade Runner:2049, and the more recent Pacific Rim: Uprising (seen in the infographic above).
BTW, here’s a Twitter tip from the same Daniel Højlund, on scrubbing color chips in AE.
A happy mistake! Just found out about this way of changing colors in @AdobeAE. Could be nifty for saving a few clicks every time you open the color dialogue box. Just click+hold n' scrub…#adobe #AfterEffects #tip pic.twitter.com/gCGXYS56gB
— Daniel Højlund (@daniel_hojlund) April 19, 2018
Nikhil Pawar of Dope Motions shows you how to create a HUD animation in After Effects without using 3rd-party plug-ins. There’s a free project file too.
Of course, you’ll probably like to see similar earlier stuff from Andrew Kramer like 84 – Futuristic HUD and Advanced Spin FX Tutorial. This too, After Effects Tutorial: Advanced 3D HUD GFX Motion Graphics.
WorkbenchTV continued to build its library with a video to Create a biometric FUI look with a face – Tutorial 144: Inter-faces, on ow to track a face to create a futuristic biometric user interface look (project file aavailable):
In After Effects: Hand Scan Tutorial Part 1, VideoFort Don shows you how to create a realistic looking, security hand scan in a two-part tutorial. Part One covers tracking and creating the graphic elements.
The question of volumetric lights came up recently on the After Effects List. Known as solid lights in Electric Image or VolumeRays in Nuke, volumetric light can be produced in After Effects with or without 3rd-party plug-ins. Those plug-ins are now available as Boris Stage Light or Trapcode Lux. See the AEP roundup Volumetric light rays in After Effects for older techniques for motion graphics treatments (note Peter Torpey’s .jsx example illustrated above), or to improve actual shots, checkout the examples below of using similar ideas, or those 3rd-party filters.
Create 3D Volumetric Light in After Effects! – Tutorial by Kris Truni of Kriscoart shows you how to manipulate light in post with After Effects. You can improve a shot by using solids, masks, and filters to give the illusion of creating or blocking light. Premium Beat posted something very similar a bit later with Add Volumetric Lighting in After Effects Without a 3rd-Party Plugin.
Another example, this time in a forest, is Realistic 3D Volumetric Light Rays | After Effects Tutorial from Visionary Fire.
DSLR Video Shooter has a 3-video series on RAW and ProRes RAW video formats.
Adobe’s Karl Soule posted DON’T TOUCH THAT PACKAGE!!!! RE: LUTs, explaining:
“There’s a lot of BAD information floating around the Premiere-o-Verse about how to add LUTs to the Premiere Pro Lumetri drop-down menus. If you use certain LUTs frequently, and want to add the LUTs to Premiere, there is an approved method of doing it, but it does NOT involve the phrase “show package contents.” These methods use an unapproved “hack” that could cause the wrong LUTs to show up in other projects. Here is the approved method of adding LUTs to the Lumetri menus…”
12 Principles of Animation (Official Full Series) by AlanBeckerTutorials is quite popular, but re-view may be appropriate.
Please note that these roundups are for quick review and comparison. There is almost always vital information from the originating authors at the links provided — and often free presets, projects, or stock footage too.
@aerich


