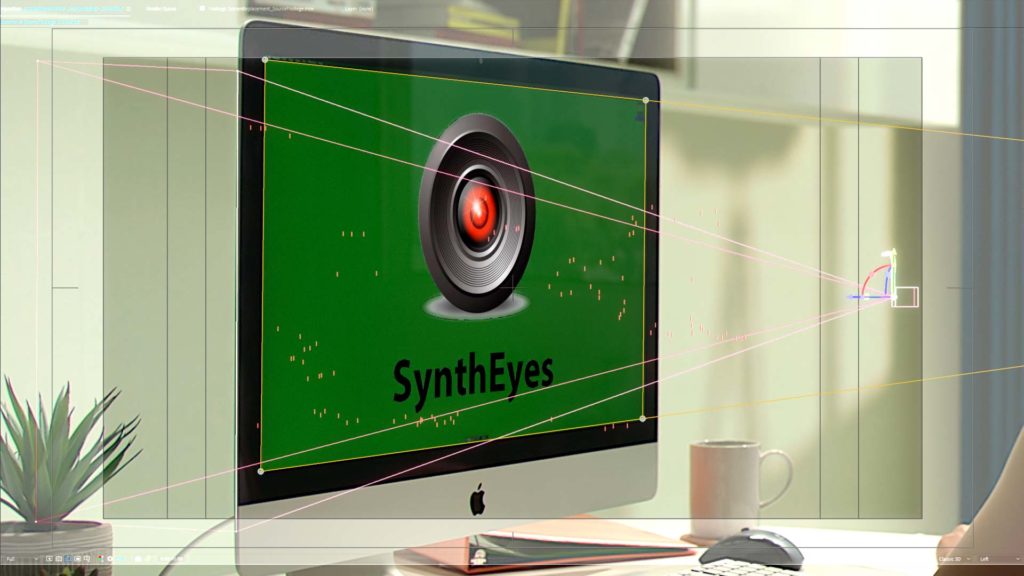
Last week saw an exciting announcement from BorisFX – a merger with Syntheyes, the 3D tracker created by Russ Andersson. As Boris already make Mocha, the planar tracker that’s bundled with After Effects, this seems like a good fit.
Inspired by the news, I thought I’d demonstrate how I use Syntheyes and After Effects together, for advanced screen replacements. I’ve owned a copy of Syntheyes for almost 20 years, and while I’m hardly an expert matchmover, it’s proved itself a valuable tool, time and time again.
There are already loads of screen replacement tutorials out there, and I guess this is just one more. However I’m sharing the approach that I’ve come up with that works well for me, and as I haven’t seen anyone else approach screen replacements in exactly the same way, I thought it was worth demonstrating here. This is not a finely polished, step-by-step tutorial, but more of an outline of the processes that I use.
I make it clear in the video that working with Syntheyes for screen replacements is my own personal preference, and that the same shot could also be solved using Mocha. Here’s a tutorial on the BorisFX YouTube channel that shows how you would deal with similar occlusion problems in Mocha.
Because the video is outlining the overall workflow I use, it doesn’t do a deep-dive into the actual compositing processes that might be needed. Once I have a flattened, relatively static plate to work with, then integrating the new screen can be done just like any other composite. There’s a number of elements that need to be considered to fully integrate the new screen onto the existing footage. Often, the most important are matching the blur / depth of field of the footage, which might change throughout the shot. Matching the color of the new element is also vital – especially the black & white points. Reflections and lighting changes need to be added – in this video, the green screen makes it relatively easy, but this can be challenging if your footage has other content already on the screen. Any parts of the foreground that occlude the screen might need to have edge blurs and lightwraps applied. Finally, the re-pinned composite might need additional motion blur, using a plugin like RSMB. Because the unpinning process demonstrated here scales the background plate up soo much, it’s normal to have to deal with large noise & grain as well. And in many cases, you’ll have to spend considerable time removing tracking markers that were put there during the shoot!
The video mentions a few other resources, so let me list them here:
- Firstly, if you’re looking for a more traditional series of tutorials for Syntheyes, then check out the TrackVFX YouTube channel.
- BorisFX are regularly releasing excellent training videos for Mocha and their other products
- The Syntheyes website is here
- Neat video, the best denoiser for After Effects, can be found here
- …and BorisFX will be holding a live Q&A on September the 13th
The merger with Syntheyes has only just been announced and so it’s too early to know what the future holds… but it’s not too optimistic to hope that one day we might even see Syntheyes integrated & bundled with After Effects, just like Mocha is!
One last thing… In the video, I clarify that not all shots are suitable for 3D camera tracking, and in those cases a more traditional solve using Mocha can be used. However even if I use Mocha to do the tracking, I still use the same un-pin and re-pin process outlined in the video. But instead of using nulls with expressions for the CC Power Pin effect, I’ll just use the corner pin data that the Mocha AE plugin can produce. Once the track is done, I’m still using the corner pin information to un-pin the source footage, and then re-pin it to the background plate after the compositing has been done.
I’ve been writing After Effects articles for over 20 years – check them out!


