We’re often asked: What’s the difference between editing and motion graphics?
Although there’s always exceptions to every rule, one way to distinguish between them is the way a project is built: Editing projects tend to be arranged horizontally, cutting between different scenes over time; motion graphics projects quite often are arranged vertically, with multiple elements – including footage, text, and other graphics – appearing on screen at the same time.
The logical next question is: How do you see through one layer to the other elements underneath? This is something we’ve written a lot of articles and recorded a lot of videos about, including our most recently released courses on lynda.com. Sounds like a good time for a quick reference to them all.
The core secret is not to rely solely on the Opacity parameter to make the top layers transparent. One approach is to use Blending Modes, where characteristics of both the layer on top and underneath combine to create far more interesting composites of footage. We consider Blending Modes to be the secret sauce that’s missing when many editors attempt to composite together multiple images, and indeed we’ve written numerous articles and released several courses (many of which are listed at the end of this blog post) on creating lighting effects in post as well as the popular “filmic glow” effect. (It’s also the subject of one of Chris’ sessions on Sunday April 10 at the upcoming NAB Post|Production World.)
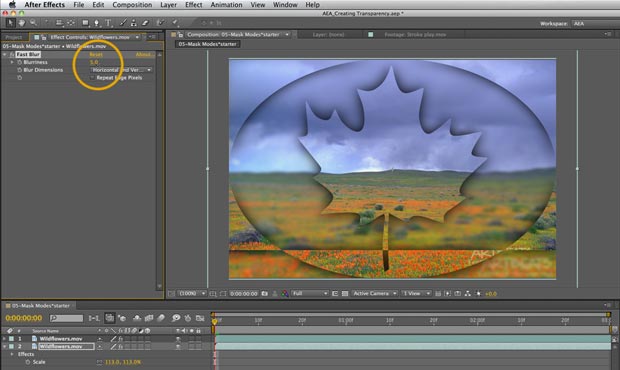
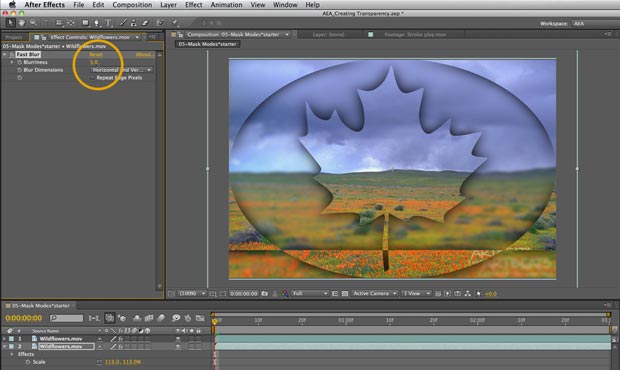
Another approach is to cut out portions of layers in interesting ways to focus the viewer on interesting features of the footage on top, as well as reveal additional layers underneath. This is the subject of our just-released course After Effects Apprentice: Creating Transparency. This course focuses heavily on creating and animating masks (user-defined cutouts) for layers using simple and advanced tools. We also cover using properties of one layer – such as its luminance or alpha channel – to alter the transparency of other layers: For example, using text to cut out animated background footage to create a video fill for the text shapes. Additionally, we spend a lot of time showing how effects such as drop shadows interact with these techniques to help add definition between the layers in the final composite.
If you don’t already have a lynda.com subscription, click here to sign up for a free 7-day all-access pass to the site. A few movies from each course are also made available for free; Creating Transparency features freebies on creating vignettes as well as intricacies of track matte and effect rendering orders. Enjoy!
Online Articles (free):
- an ancient (but still relevant) Spinning Gold article on improving footage in After Effects (including the use of Blending Modes)
- Blend Modes in Premiere Pro
- Composite Modes in Final Cut Pro
- Adding a Filmic Glow (aka “Instant Sex”) technique overview
- Artificial Lighting overview on using animated abstract footage to add lighting effects to existing footage
Video Training (lynda.com subscription required):
- After Effects Apprentice: Creating Transparency focusing on creating masks and mattes
- After Effects Apprentice: Layer Control including an introduction to Blending Modes
- Extended Vignette Techniques which includes more on using masks, mattes, and modes to composite footage (a good follow-up to the above two Apprentice courses
- After Effects: Lighting Effects in Post – a far more extensive version of the Artificial Lighting article mentioned above with numerous examples
- Final Cut Pro: Lighting Effects in Post
- Motion: Lighting Effects in Post
- Adding a Filmic Glow to Your Footage Using After Effects
- Adding a Filmic Glow to Your Footage Using Final Cut Pro
- Adding a Filmic Glow to Your Footage Using Motion
The content contained in our books, videos, blogs, and articles for other sites are all copyright Crish Design, except where otherwise attributed.

Filmtools
Filmmakers go-to destination for pre-production, production & post production equipment!
Shop Now