In contrast to the columns and tutorials we’ve been posting so far in CMG Keyframes, we thought it would be useful to also post quick-hit random tips for working more productively with Adobe After Effects CS3. This is the first installment; hope you enjoy it. Please feel free to add your own questions and alternative solutions in the Comments field at the end.
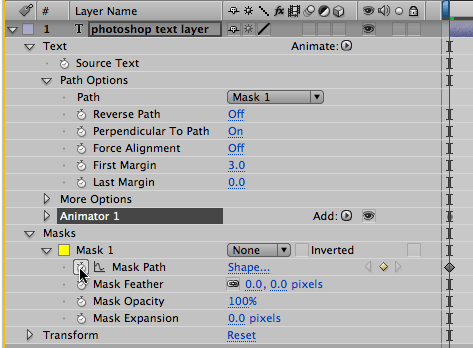
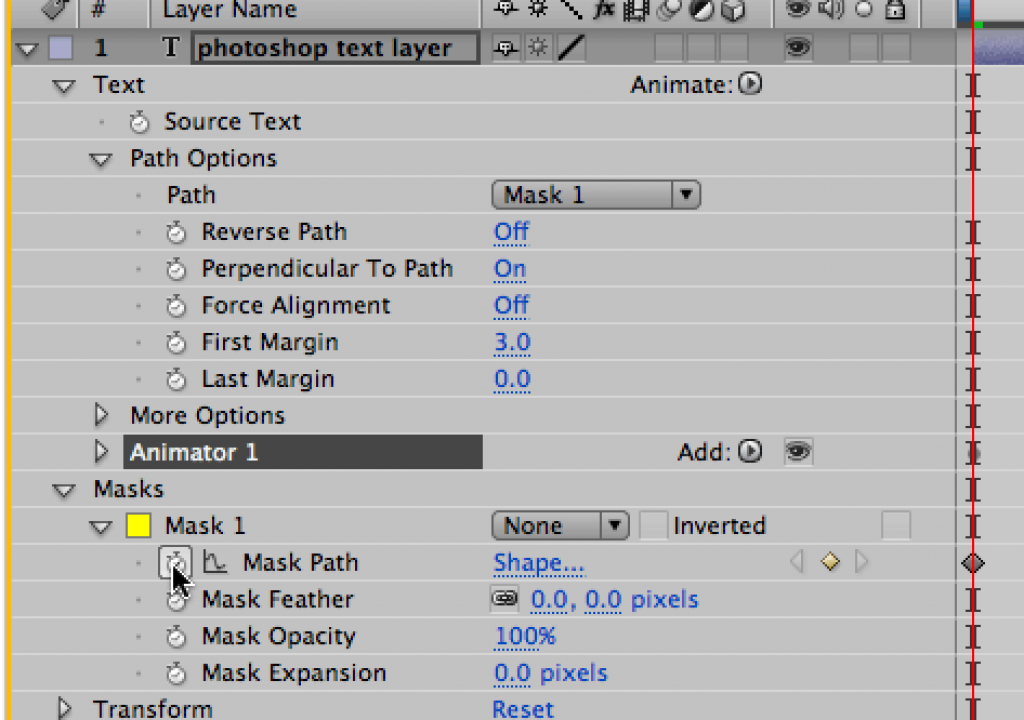
Tip 1: Editing Photoshop Text

Tip 2: Video Voodoo
If you work with 3D animations (or Artbeats stock footage) rendered at 30fps and place it in a 29.97 fps composition, you may know that you need to conform the sources to 29.97 fps so that the frame rate matches the comp rate. But conforming the frame rate is also a cure for what we call “video voodoo” (when odd things happen to nice footage).
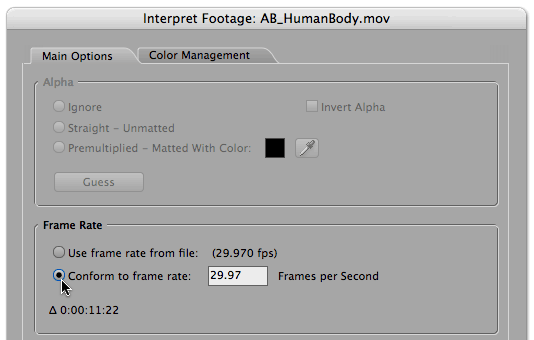
For instance, let’s say you have a movie source that according to the Project panel is “29.97 fps.” But when you start working with it in a 29.97 comp, a frame is being skipped for no apparent reason. Or maybe a different image is rendered from that showing in the Composition panel, especially if time stretched or time remapped. Before you pull your hair out, select your source in the Project panel and go File > Interpret Footage > Main. In the Frame Rate section of the Interpret Footage dialog, select “Conform to frame rate” and enter “29.97”. Using an exact frame rate overrides the frame rate being reported by QuickTime, which can vary as footage is being captured. In fact, this has proven to cure so many oddities that it’s a good habit to conform all your footage on critical projects.

(For more on frame rates, download this PDF from Artbeats.com on other frame rate issues.)
Tip 3: Skip to the top of the Queue
Tired of always selecting the right Render Setting or Output Module in the Render Queue? Then you need to change the “default” so that every time you add a new comp to the queue, it uses your favorite templates (you are making templates, right?!). The easiest way to change the default used is to hold Command on Mac (Control on Windows) as you select a template from the popup menu in the Render Queue. Your selection will become the new default.
Tip 4: Let Me Be Your Guide
If you want a layer to be visible (and audible!) as you work, but not render in the next composition in the chain or in your final movie, select it and go Layer > Guide Layer. The obvious use for guide layers is for using custom templates or grids, but consider these uses also:
- You may need to place an audio layer in a precomp so you can animate to music. When you do this, make the audio a guide layer so that it won’t render when nested. This avoids the possibility of doubling up the audio in the main comp (which will result in distortion).
- Make a text layer with notes, make it a guide layer (so it doesn’t render) but leave it enabled when you archive the job so that your notes are visible the next time you (or your colleague) open the project.
Tip 5: Same Size, Same Specs
The content contained in our books, videos, blogs, and articles for other sites are all copyright Crish Design, except where otherwise attributed.


