I’ve been watching a lot of docs and docuseries the past couple years while working on a high-profile feature doc myself, producing VFX, roto and archival image retouching and enhancements. What I’m seeing is not only tons of scanned photos that never get cleaned-up/retouched, but also zooms into old grainy images that barely resemble the people photographed. In today’s 4K streaming world, you have to do better. MUCH BETTER! Enter the age of AI Photo-Image enhancement software. And we’re only just beginning to see the incredible tools that can help us dig into the past and bring people back to life!
I’ve been restoring and retouching photos commercially since the mid-80s; originally using an airbrush on an enlarged photographic prints and then copy-photo’d to reduce and tighten the details for print. While the tools definitely changed over the years starting on Letraset ColorStudio in 1990 and Adobe catching up in Photoshop 2.5 shortly thereafter, the practice has still been pretty much the same for decades. Until recent years where Adobe has added significant advancements in their tools for retouching, like Content Aware Fill and the indispensable Healing Brush, we can digitally restore and repair old photos in mere minutes. It truly is magical compared to how we did things in the past.
But often these historic and archival photos that have been rumbling around in a shoebox or stuck to the pages of a family album aren’t just damaged over time from mishandling – that all still needs to be addressed, of course – but the fact that film cameras had limitations that inhibit clarity by nature. Most issues I’ve seen while working on thousands of images are out of focus/mis-focused subjects or the subjects are too far away from the camera to get as much detail as you’d hope, or just using inferior consumer grade cameras or not enough light so there’s motion blur. These issues hold true even if you’re scanning directly from the original negatives or slide transparencies. Even most archival stock images are too low resolution and lacking real facial clarity when zooming in for documentary and journalistic purposes.
Enter the brave new world of AI generated image enhancement and recovery software. But is it really amazing software coding or is it witchcraft?
Let’s take a look at just a couple of the top options available today and how they stack up… for now!
Topaz Gigapixel
Topaz Gigapixel ($100 Desktop Application) has been around for a few years and I’ve used this application, as well as their entire suite of tools, many times with great success. It does offer a lot of control and options for refining your images and lets you preview before/after scaling in the app before committing to it.
However, it often distorted faces if there wasn’t a great amount of detail. Until recent updates have included AI Face Recovery, you just got what you got and had to do further retouching to make the subject pleasing at all.
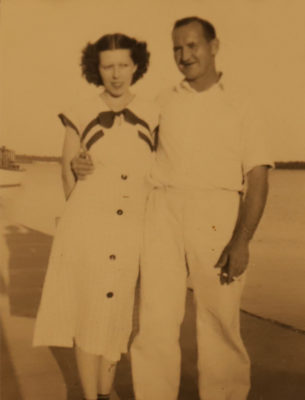 But now it does a pretty decent job of reconstructing facial details and retaining the lighting/shadows on your subjects without it looking like you copy/pasted a new head on them.
Here I have first retouched the original image of my paternal grandparents (was captured with a DSLR from a family photo on a wall) and converted to B&W. I then upscaled it only 200% and applied the Facial Recovery at about 50% to get the result on the right.
This is the true test of any enhancement software, is that the subjects look exactly how you recall them and not an artificially-created face slapped on top.
A real test is taking a small web archive image off a public domain stock site and making it useable.
You may ask “why would you ever do that?” and most documentary filmmakers may attest to having to source some materials from a certain time period in their subject’s life that just aren’t obtainable any other way or the originals have been lost. As long as you can obtain the legal rights to your image sources, you have to make it work if you want to include the image to support your story.
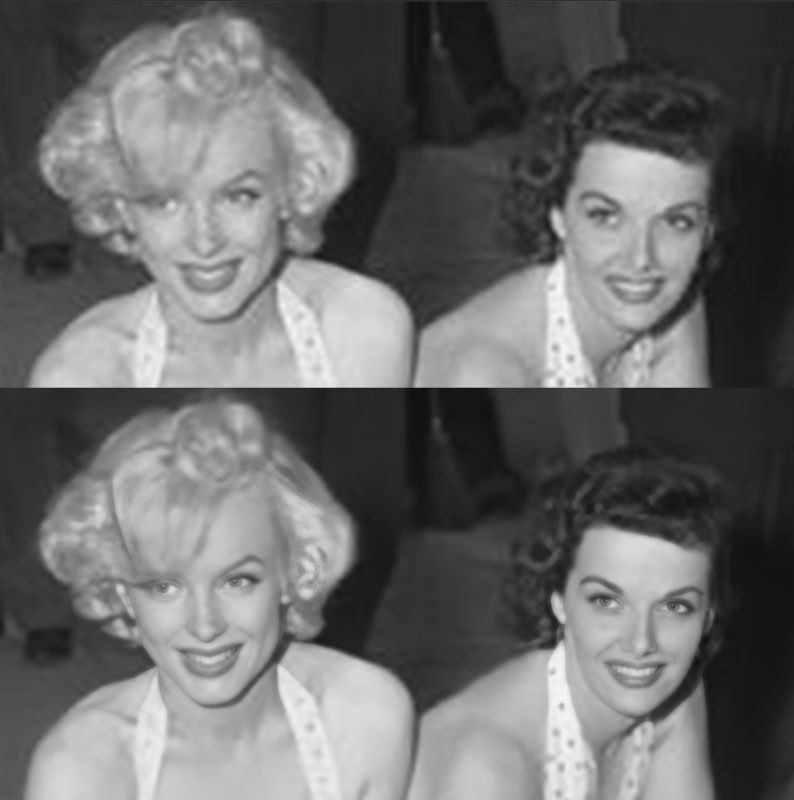
This example of singer/actress Joyce Bryant is a worst-case scenario just for testing purposes. She was a gorgeous woman and I wanted to see just how well the software would hold up, starting with an image this low-res at 293×420 px.
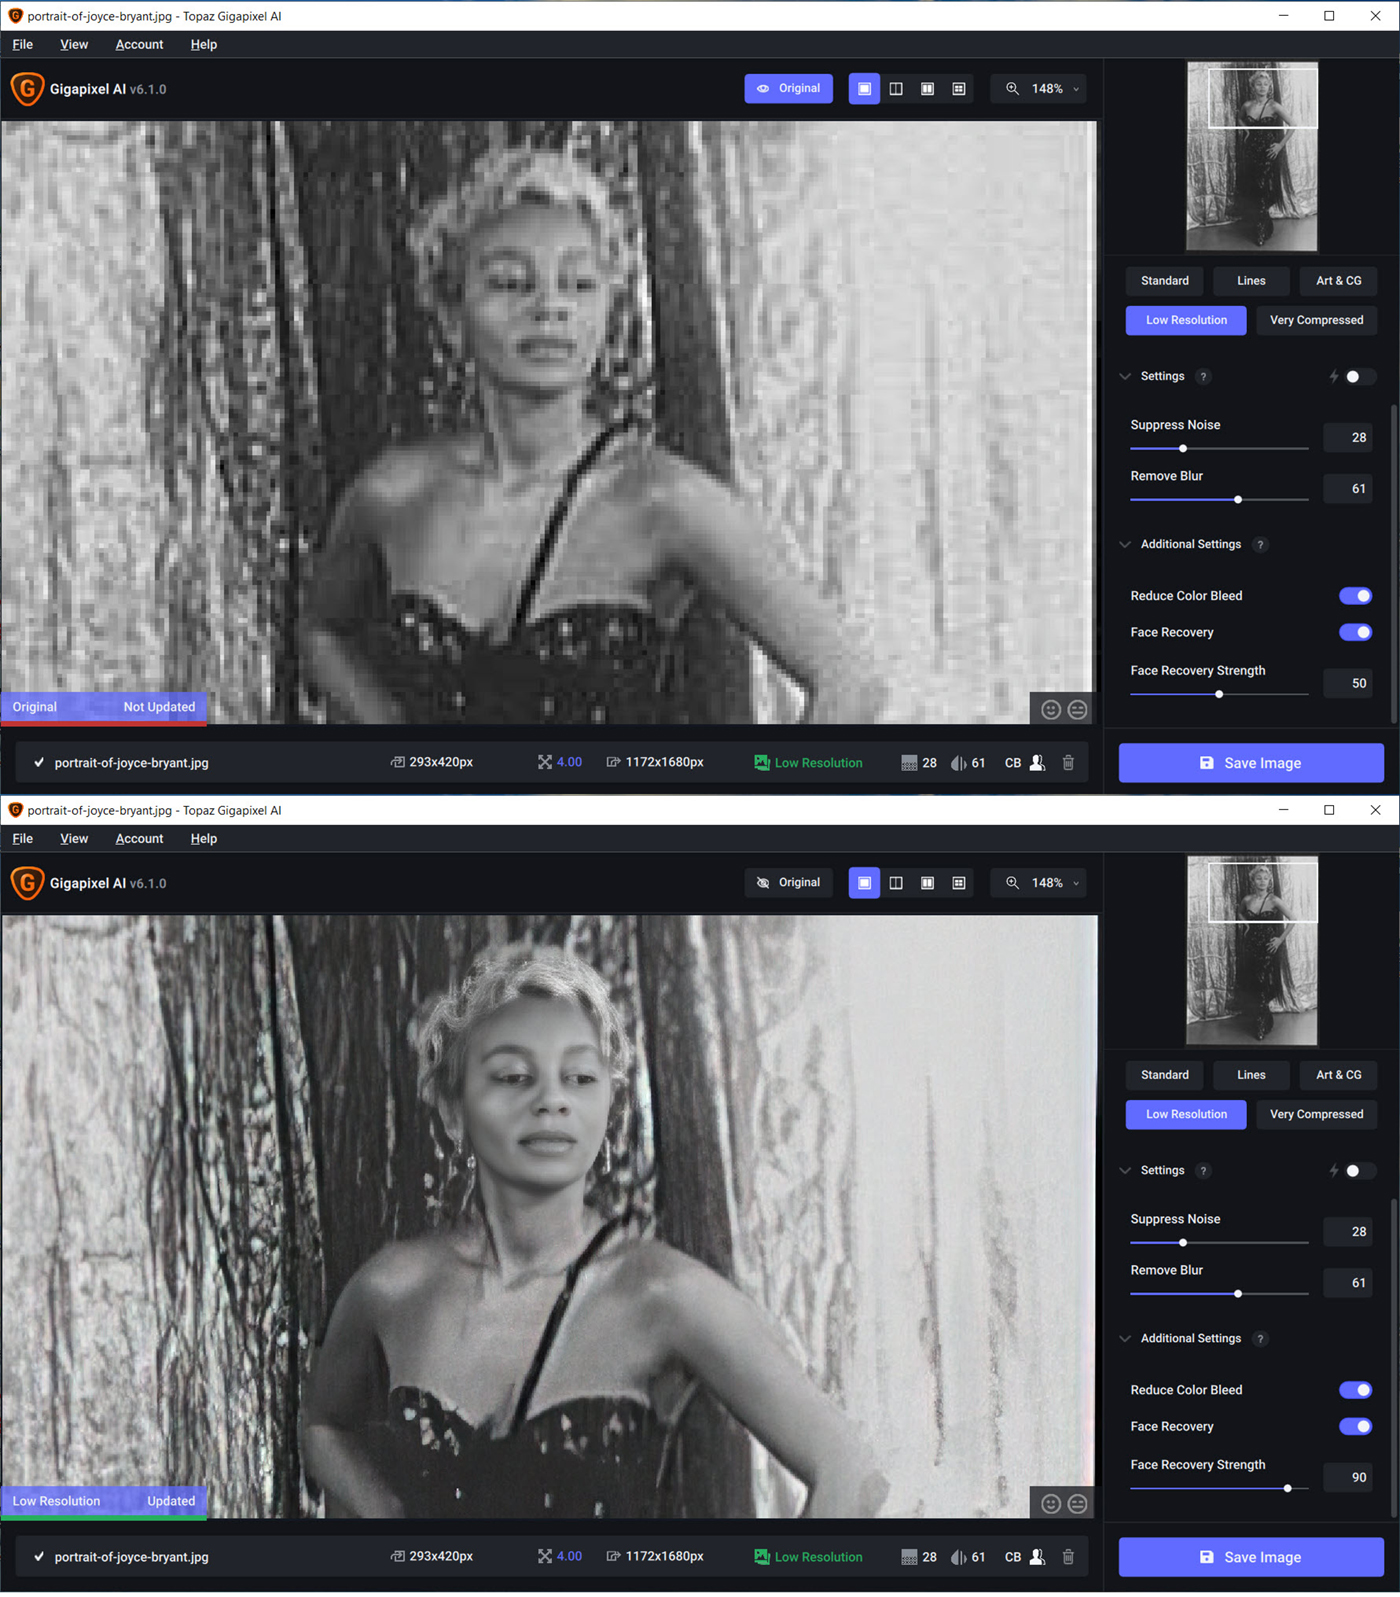
As you can see, it did a pretty amazing job overall when the Facial Recovery strength is boosted up to 90%, but you can see it’s making her face too smooth and creating some strange artifacts in her hair and gave her crazy eyes. Granted, looking at the before/after, there just aren’t a lot of pixels to work with from the original!
But scaling is still what Gigapixel does best, even with incredibly small and pixelated images. This image off a web-based public domain archive was originally only 332×272 px and was upscaled 400% to a more useable 1328×1088 px. While not really great for extreme zooming in on facial features, the entire image would still look a lot better in your 4K doc than the original.
Facial Recovery works quite well in most cases but still doesn’t always get the details right, especially with the eyes. I’m sure that this may get better as the technology and neural training improves, but for now, there would still be a bit of Photoshop work to correct the images further.
___________________________________________________________________________________
Remini Web
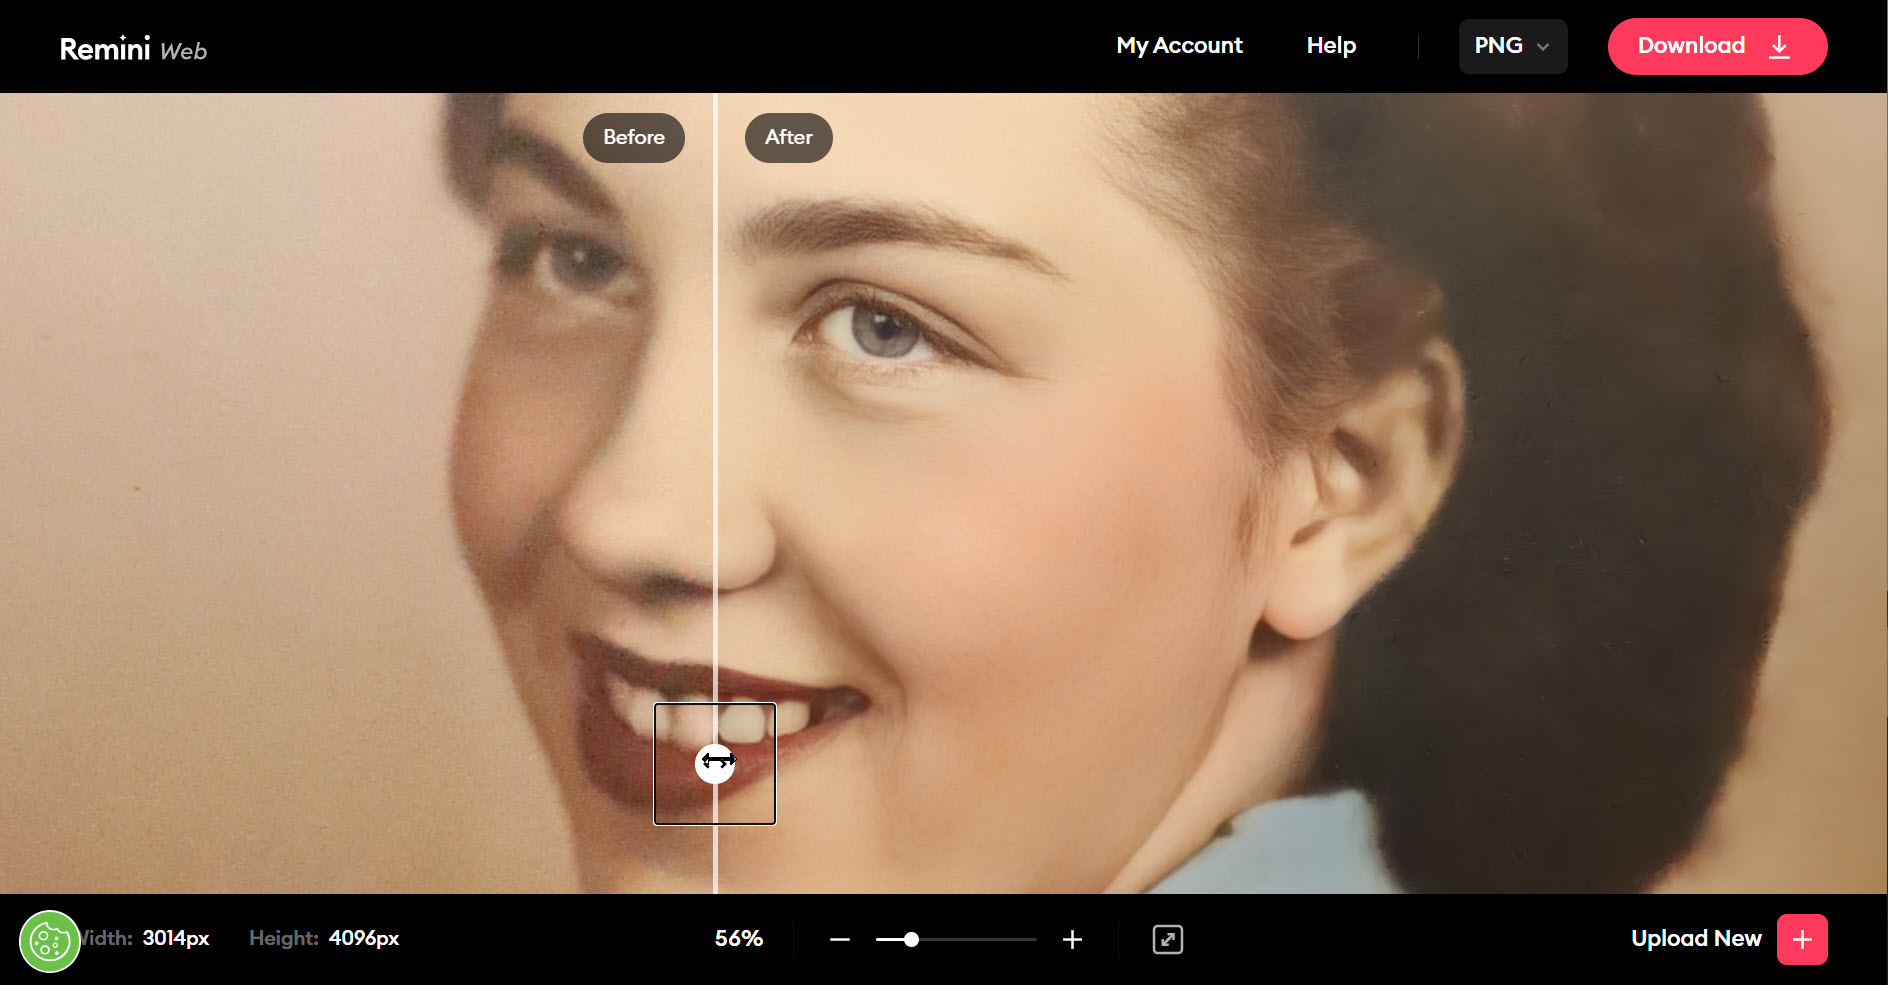
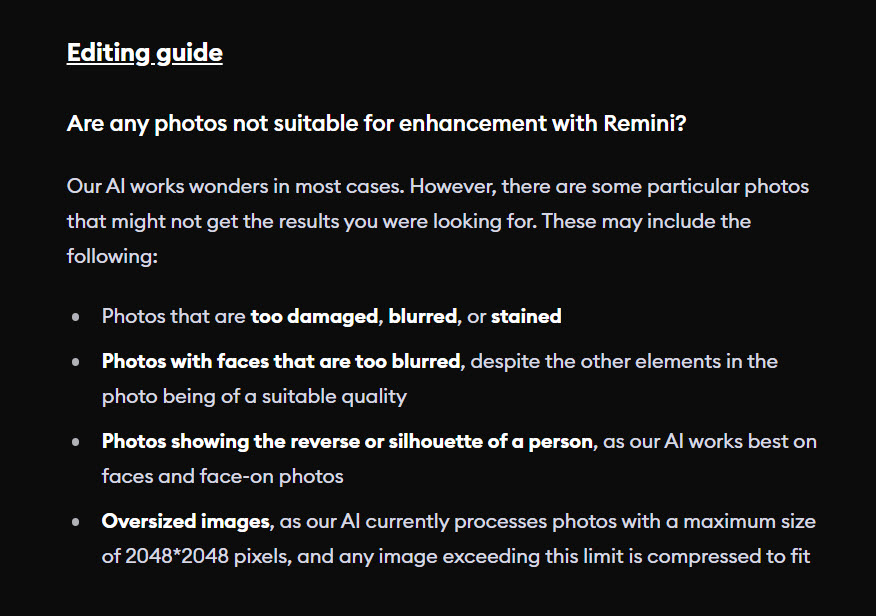
Remini Web ($4.99 per week, Web Browser portal only) is a no-frills, no controls/options drag-and-drop facial image enhancer. But OMG it’s almost scary how well this software works!
This web-based portal lets you just drag-and-drop your JPG or PNG images into your web browser in in a few seconds (literally less than a minute in most cases) it will produce an enhanced image for you to download.
The resulting details are so pronounced they’re actually often fake and plastic looking – like overly-retouched in portraits and images that already have a lot of facial details and structure that just need a bit of refinement.
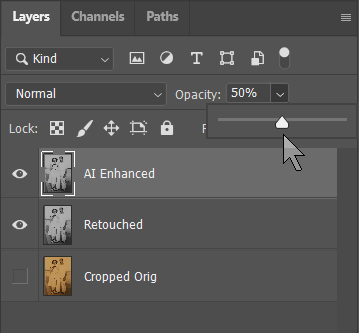 So I typically overlay the Remini AI Enhanced image in a Photoshop layer and simply set the opacity between 50-70% until it blends in with the original in texture and grain but reveals much more detail. This provides a very pleasing and useable image to zoom into.
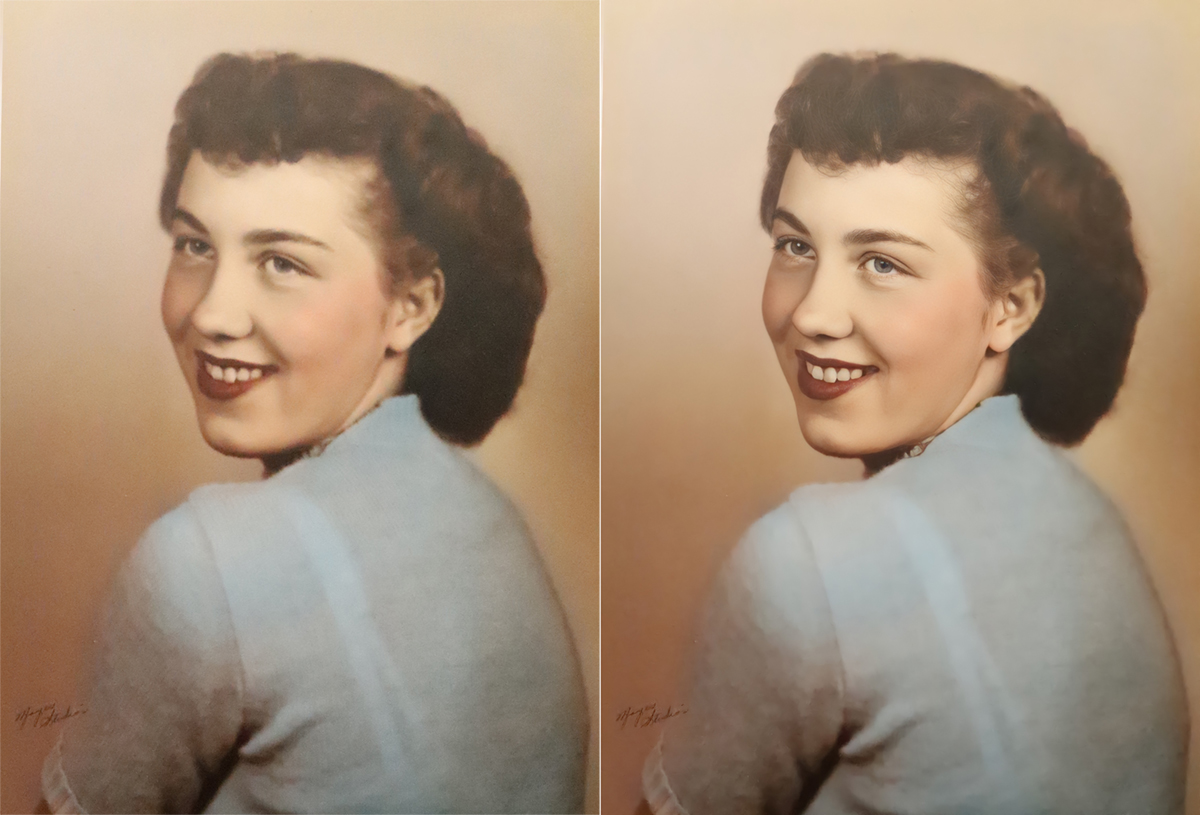
In this portrait image, 50% seems to work well, just providing enough clarity and detail to make the image pop.
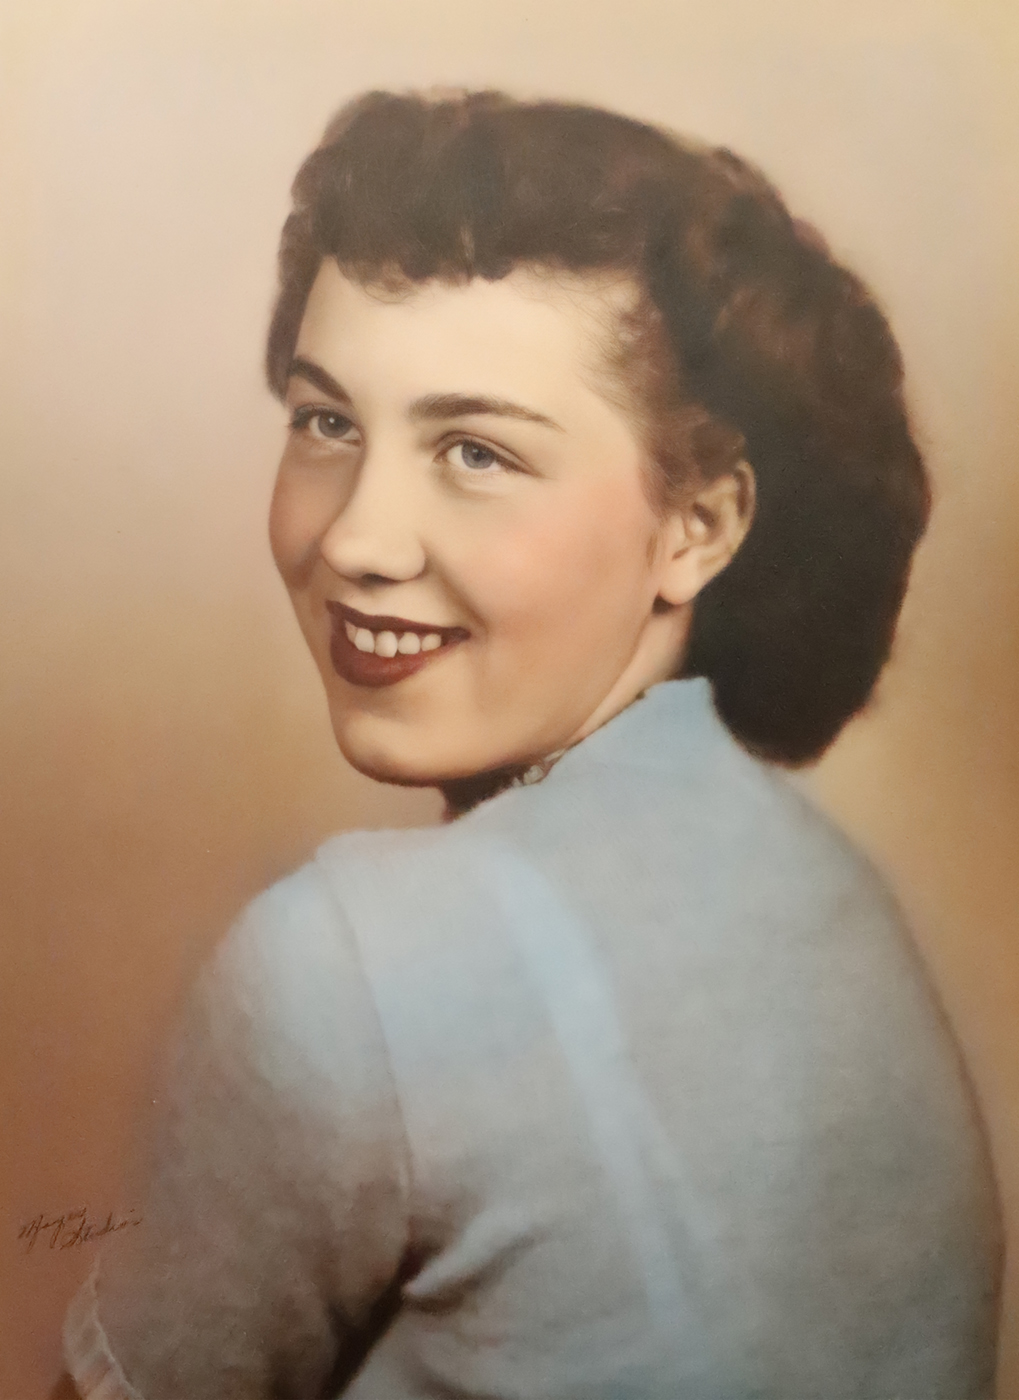
Here’s another before/after image from a DSLR photo of a picture hanging on the wall of my parent’s wedding
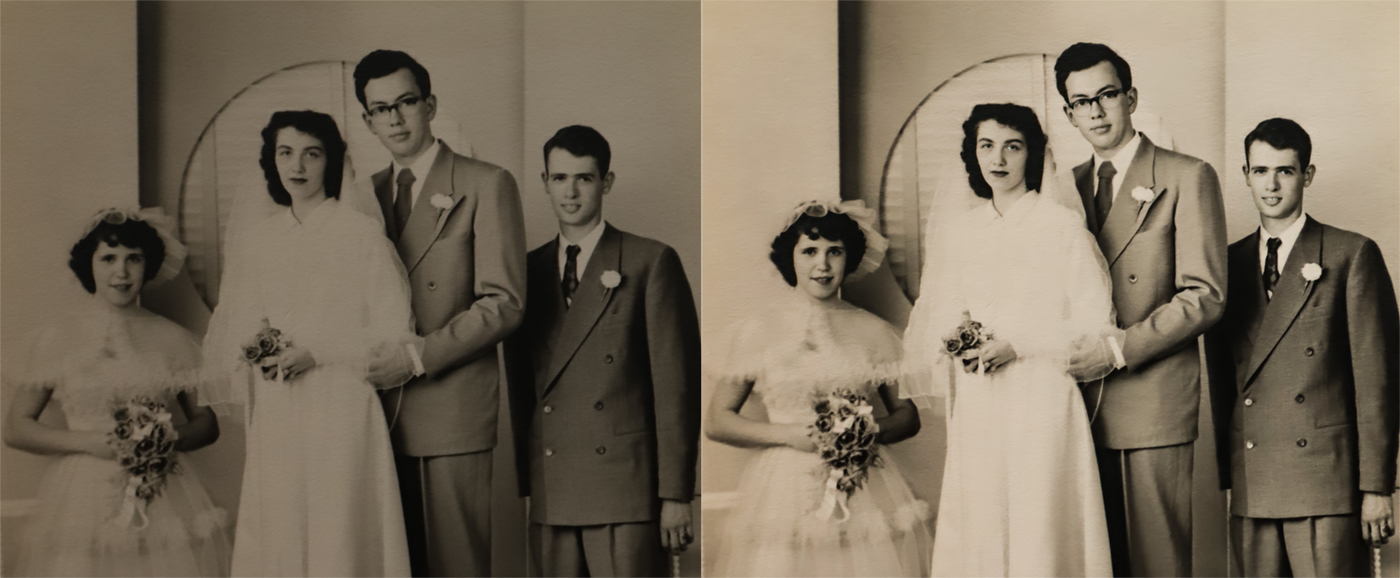
While Remini Web is probably the best facial reconstruction and enhancement tool I’ve seen yet, it doesn’t allow you much control. Based on the image you drop into it, it will produce an image that has a set maximum resolution of 2048*2048 px, and not all faces in an image may be enhanced, depending on the clarity of the subjects visible in the photo.
I’ve experience very few failures so far, and even with a crowd in a concert or bar scene, I’ve seen Remini Web enhance faces in the audience as well and the foreground subjects. You can always crop out sections of an image and only enhance those areas you wish or simply mask them out in Photoshop afterwards.
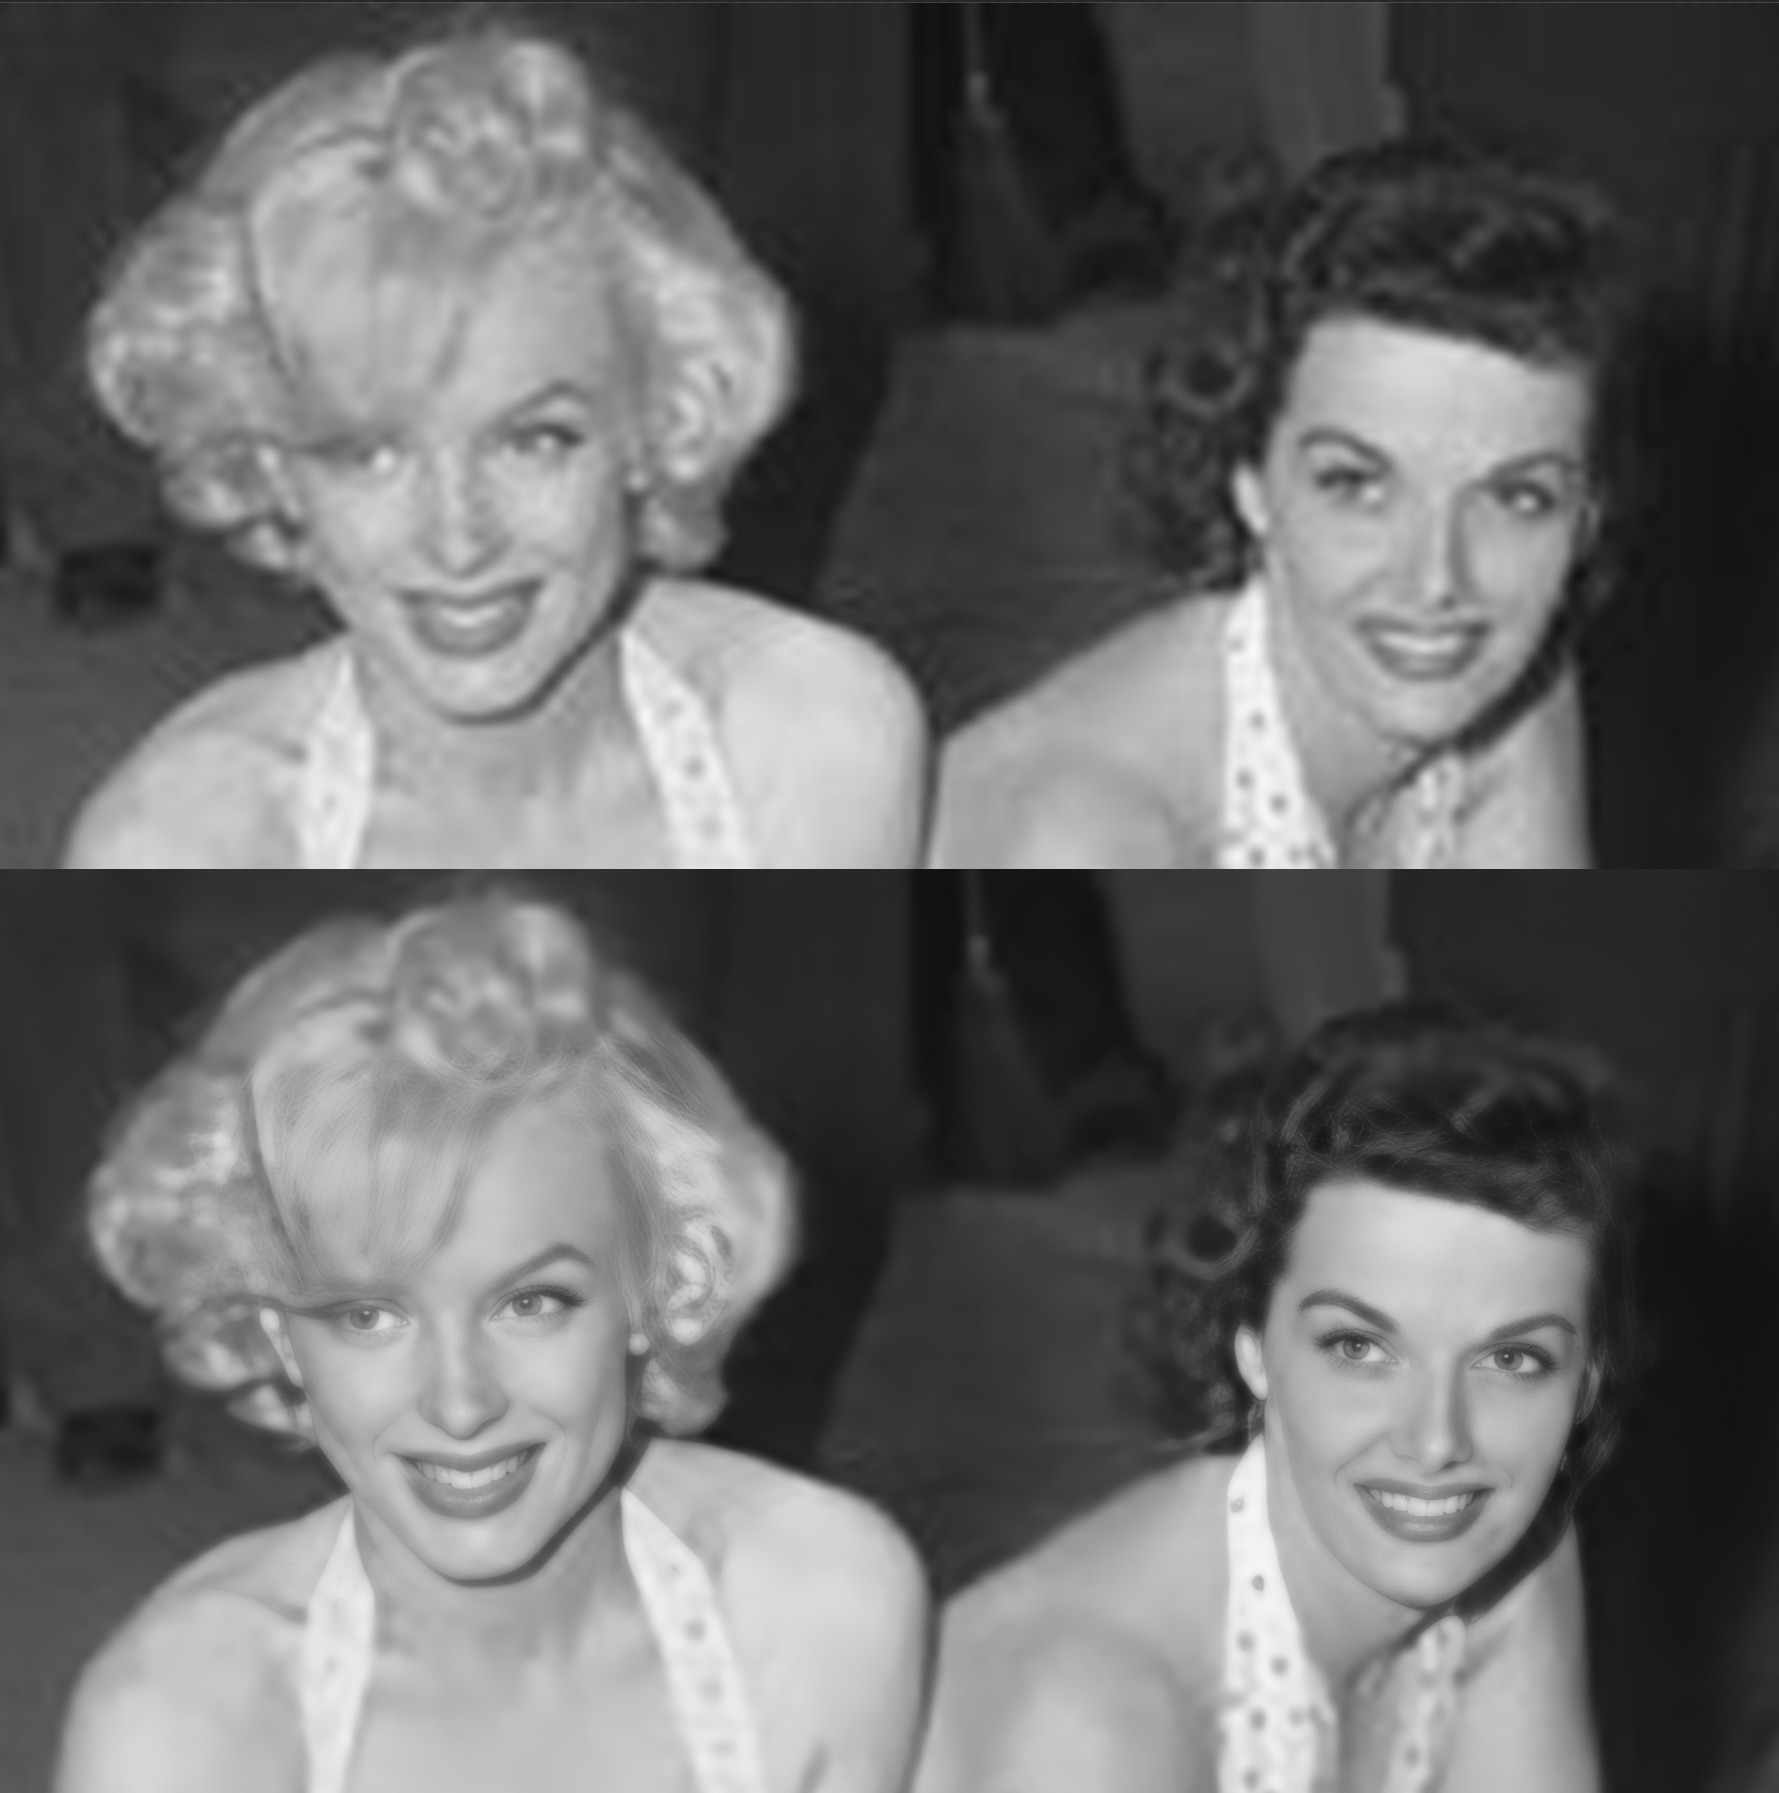
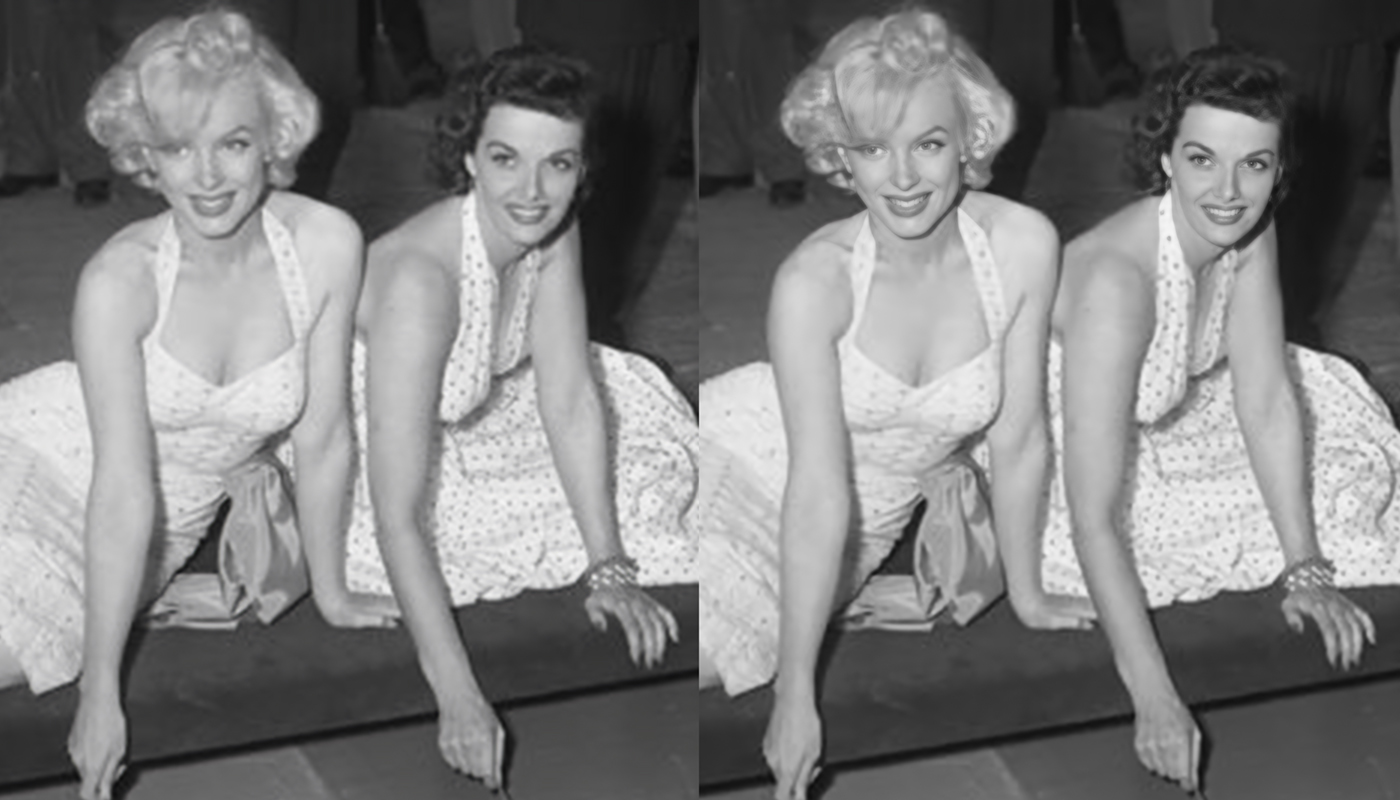
Let’s look at a previous image test that I also ran through Photoshop and Remini Web which gives spectacular results. I simply used Photoshop to upscale the image using Bicubic Smoother (Enlargement) and then ran it through Remini Web for processing and overlaying the AI Enhanced layer opacity to 70%. If I wanted to use an uncropped version of the finished image, I may actually combine Topaz Gigapixel and the Photoshop/Remini Web images to get the most clarity of the entire scene.
You can notice though, what a spectacular job Remini Web does with facial details – especially the eyes!
But First – Retouch Your Damn Photos!
Ok people – you know who you are! I’ve seen so many dreadful scans in your documentaries that my OCD gets triggered and I can’t pay attention to the story anymore! I mean, C’mon – you MUST at least hire an intern to Photoshop out the basic things, like scratches, hairs, dirt, creases and tears with the healing brush, right? There’s literally NO EXCUSE for zooming in on a scanned photo that’s absolute crap! Ok… I guess I’ll need to write up a photo retouching tutorial and post it here soon.
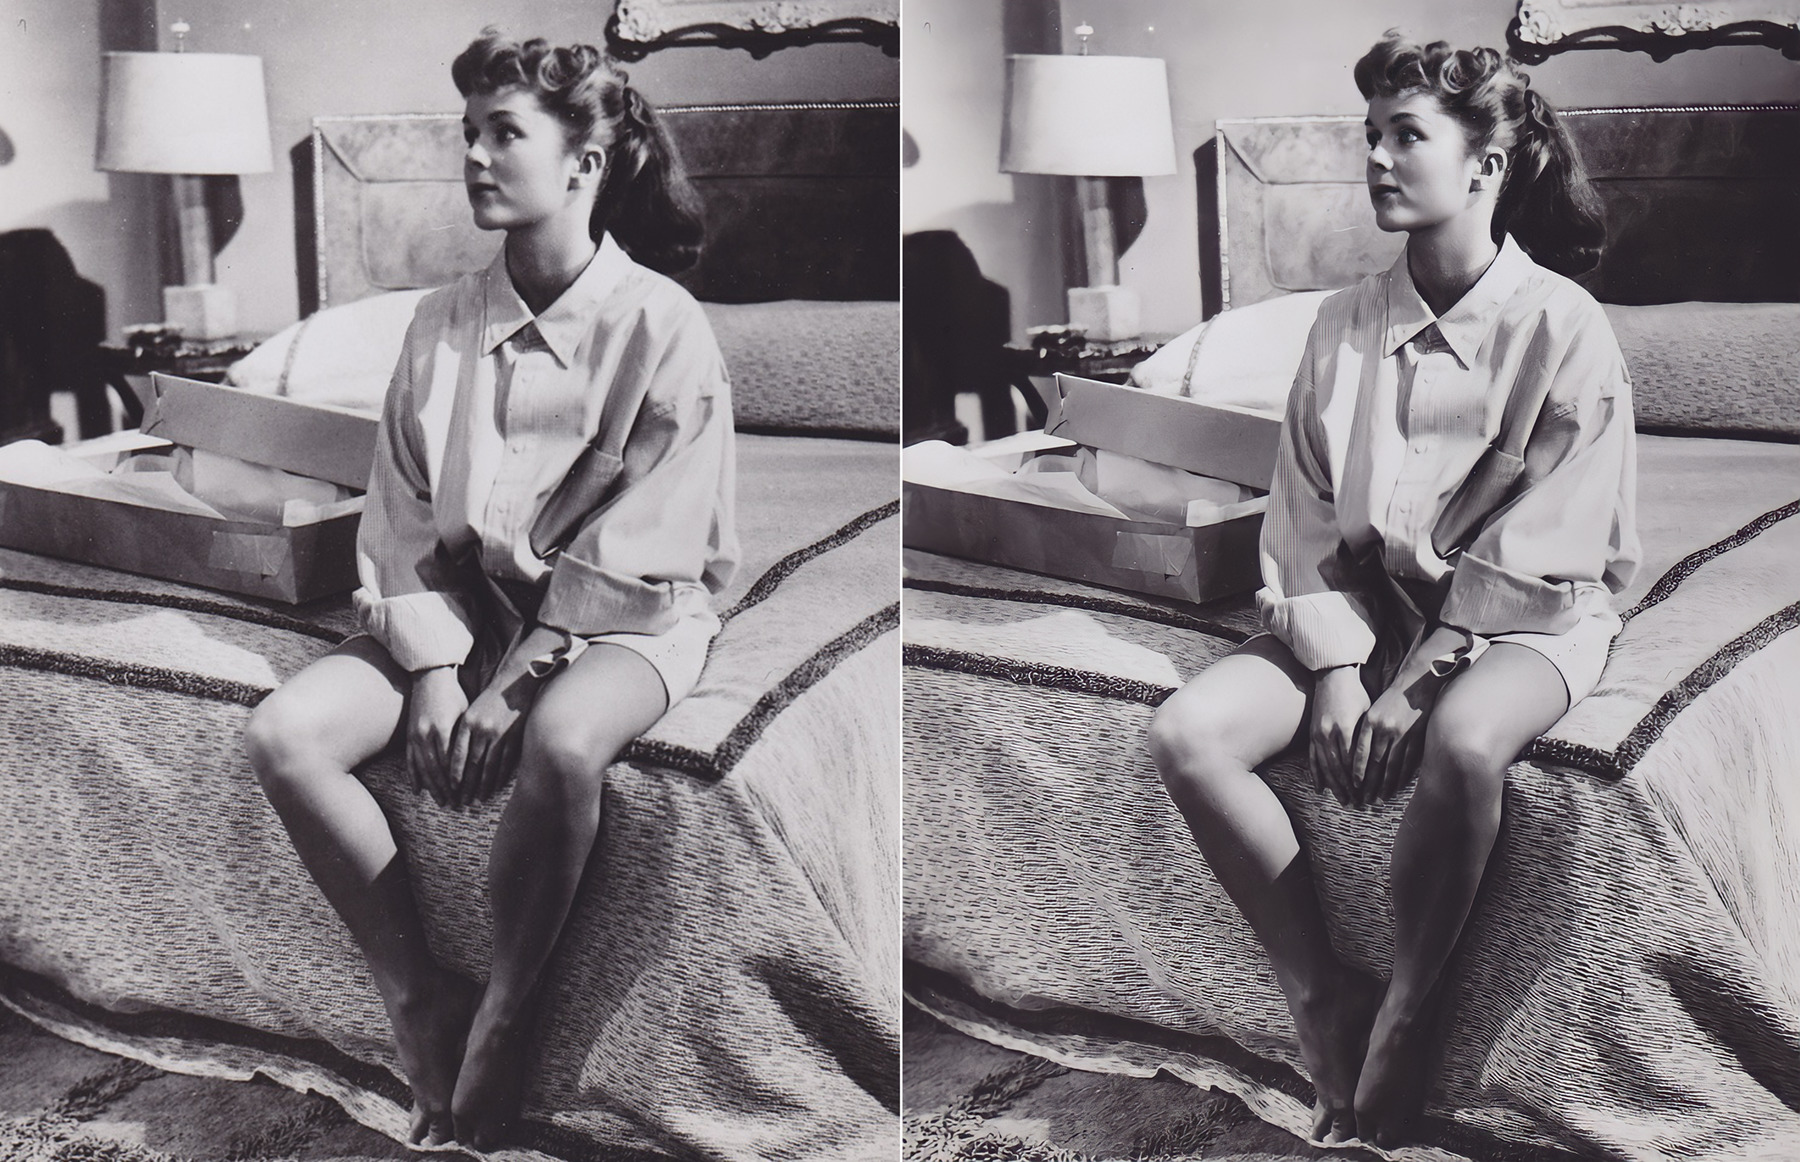
But seriously, even if you do minor retouching or you don’t think your image needs it, running it through AI Enhancement software may hide some noise, but it will only accentuate dirt, scratches and hairs in your original image. I’ve even found stuff I need to do a second pass retouching on that I may have missed the first time before enhancement.
Click on this image and enlarge it to see how Remini Web actually magnified some of the dirt from the original unretouched scan. Just a minute or two of clean up can save your enhanced image and make it ready to pull into your project.
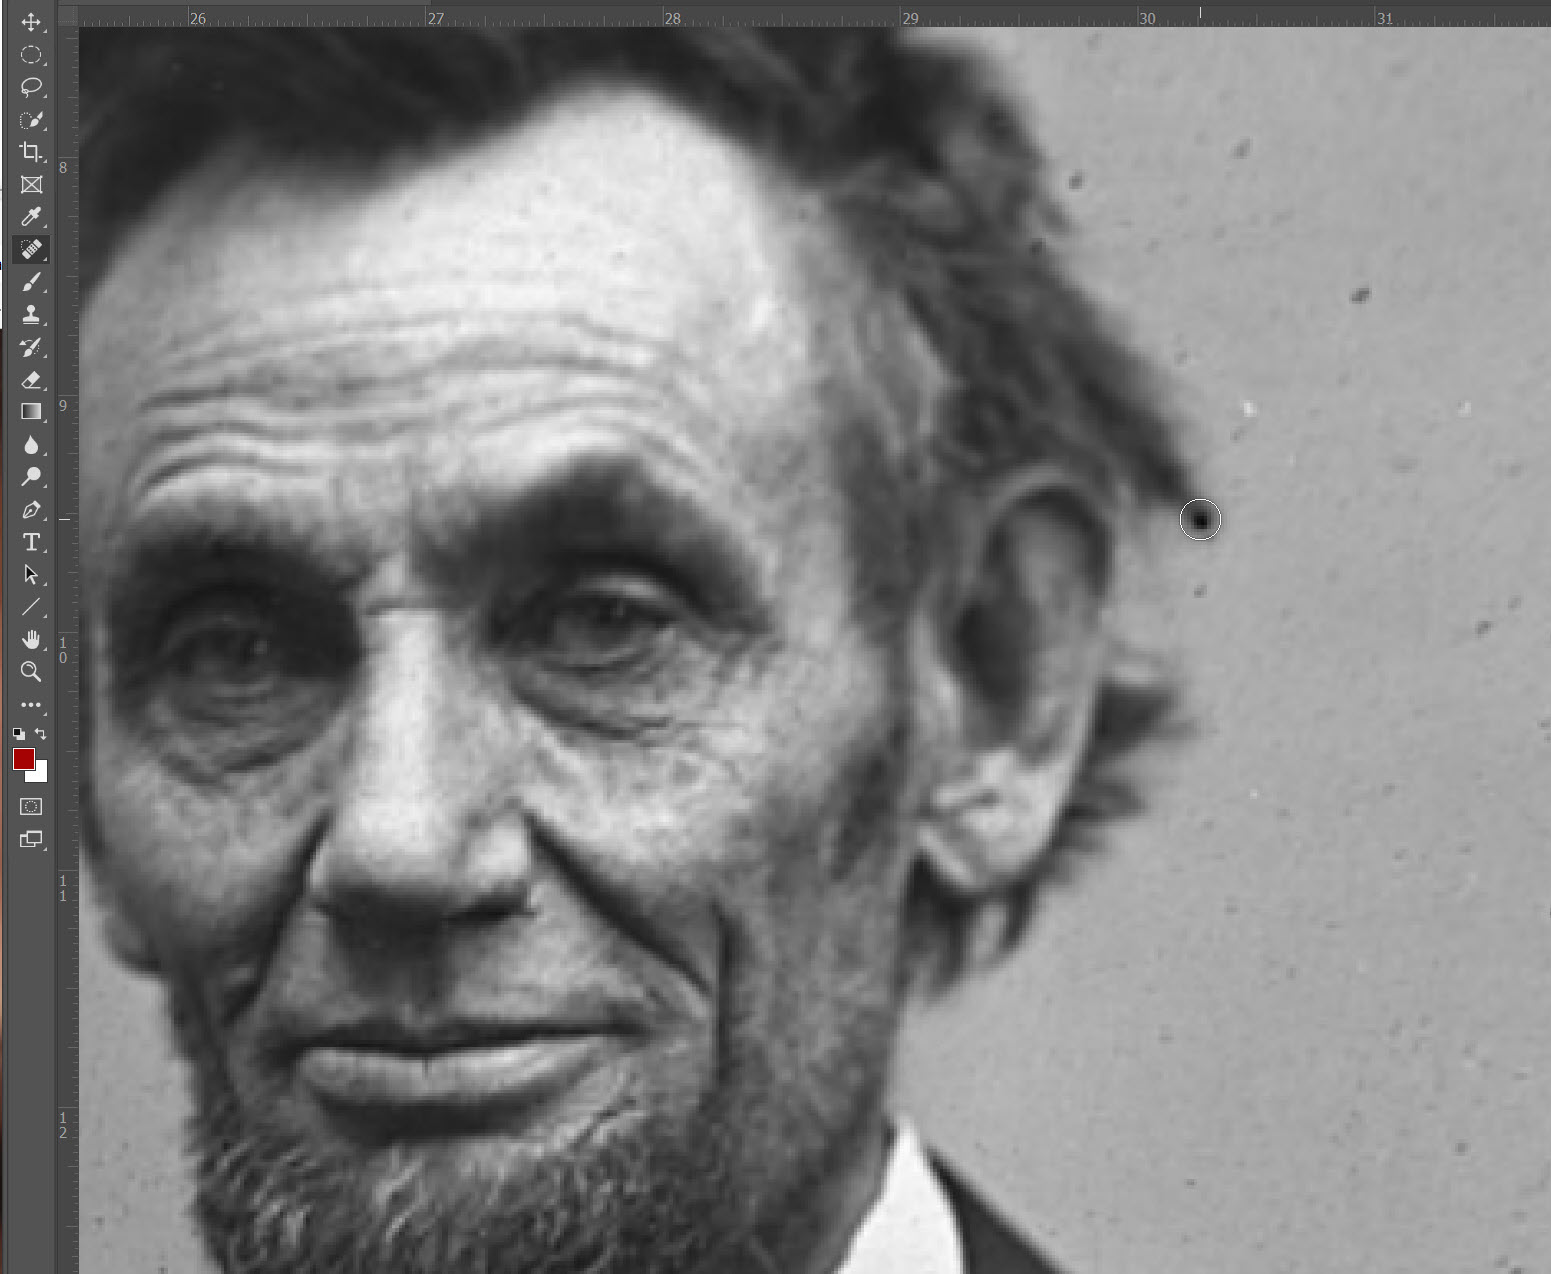
Let’s look at a much worse example, with this historic photo of Honest Abe. I only used the Spot Healing Brush Tool in Photoshop to remove all the dirt, stains and hairs from the public domain archive scan. I spent about 15 minutes doing a quick and dirty pass.
Then when I ran it though Remini Web, the details in his skin and hair are predominant and not the dirt.
You’ll notice that Remini Web does add a slight bit of color in most cases – even on B&W images, but you can pull out the color saturation easily in Photoshop. The final result is a natural and believable image when done correctly, and your finished project is going to look great! Click the image and enlarge to see more details.

Stay tuned for more tips on retouching your images and updates to this amazing software technology!

Filmtools
Filmmakers go-to destination for pre-production, production & post production equipment!
Shop Now