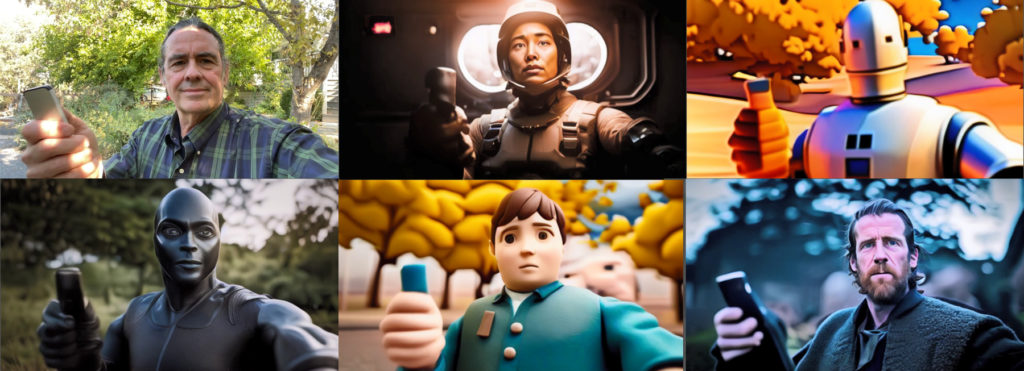
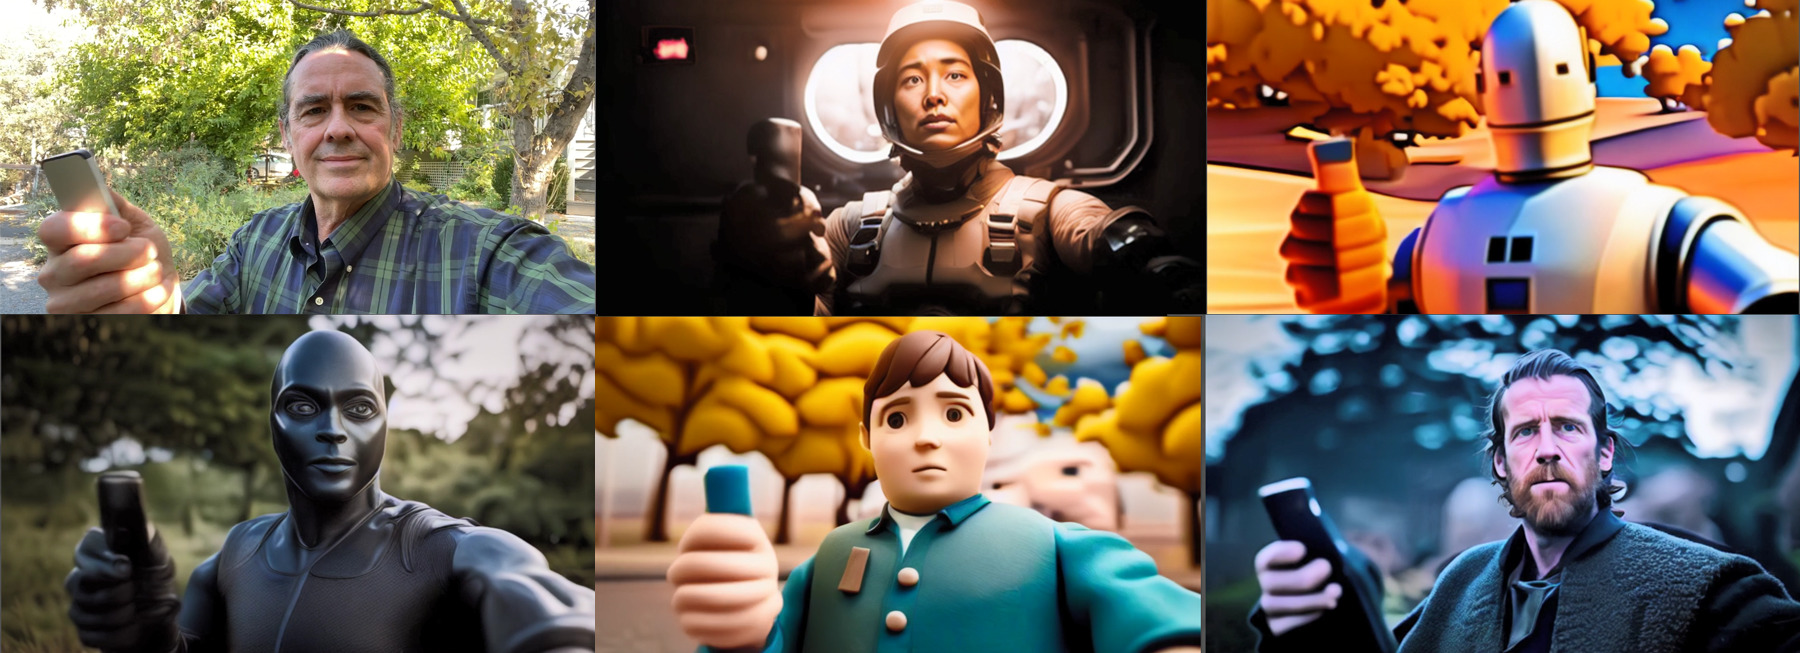
Runway AI is one of the fastest growing AI Tools for video and animation creators. Their suite of tools expands beyond their generative AI offerings, but one trend that’s taking off recently is using their Gen 1 Video to Video tool to create AI videos that are totally different from the input video that’s fed into them. One such technique is the “world jump” simulation, where the main subject appears to “jump” into another dimension and become a totally different character but using the same motions as the original. Think back to the TV series “Quantum Leap”.
You can use any NLE to edit your video, but the key is aligning the clips precisely so the video has a smooth transition from scene to scene. Sound design really helps sell the effect as well.
Examples
The video that took the Internet by storm – from Martin Haerlin. He made this concept popular as you’ll see in the following examples, but this original one was just 4 months ago:
Here’s another video Martin created with more developed characters and action at each stage:
Another fun production in the mirror with several characters voiced in:
And most recently, his entry into the Runway Gen:48 short film competition with a mock insurance ad:
The Process
It’s such a clever and popular effect – enough that Runway has a tutorial on their site to show how it’s done generally.
So, being inspired by this technique, I thought I’d give it a try myself…
Here’s my Tutorial video – with more detailed steps below:
Process breakdown
First, record your spin/walking/static selfie video (or shoot your subject close up). It’s best to have some sort of action to define the scene “jumps”, whether it’s a finger snap, a motion or some kind of signal as shown in the above examples.
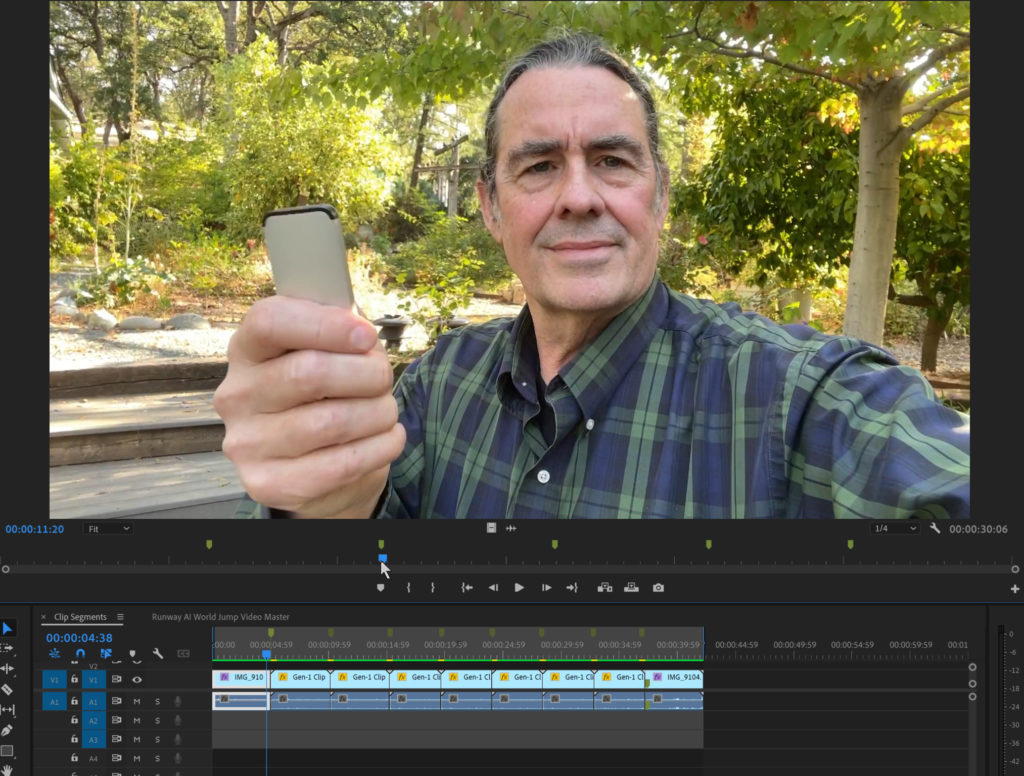
Then slice up your footage in Adobe Premiere Pro and export each segment as a separate video clip.
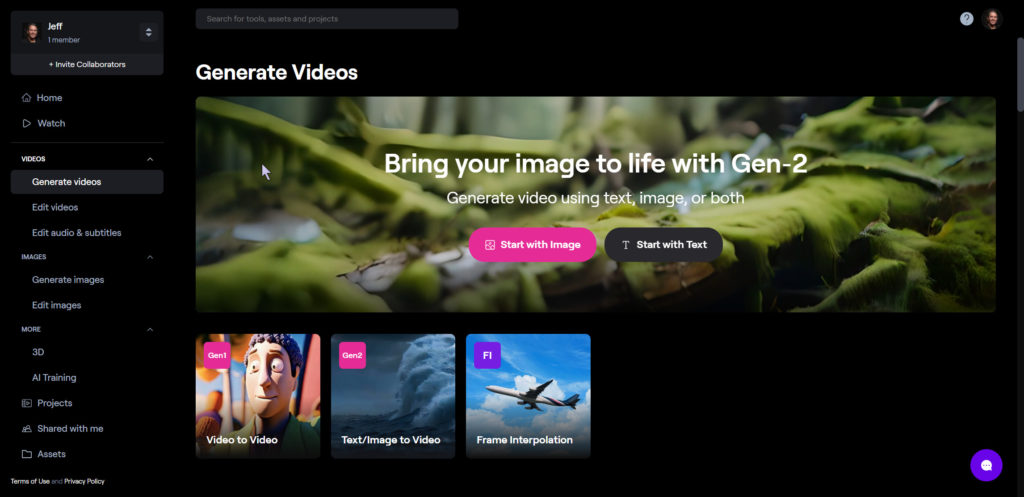
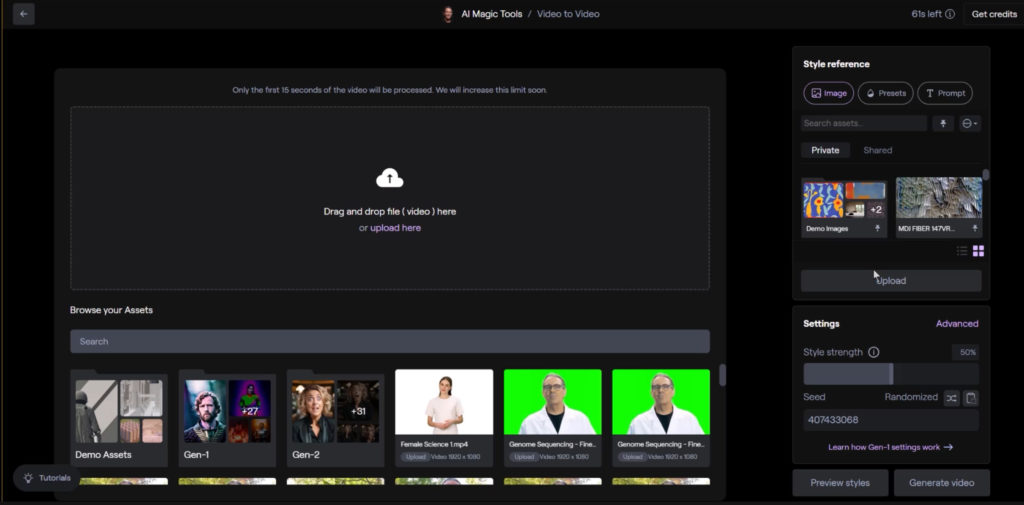
Next, log into your Runway AI account and chose Gen 1 Video to Video
Select your first clip sequence that you rendered our of Premiere and upload it to Runway AI.
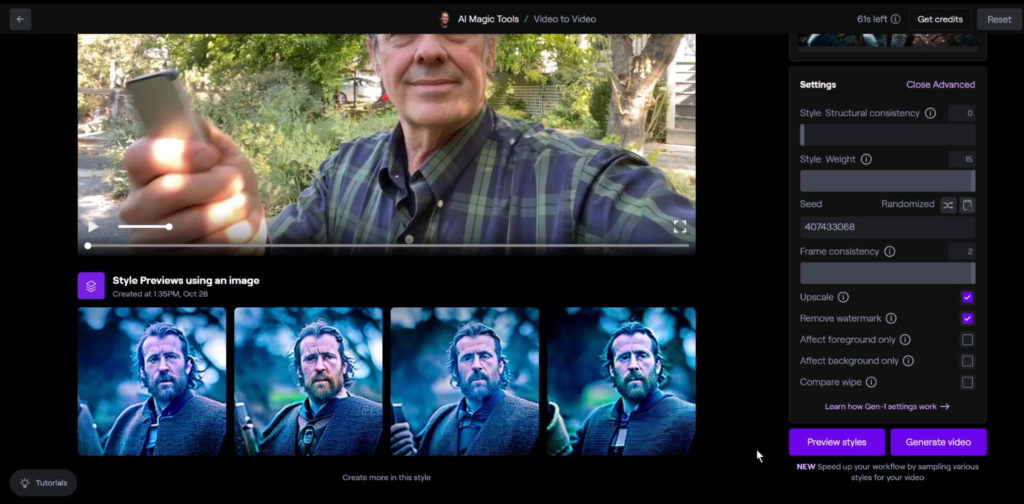
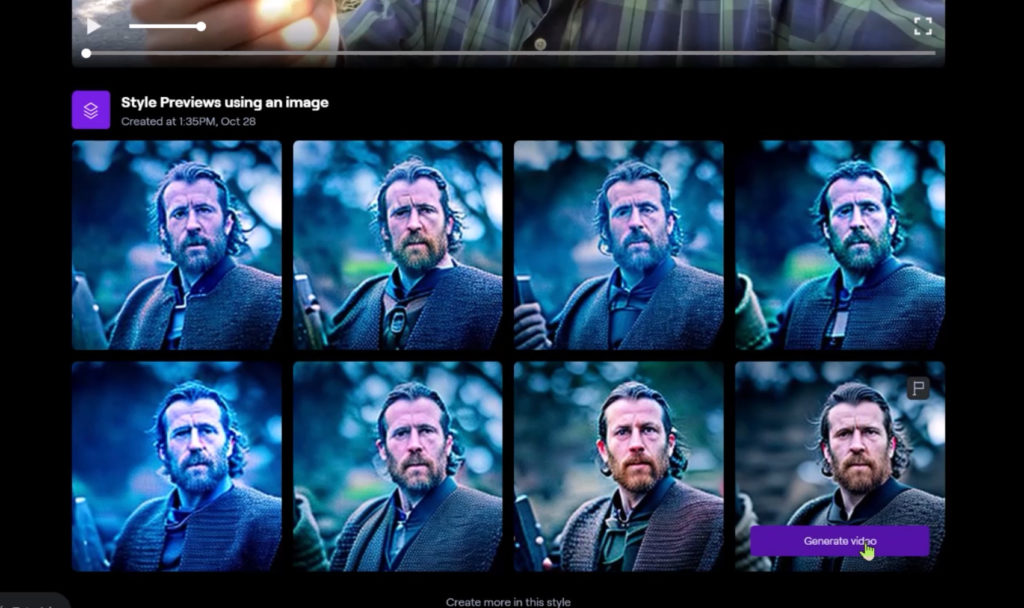
Add reference images to your library or select some default styles for your various sequences that will be applied to yoru original clips. In this example, I used an image I created in Runway AI text to image generator.
The settings are important to note in the Advanced Tab on the right. As explained in the Runway AI help page, use these as a guideline to dial in the desired effect and adjust from there with each setting.
Once you are happy with a preview look, then select Generate Video on the thumbnail to render that segment. Repeat this process through all the clip segments that you created from your original video, and download the rendered results.
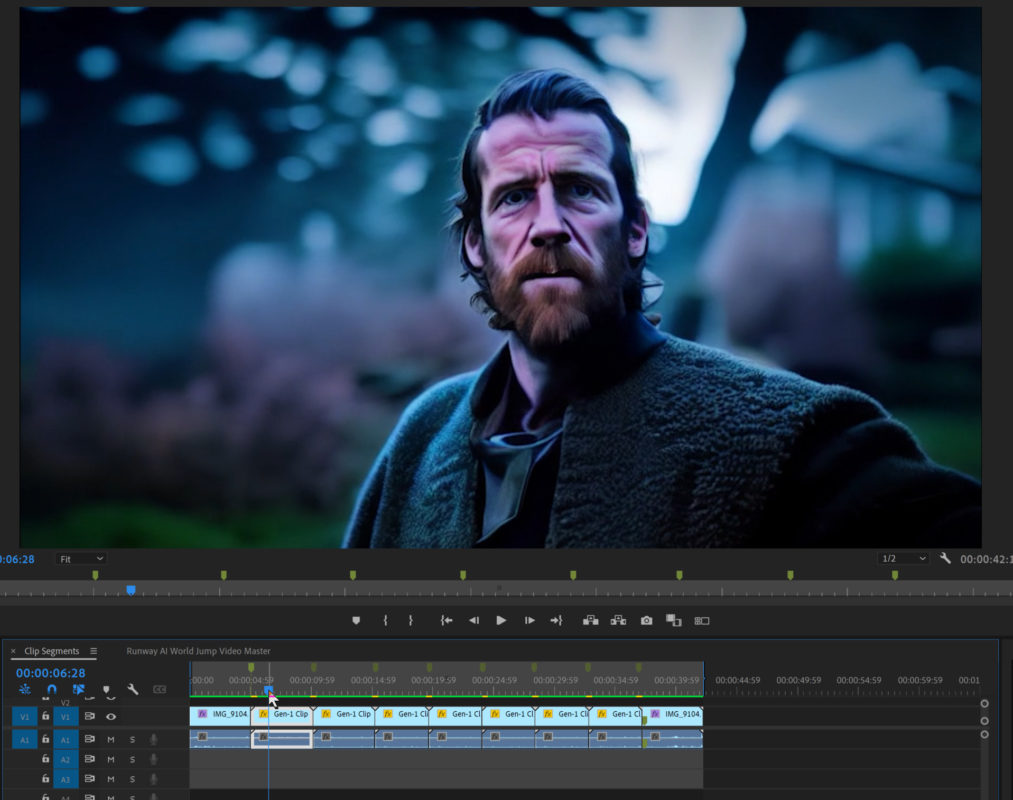
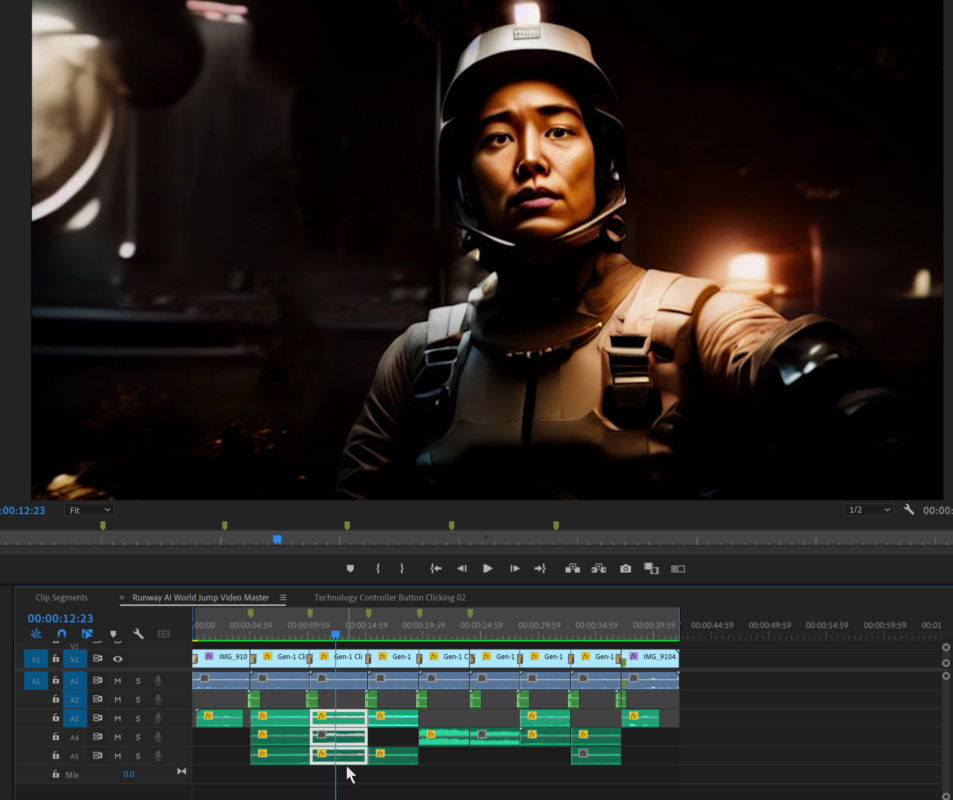
In Adobe Premiere, assemble all your clips on the timeline and make sure they match end to end.
Since I used a fictional “device” to remote from one dimension to another, I wanted some kind of cosmic “blast” effect, so I created my own in Premiere using several SFX from the Adobe Stock library, stacked until I got the result I was happy with.
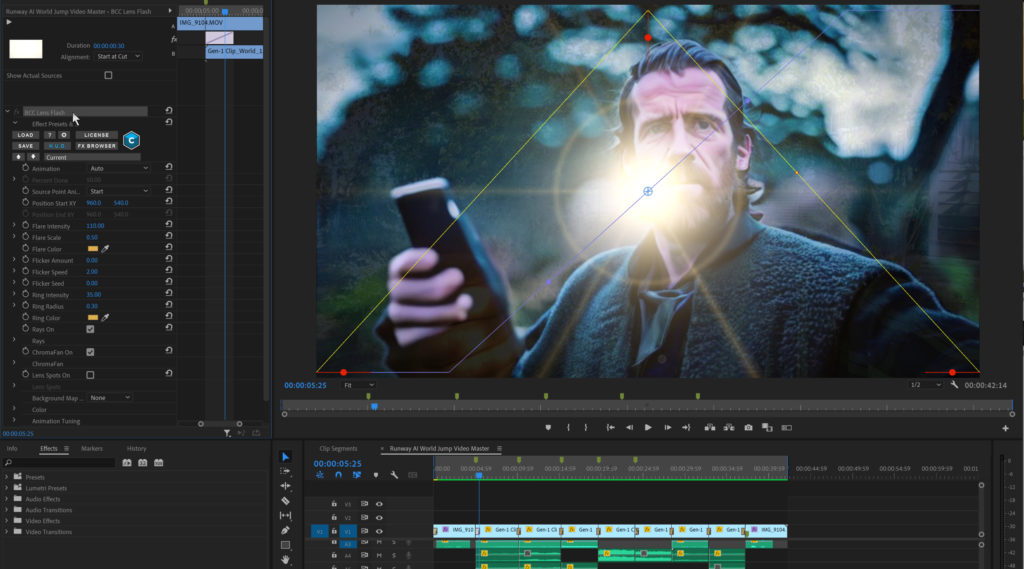
I also wanted to add some kind of flash to help make the “jump” to the next dimension, so I settled on Boris FX BBC Lens Flash for each transition.
I then used several different ambient sounds from my library to create varying environments for each segment, which really helps to sell the idea that you are in a different world or dimension.
Stay tuned for more creative exploration with Generative AI Tools!

Filmtools
Filmmakers go-to destination for pre-production, production & post production equipment!
Shop Now