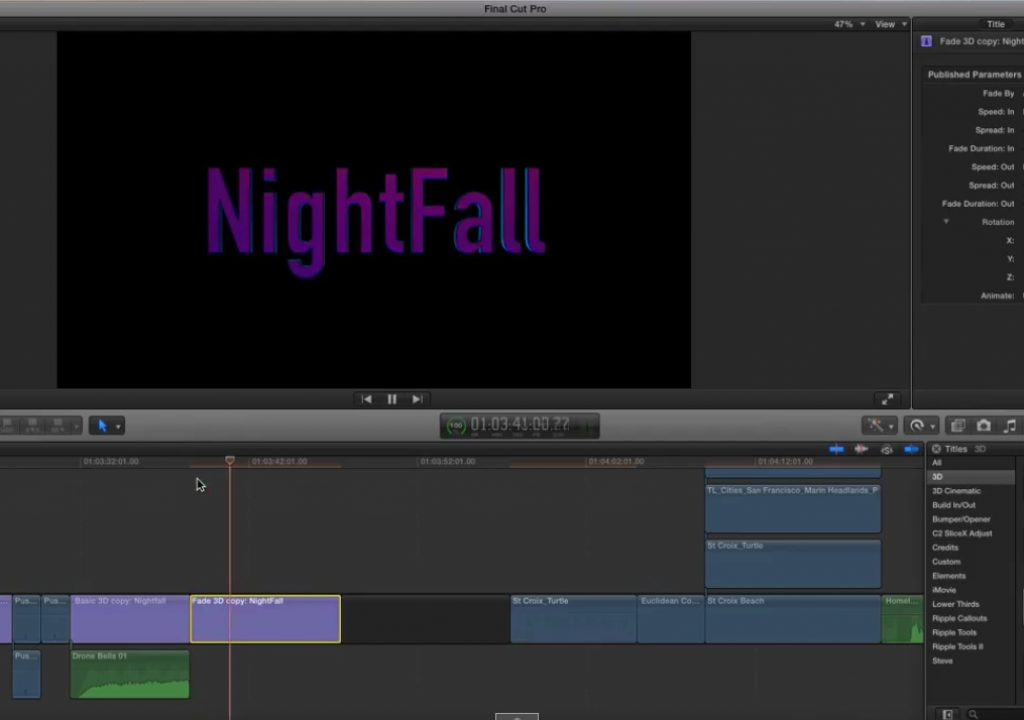
This week on MacBreak Studio, Steve Martin from Ripple Training shows us a great tip for creating an animated light effect on 3D text in Final Cut Pro X.
One characteristic that has a huge impact on the look of your 3D text in Final Cut Pro, especially if you have used a highly reflective material like one of the metals or shiny plastic or paint, is the Environment. These environments are HDR maps (“probes”) that are not directly visible but essentially wrap around the text and reflect off of it, as if the text were sitting in a real-world environment. In fact, many of them were made by taking 360-degree photographs of real environments.
In addition to being able to choose from a set of environment maps (hopefully in the future you’ll be able to add your own!), you can change what part of the map gets reflected in the text by rotating the map on its x, y, and/or z axes. If you think of the map as a sphere and the text is inside the sphere, you can rotate the sphere in any direction and the reflections on the text will change.
Once you see the light changing as you scrub these rotation value fields, you’ll likely decide that you’d like to animate these parameters to have the light move across the text, because it looks so good. And there’s the rub: these environment rotation parameters cannot be keyframed!
Steve has a simple solution for us, and that solution is Motion. Since the 3D text templates are Motion templates, you can open any of them in Motion, and modify them. All you need to do is publish the environmental rotation parameters so that they appear in the Title Inspector in Final Cut Pro, where you can gleefully set keyframes at will.
Or, if you don’t have Motion, you can download our free 3D templates, which include these keyframeable parameters and a lot of additional useful features like automatic background blurring and more animation presets. Either way, animate light passes across your 3D text are now at your fingertips.


